


well, ill be installing megasquirt soon enough, and im also in the process of doing a wire tuck. ill be finishing the wire tucking shortly after i get my car up and running since i cant even open my door enough to get the fenders off(damn single stall garage).
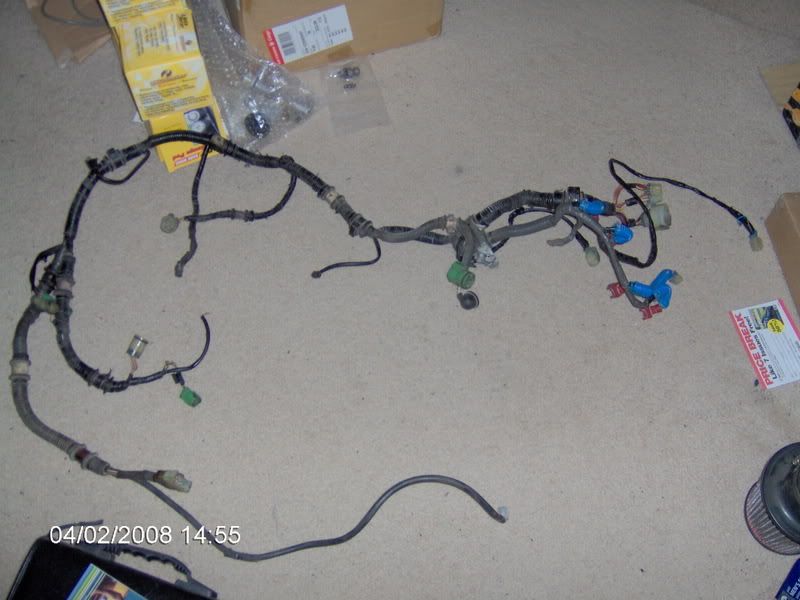
anyways, i first started by removing the entire harness and taking it inside to work on
as for where to start, i would recommend stripping out the injector portion of the harness first. just trace the wires back to the plugs and yank them out. if you cut the wires, theres a chance it might create a short or a fire if you start your car. this way theres nothing for the frame to touch since theres no more wire on the plug end.
heres what i took out
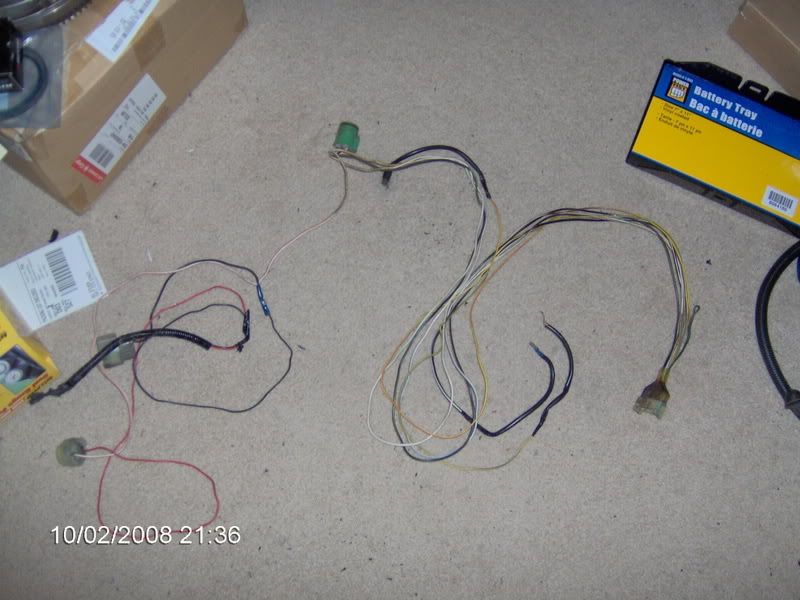
at this point, its really any way you want to do it, i decided to get rid of the TPS/EGR plugs since i wont be needing them
after that, your not going to need the O2 sensors, or the IAT sensors or CLT sensor, so you could pull the plugs on those as well
in the end, you should be left with something like this. pretty much a gutted stock harness. this is where the real challenge begins, the wire tucking. from here, you can relocate the fuse box to the glove box if you want, and since the harness is bare, its pretty straight forward to extending the wires to the plug that is probably hidden behind the fender or in the glove box. as far as the wire for the alternator charge wire goes, i would recommend you replace it with a completely new wire rather then trying to extend such a big gauge of wire.
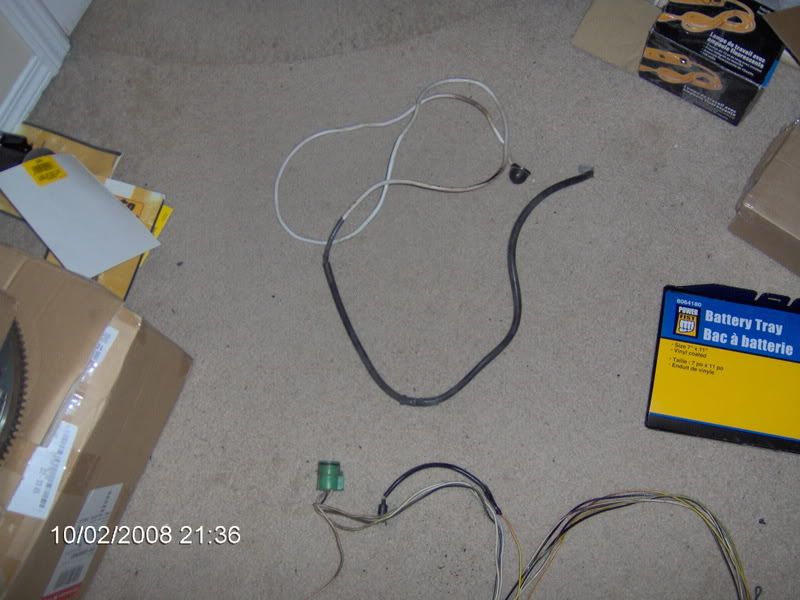
in the end, the only things i kept were the alternator plugs, the starter solenoid switch, oil pressure switch and the dashboards coolant temperature sensor. the basics of what you would probably want to keep. im still not sure what the 'alternator RF input' wire does, but i left it in there just incase. the only thing left to do is to tape the rest of the harness back together and protect it with some wire wrap.
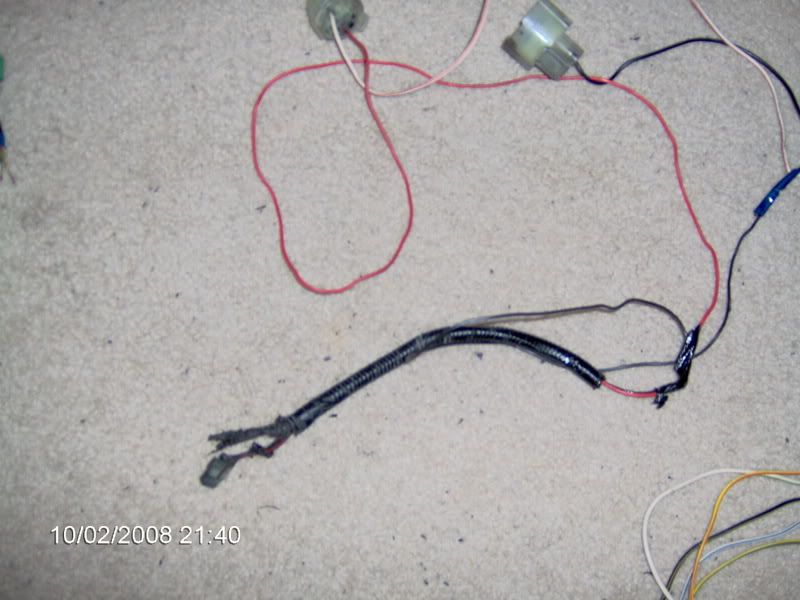
the ONLY thing i didnt get rid of was a part that looked like it had no real fuction at all, but since i have no knowledge of this part, i decided to leave it in place. if anyone know what the part in the picture below is, it would be greatly appreciated since i would like to know what it does and if i can remove it.
anyways, i hope you guys enjoy this since it really cleans up the clutter for those that are going to use MS and dont want the huge amount of wires that are going to nowhere.


 Reply With Quote


Bookmarks