
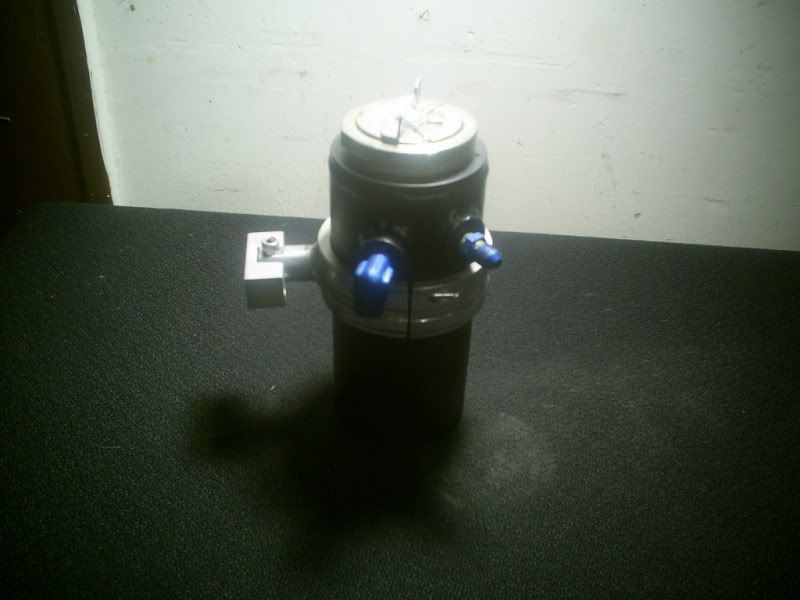
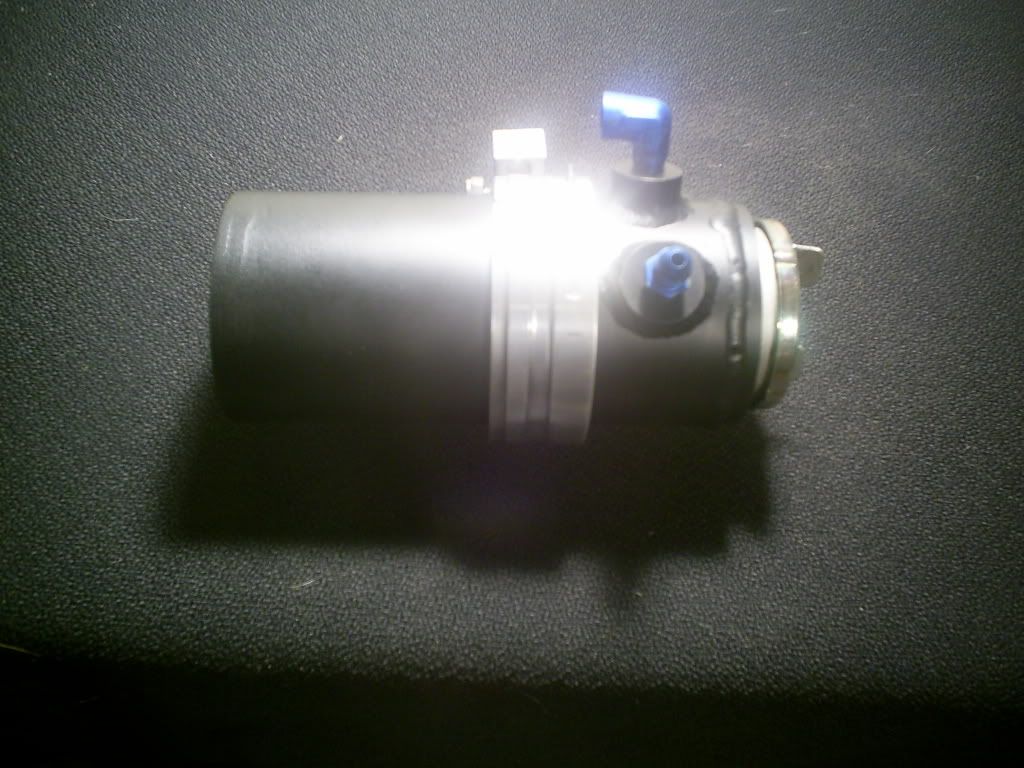
ok just got it done, polished the bracket with a buffing wheel and red rouge, and painted the can with flat black. now i need to get it mounted in the car,is a siphon just like the original.


ok just got it done, polished the bracket with a buffing wheel and red rouge, and painted the can with flat black. now i need to get it mounted in the car,is a siphon just like the original.
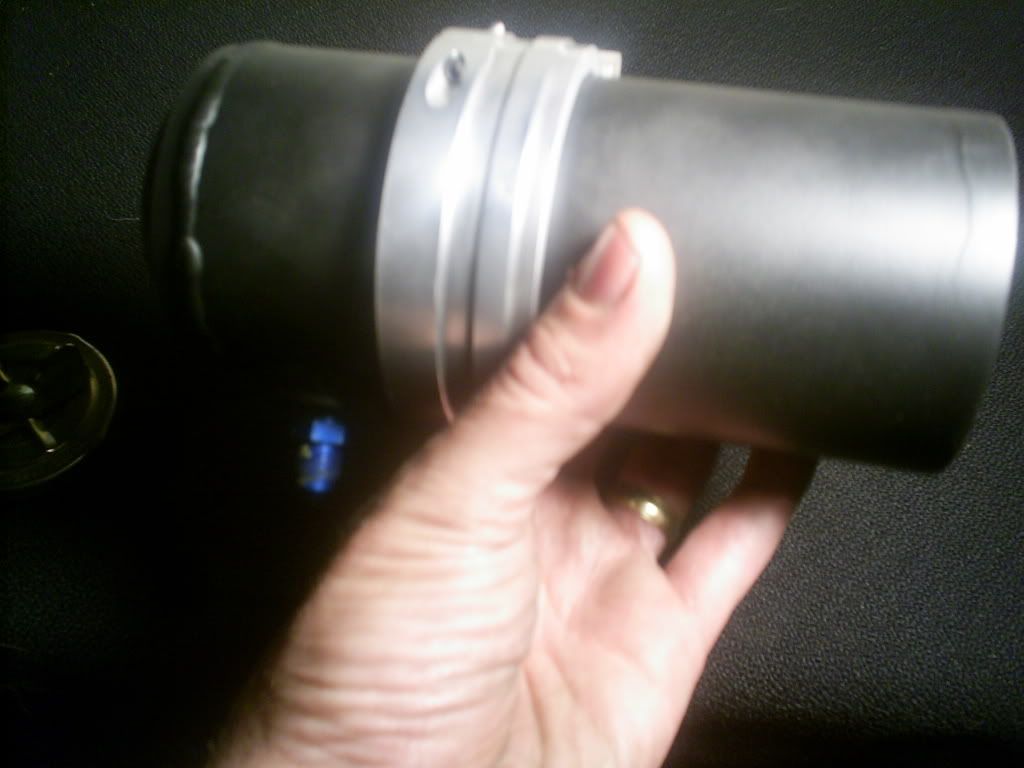
both the can and the bracket are fully fabricated, the can is aluminum tube with the ends tig welded in, the cap attachment is pressed into the top end, the siphon tube and the overflow are attached to aluminum pieces that are tig welded to the tube. the bracket is machined from round stock,then split in half, the attachment point is tig welded on, it fits into a socket that bolts to where ever it goes. the two halves of the bracket attach together with recessed allen head screws.
ah heres the thread while i was making it. https://www.3geez.com/forum/showthread.php?t=66091
Hot damn that's like the little black box on a 747, it will be the only thing recognizeable after a crash and burn lol.
Killer work. I wish I knew more about machine work. I've only run a lathe a few times, mostly just to make some small UAV aircraft axles and wheel bushings back in the day when I was building/flying UAV's for S-Tec Unmanned Technologies. I was mainly into composites and molding, and assembly, and test flights as I am a long time RC pilot. They had a nice machine shop though and started learning some of the processes but got laid off shortly after. Sucks.
View my Image Gallery
1989 Honda Accord LX
2006 Toyota 4Runner SR5
1996 Dodge Ram 1500
2000 Dodge Ram 1500
1996 Acura Integra GSR VTEC (GONE)
MY 3G UPDATE THREAD

Truly awesome, Lost! It's nice to see such good work.
Dr_Snooz
"I like to take hammers, and just break stuff, just break stuff." - Beavis
1989 Honda Accord LX-i Coupe, 240k miles, MT swap, rear disc swap
Shop manual downloads available here: CLICK TO VIEW
gangsta that look pimpin lil homie
1988 Honda Accord LX-i Coupe 123k miles.
if anybody recalls i made one before with pressed ends that dam leaked,this one won't leak.already pressure checked it. can isn't pressurized but it wouldn't leak if it was.
So what is the point of all this? I mean i know what the piece you made does, but what advantages does it have over the stock overflow?
You do some pretty unique and cool stuff to your car, I would love to see some of your work put into fabricating a setup to pull some good power out of that thing.
03 Nissan Maxima 6spd 3.5L -- Daily Driver
96 Civic Ex-T 210whp/183wtq @ 9.5 psi tuned on Hondata s300 -- Now at 12psi, unknown power
04 CBR600RR - Sold, and now wrecked. RIP
guess you ain't seen his twin SU carb manifold setupOriginally Posted by Deadhead

Nice fab man Are you going to be selling those on the forum im in if u are lol...would look nice instead of that nasty pastic one
200+ ALL MOTOR LS VTEC
I think I saw something with the dual carb setup, but i'm talking about making power in excess of the 150whp he might be putting down. I would love to see his fabrication in a turbo setup.
03 Nissan Maxima 6spd 3.5L -- Daily Driver
96 Civic Ex-T 210whp/183wtq @ 9.5 psi tuned on Hondata s300 -- Now at 12psi, unknown power
04 CBR600RR - Sold, and now wrecked. RIP
as soon as things look up a bit on money i can afford to finish that project, the economy kind of took a crap,as far as the overflow can.why would I want a 20 year old yellowed plastic container,when I could make a nice looking one? same reason not everyone drives around in these cars bone stock with steel wheels.
^^ Fair enough. The economy sucks right now, but i'm one of the few fortunate enough to have a job that picks up when the economy get's bad.... which is such a bitter-sweet situation.
03 Nissan Maxima 6spd 3.5L -- Daily Driver
96 Civic Ex-T 210whp/183wtq @ 9.5 psi tuned on Hondata s300 -- Now at 12psi, unknown power
04 CBR600RR - Sold, and now wrecked. RIP
then im really lucky to have 2 jobs now.
1989 Honda Accord LX-i
B18c1 swap since 7/2011
175whp and 132tq
Redzone tuned
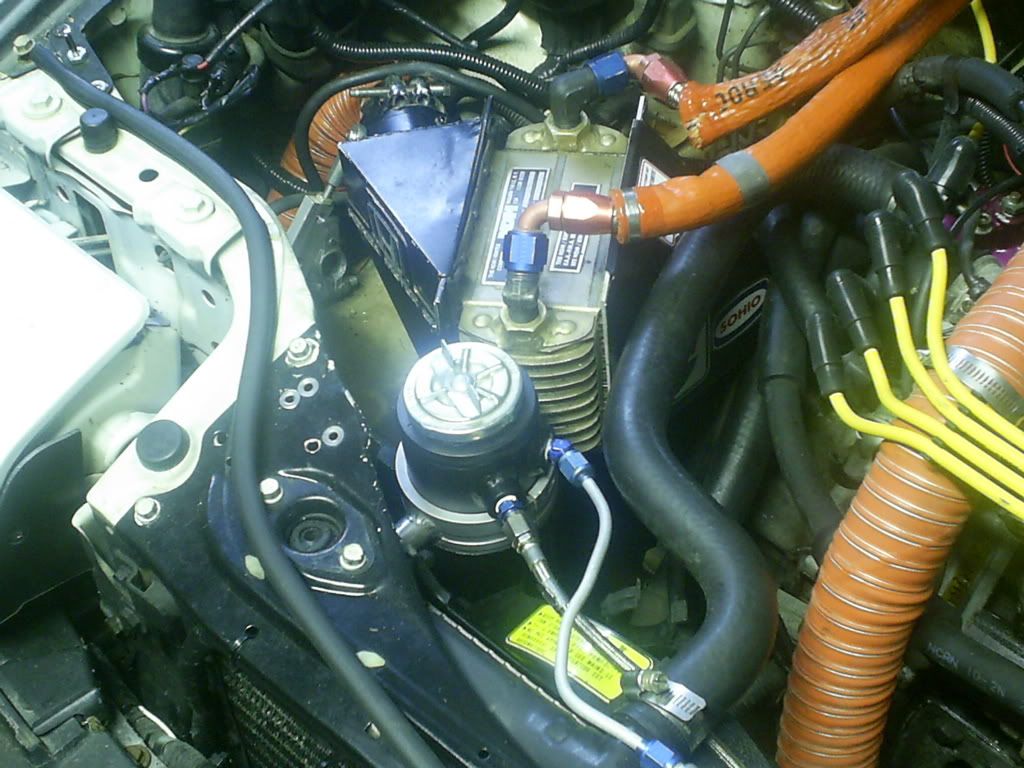
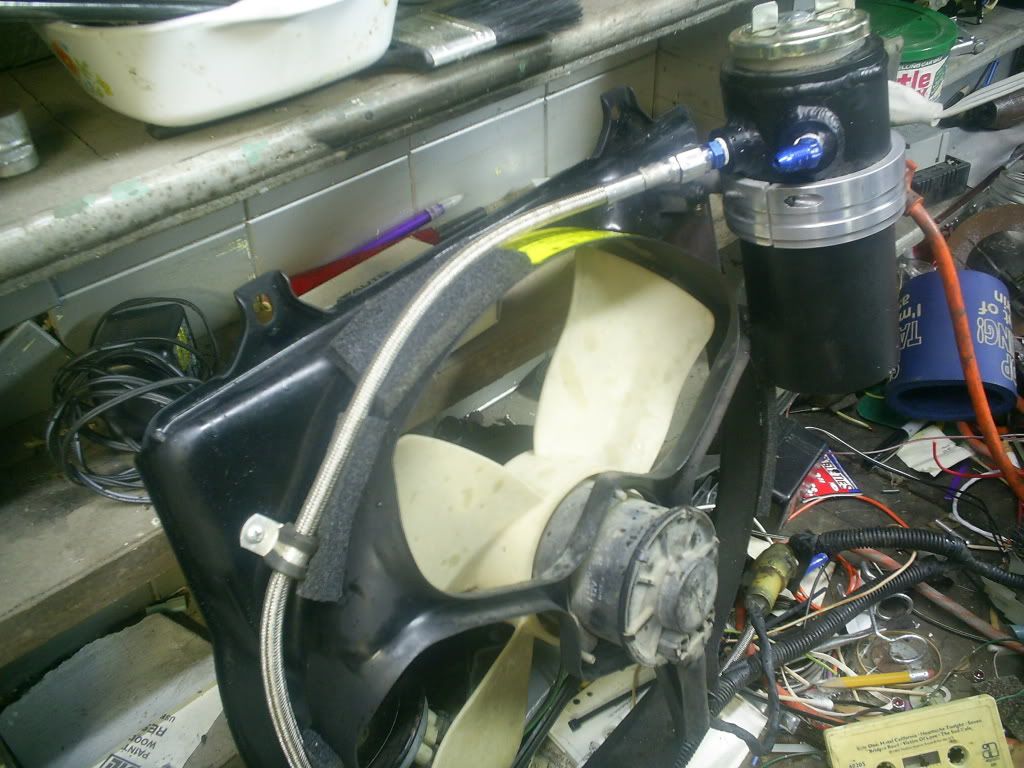
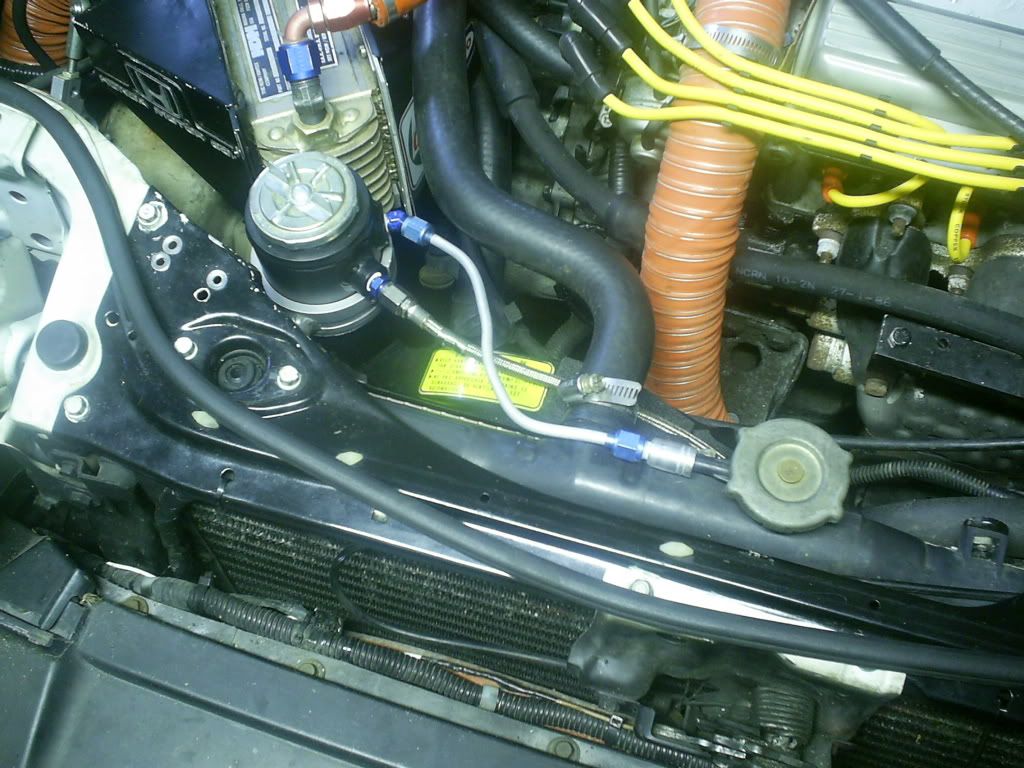
all right finished pictures of the can attached to the fan shroud. while the fan was out, i went ahead and painted the shroud and made it look nice. the braided line is the overflow from the can, i made a special adaptor out of aluminum that twists on to the plastic nipple at the radiator neck, it's as tight as a hose clamp, but with no screws or anything visible. it attaches to the overflow can with aluminum tubing and AN fittings.
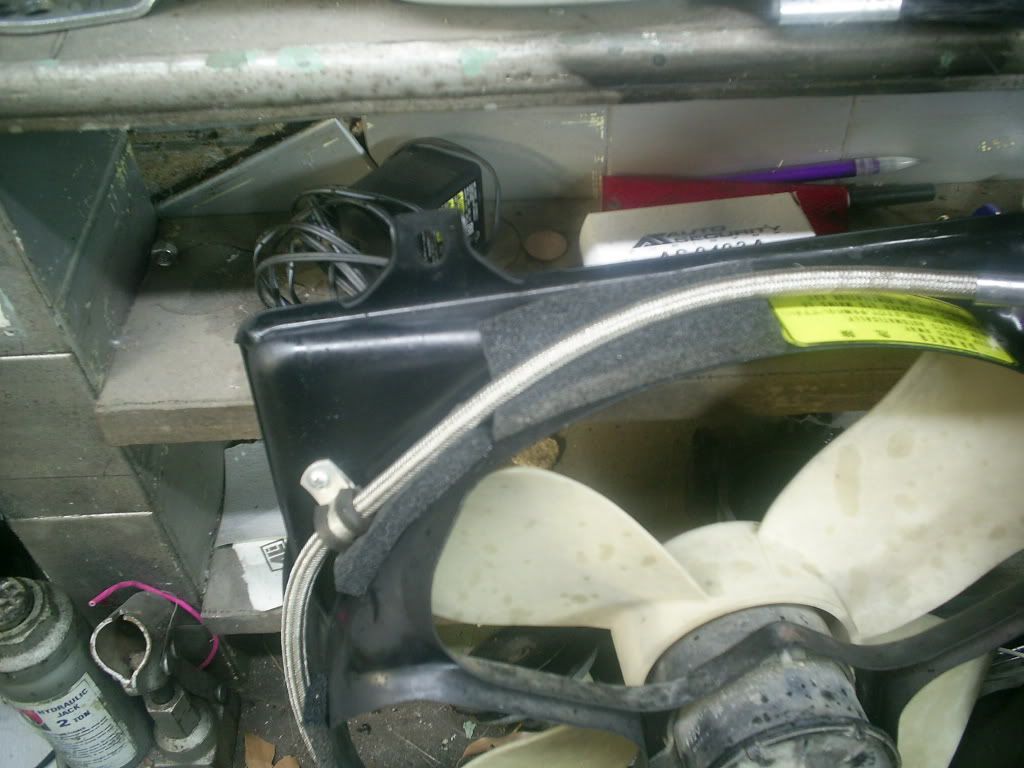
marking the location for the bracket on the fan shroud
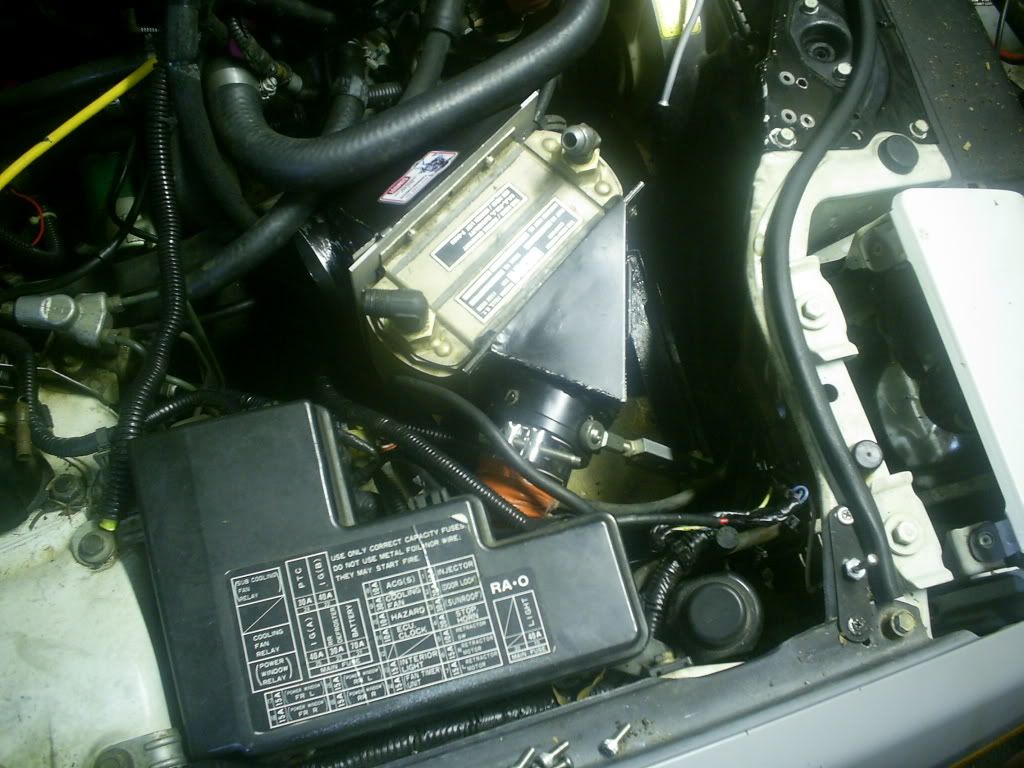
here's the oil cooler,everything is a very tight fit, i had to notch the cooler mounting tray,and had to cut a little bit of metal from the edge of the fan shroud,to clear the can
Im gonna make one outta a crown royal bottle.
Good work tho, looks top notch!
I need to find a flask so i can make the overflow bottle for down on the frame
here you go a stainless flask that says honda, http://cgi.ebay.com/HONDA-MOTORCYCLE...3286.m20.l1116
thats ballin, but i wouldnt buy it just for that lol.
looks slick!
yay! everything fit! got it all in there about 4 this morning.
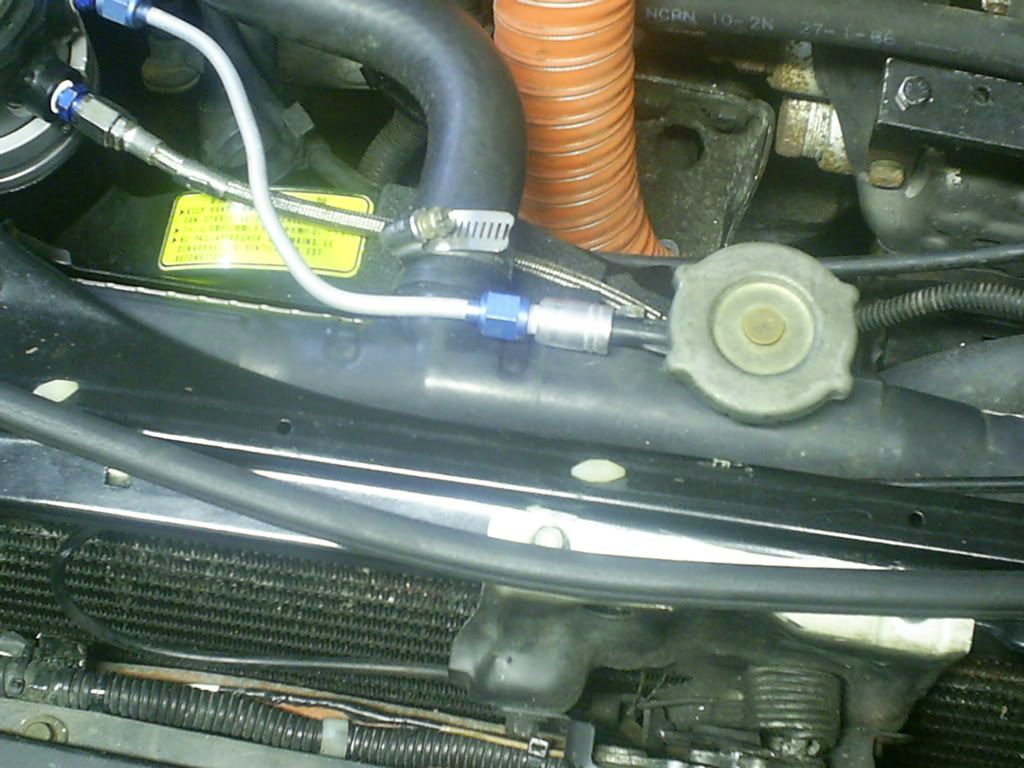
i will take a picture of the fitting at the radiator neck later, basically you put a piece of rubber tubing over the flare off of the radiator, measure the diameter. then machine the clamp so the inside diameter is smaller then the ouside diameter of the hose. this way when you twist it on the nipple, the flared end is pushed into the hose inside the fitting,sealing it. they sell metal flex radiator hoses that work on the same principle. the overflow isn't really under much pressure anyway,it's a siphon, it has to be vented at the can end to function correctly.
hmmm have to move the cooler back slightly,it's hitting the clutch cable. easy enough
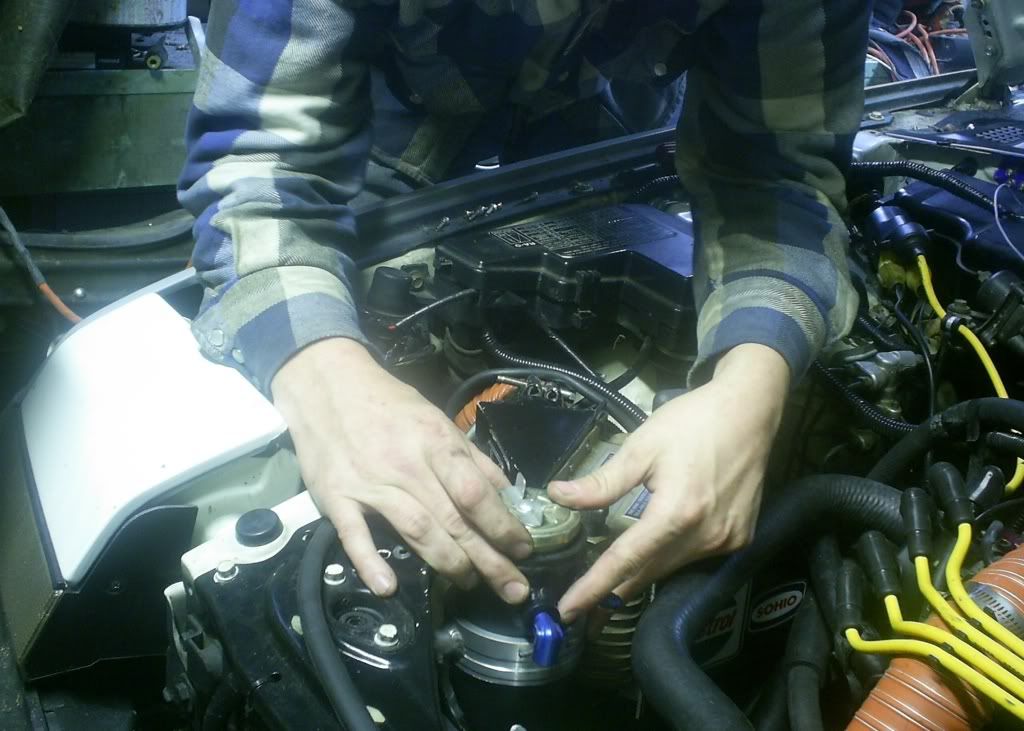
ok here it is in the car and with the connector at the radiator
nice!
say are you sure you didn't invent flubber?
j/k
pretty innovative and functional stuff there bro..
 Posting Permissions


 Reply With Quote


Bookmarks