
wait......................that didn't come out rightOriginally Posted by roodoo2


wait......................that didn't come out right
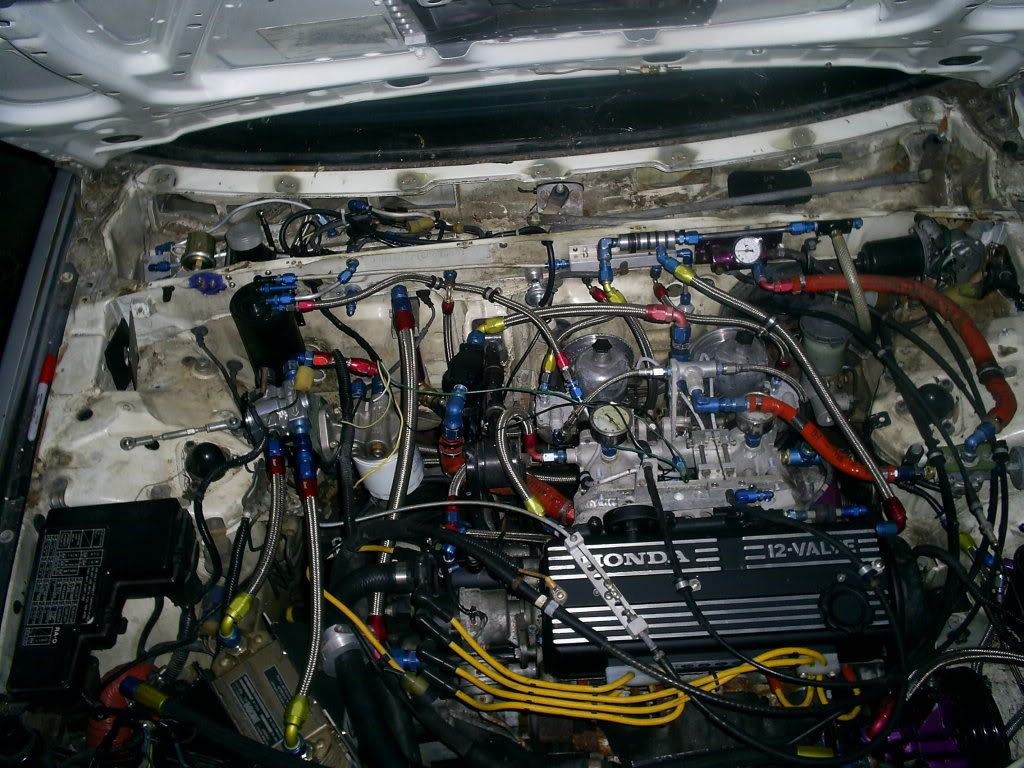
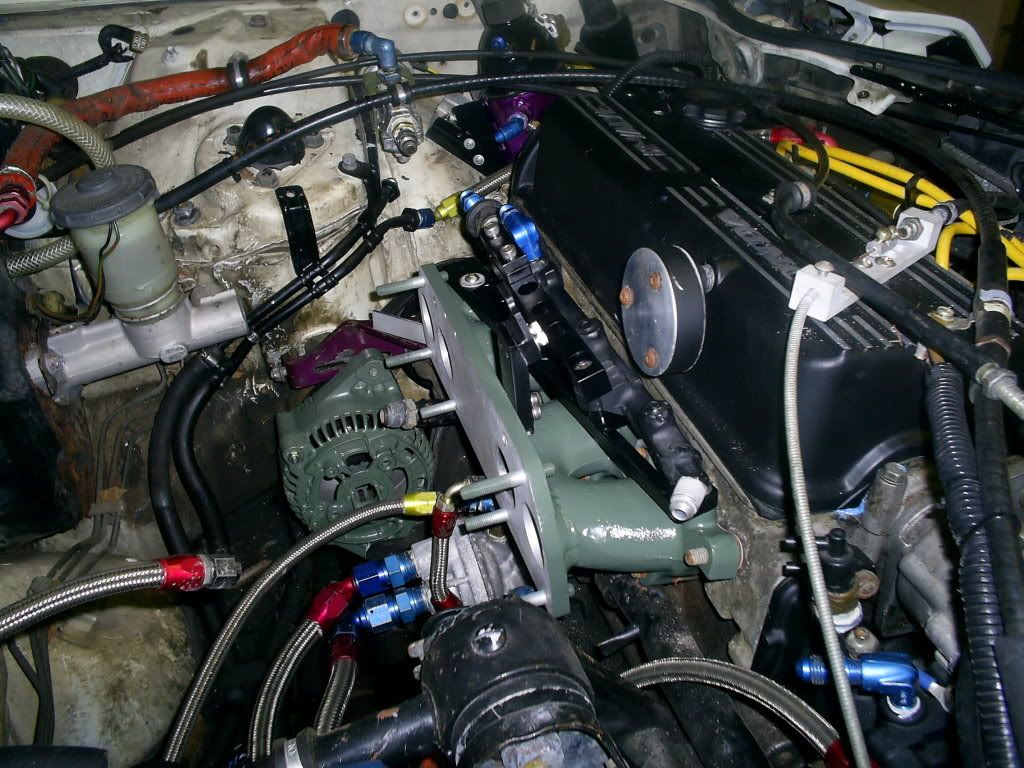
I'm really sorry this isn't on the road and running, life is really screwed right now, and I simply haven't had any time or money to work on it is all. latest picture though.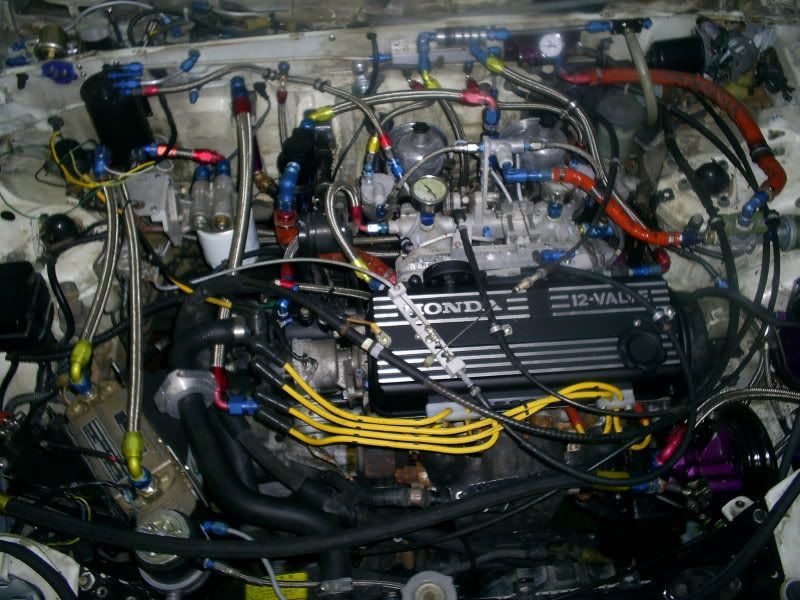
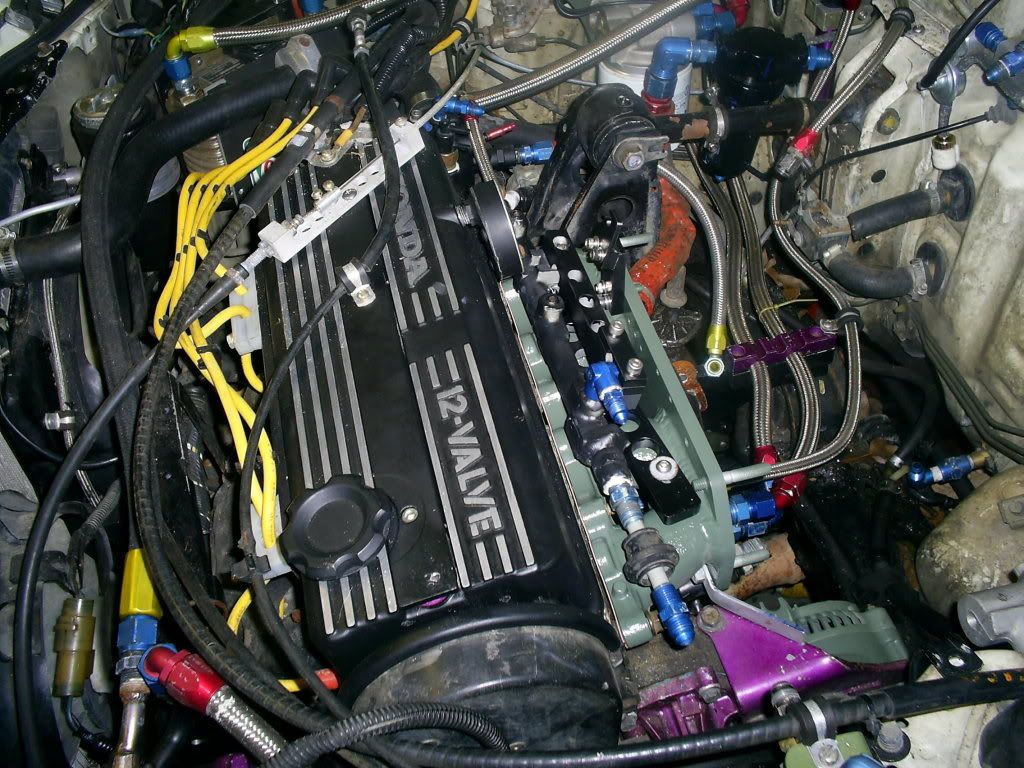
updated picture

That's some mad scientist stuff right there
That bay needs a wash real bad tho.
engine bay will get a repaint, it's still being all mocked up. I 've just had huge delays due to stuff going on at home.
Finally an update!!
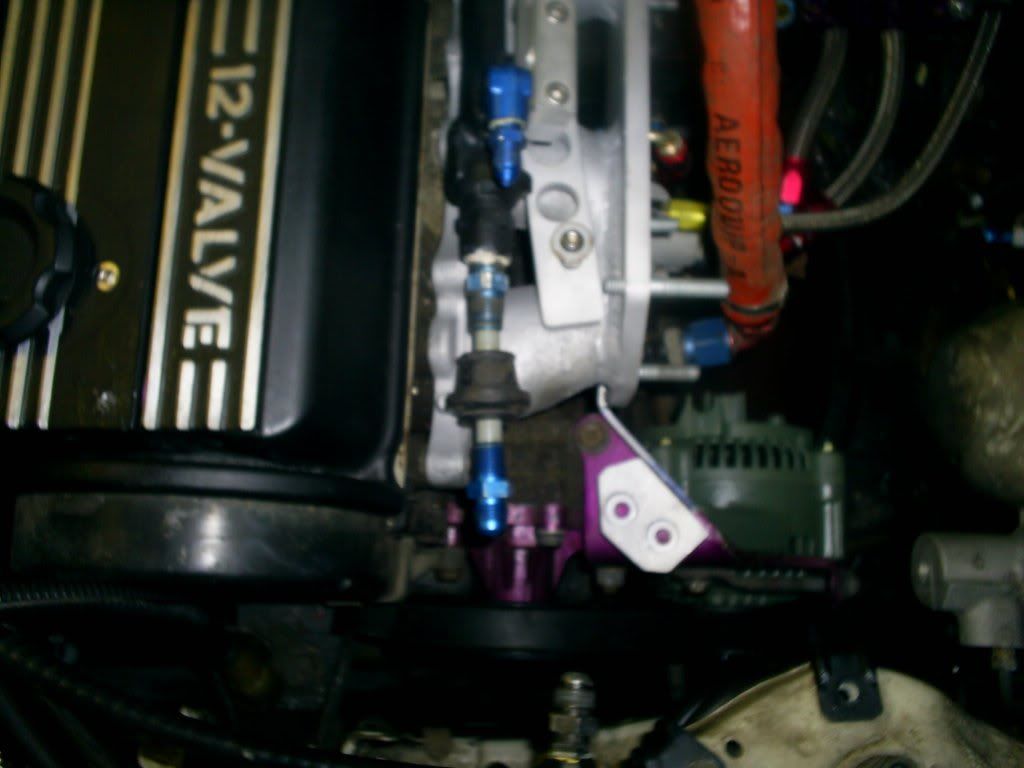
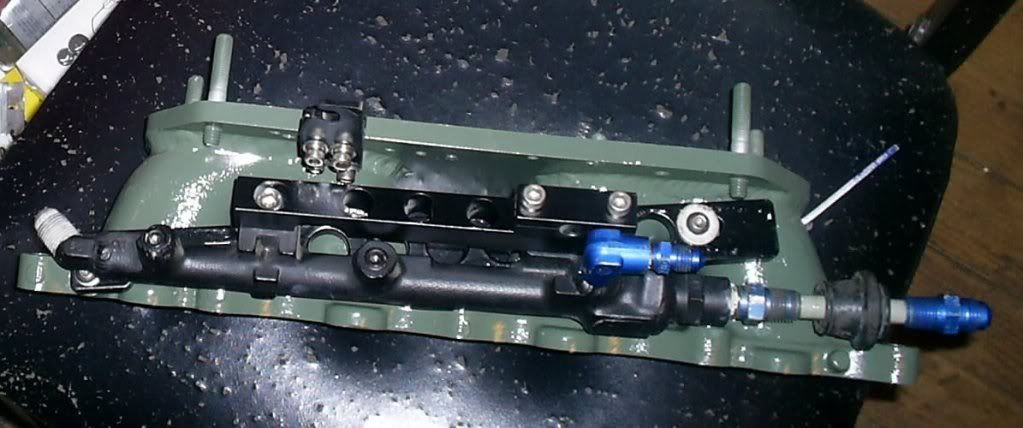
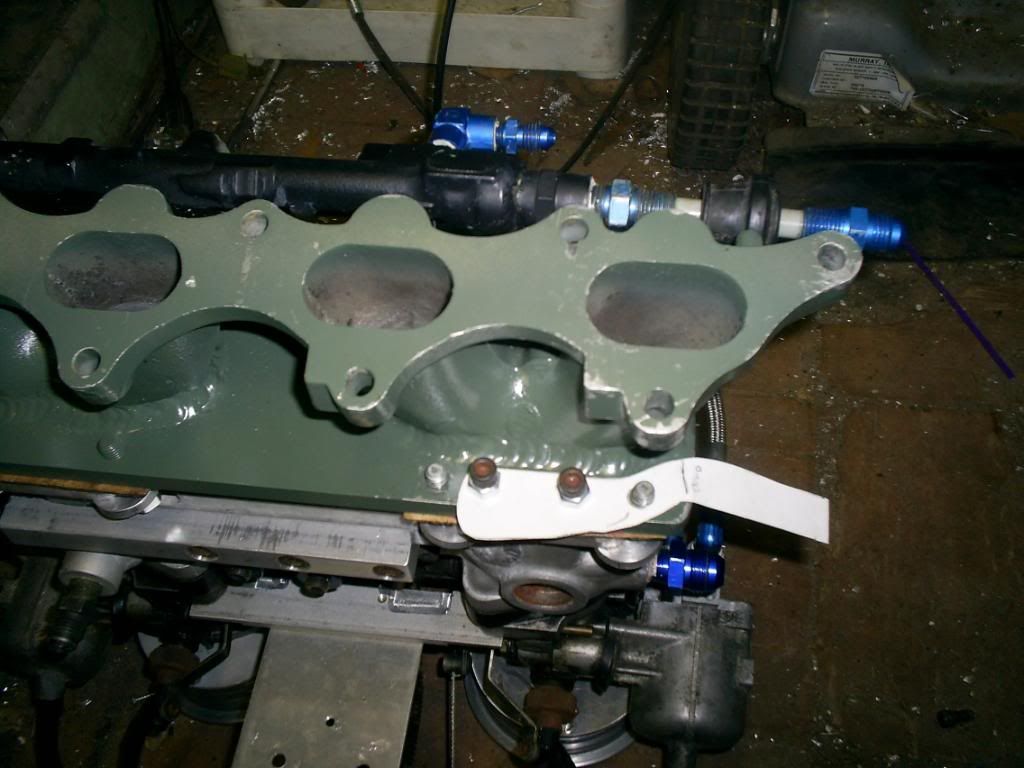
I have the front section off of the manifold, working on a coupe of things, first is the left hand side support for the manifold.
first a template has to be made from cardboard,
the bracket off of two of the studs holding on the other manifold section,it's not bent exactly to the correct angle yet, the piece is made out of aluminum at the moment, the aluminum is the template, when it's right, i will copy it out of 1/4 inch steel.
other piece of bracket that will screw into the top of the alternator adjusting plate
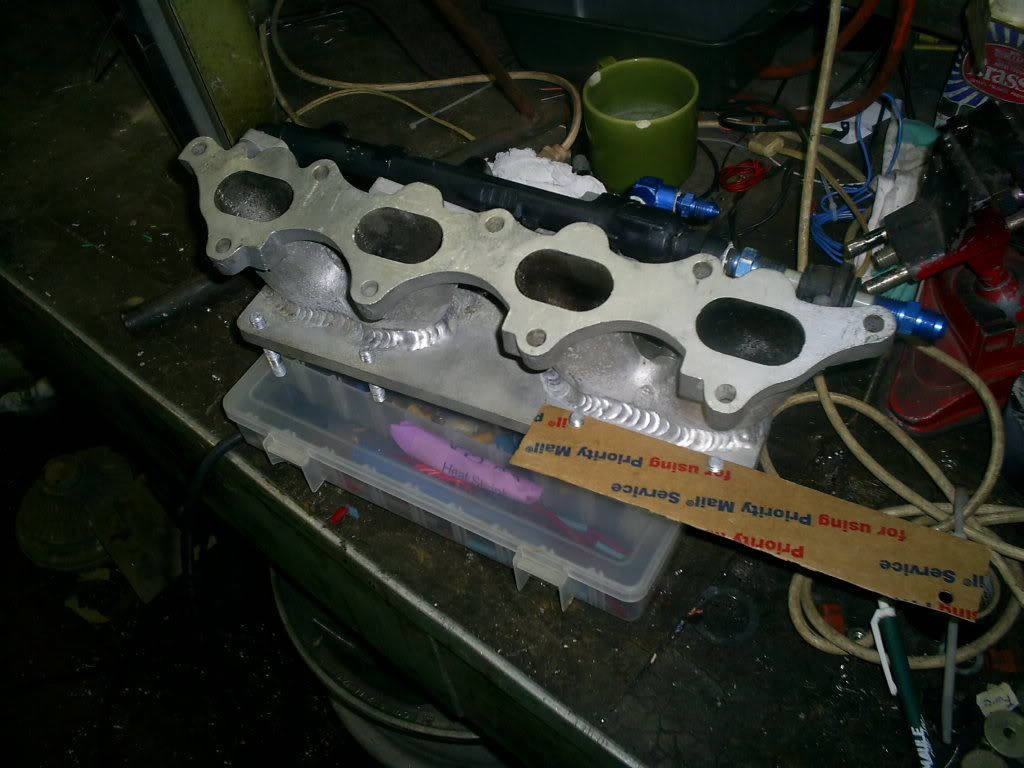
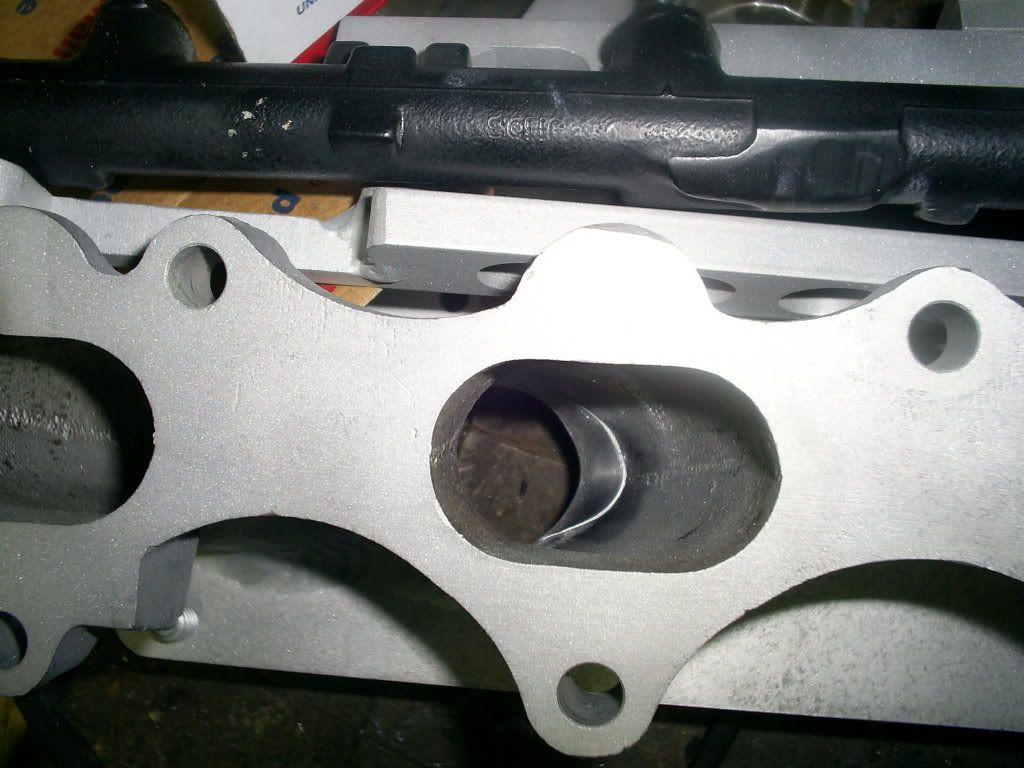
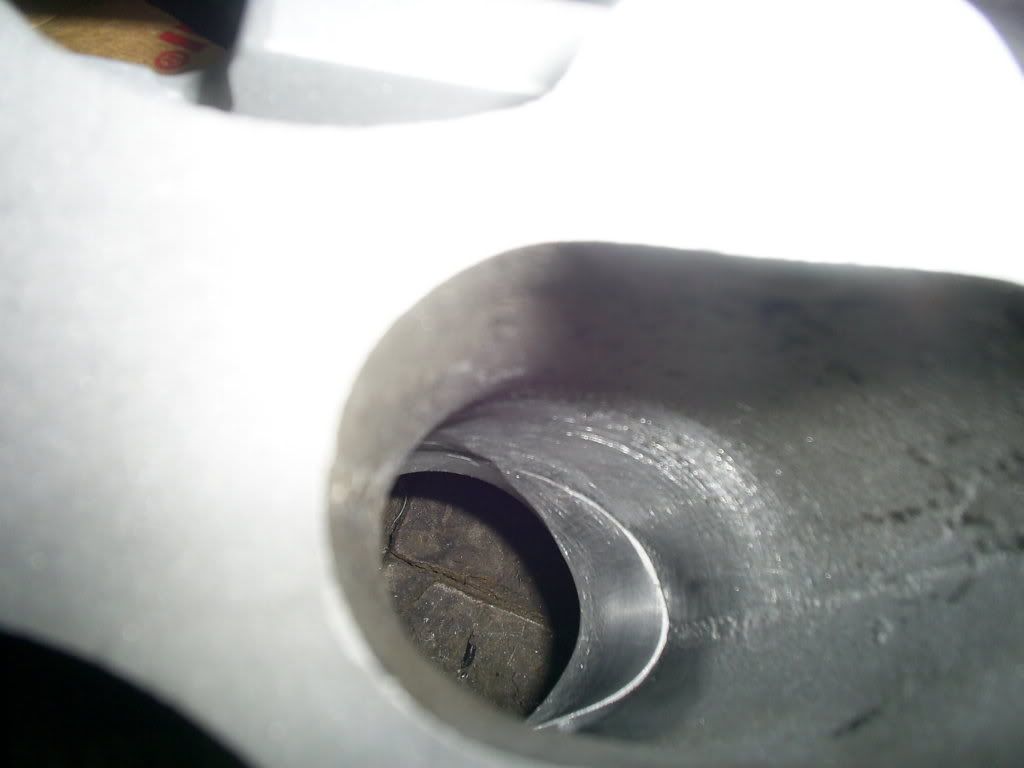
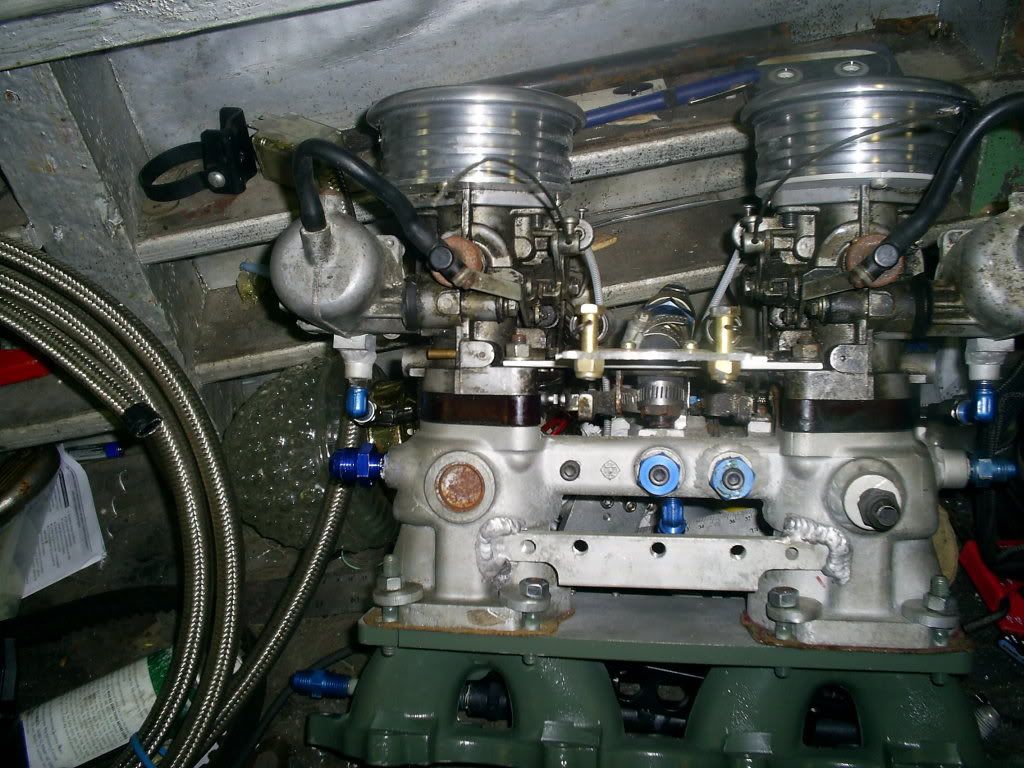
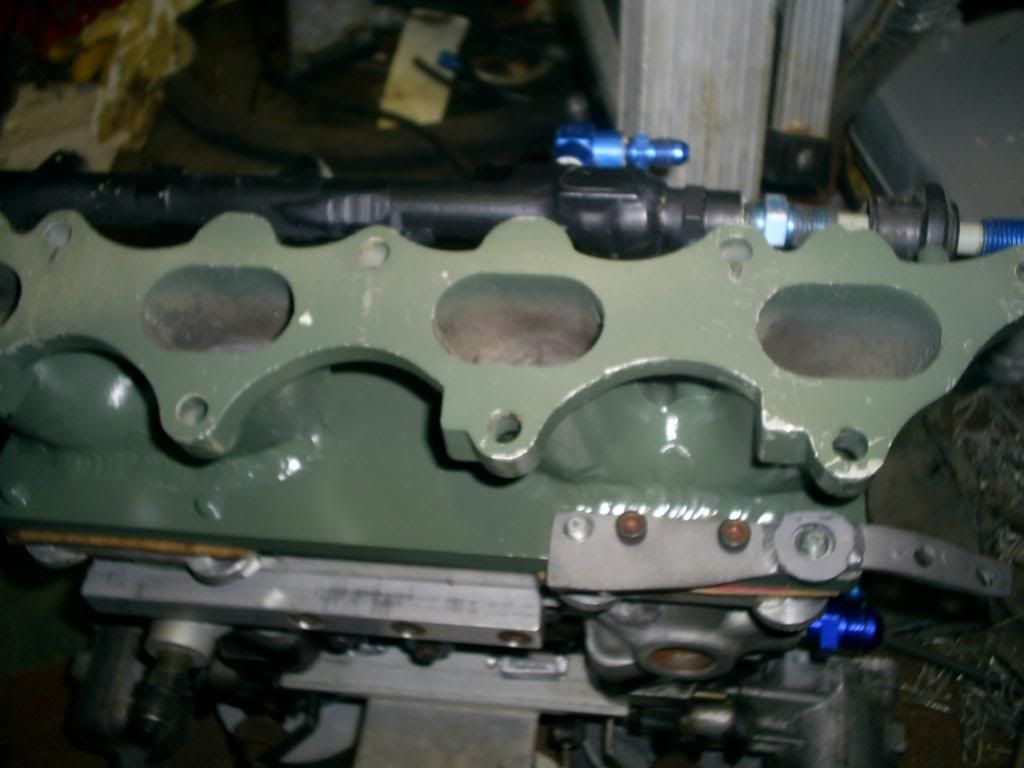
the problem with the manifold, was the two center ports had aluminum in the way of the port, the side ports were fine, after quite a bit of porting and a lot of 60 grit flap wheels this is the result.
painting the front section of the manifold now, and it's individual pieces
I need to figure out the support on the other side yet, and i need to grind the glob of casting aluminum off of the side of the master cyl.

question......why did you paint it that old machine green?
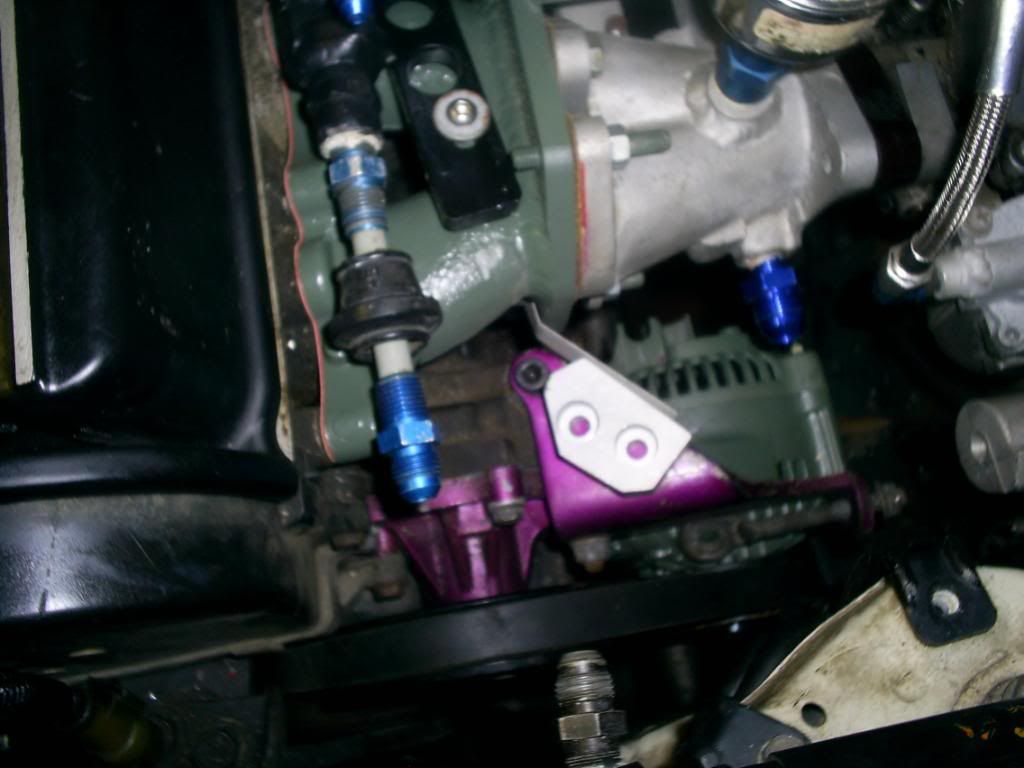
well I kind of like the color and the contrast, when it's all put together it looks like an aircraft engine with all the AN stuff, so I used an olive paint because it looks like primer.it has self etch primer on the bare aluminum, but the paint also looks like it. everything under the hood is all function, so the primer look kind of goes with that theme
I figured you would have done the purple inodized look yo matcch ur brackets
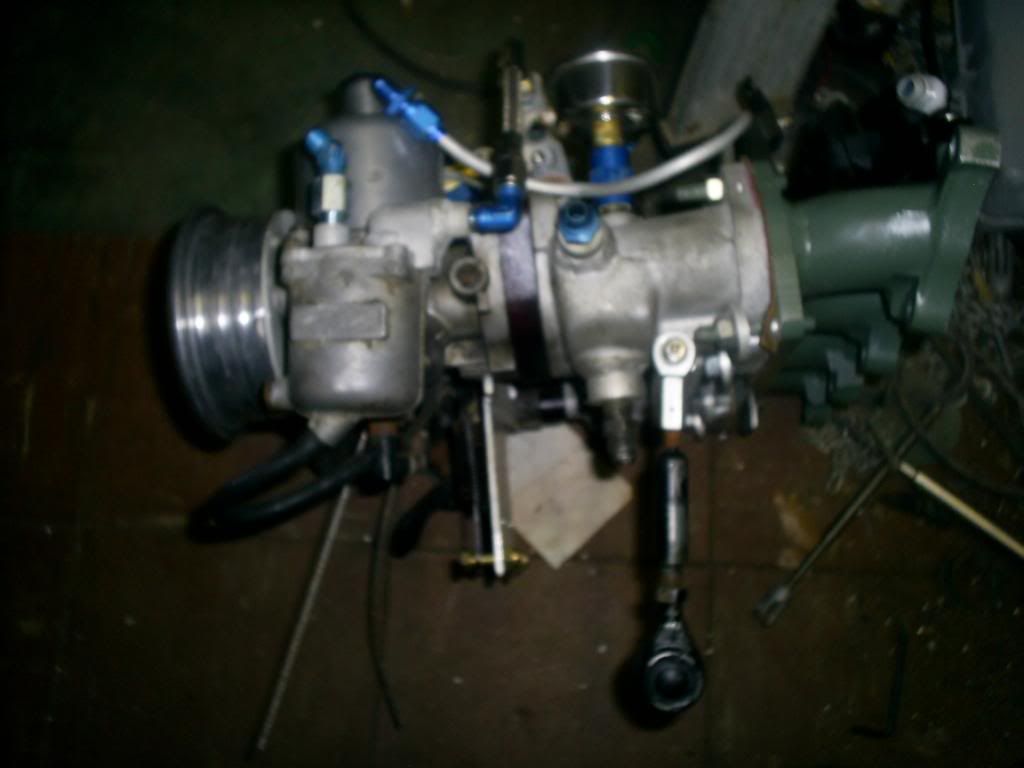
there will be some purple pieces, the brackets are purple and the power steering reservoir is purple, plus some other pieces, i'm using the purple as an accent. I think with all the AN lines back on the carb it will look good, I'm blasting and painting the other part of the manifold Monday or Tuesday. then I can see how it all looks together. I'm going to paint the firewall to clean it all up too, i need to remove the pedal assembly to put in my pedals, so at the same time i'll clean up the brake booster and paint that area. .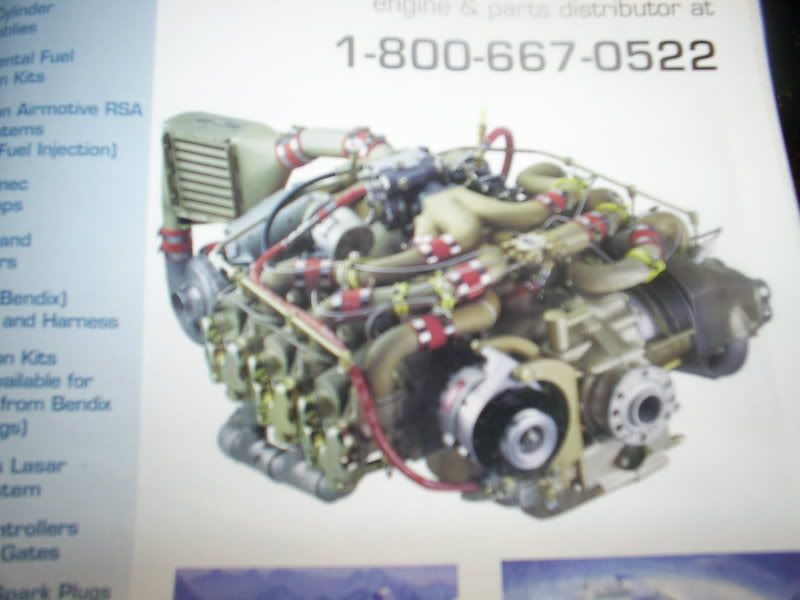
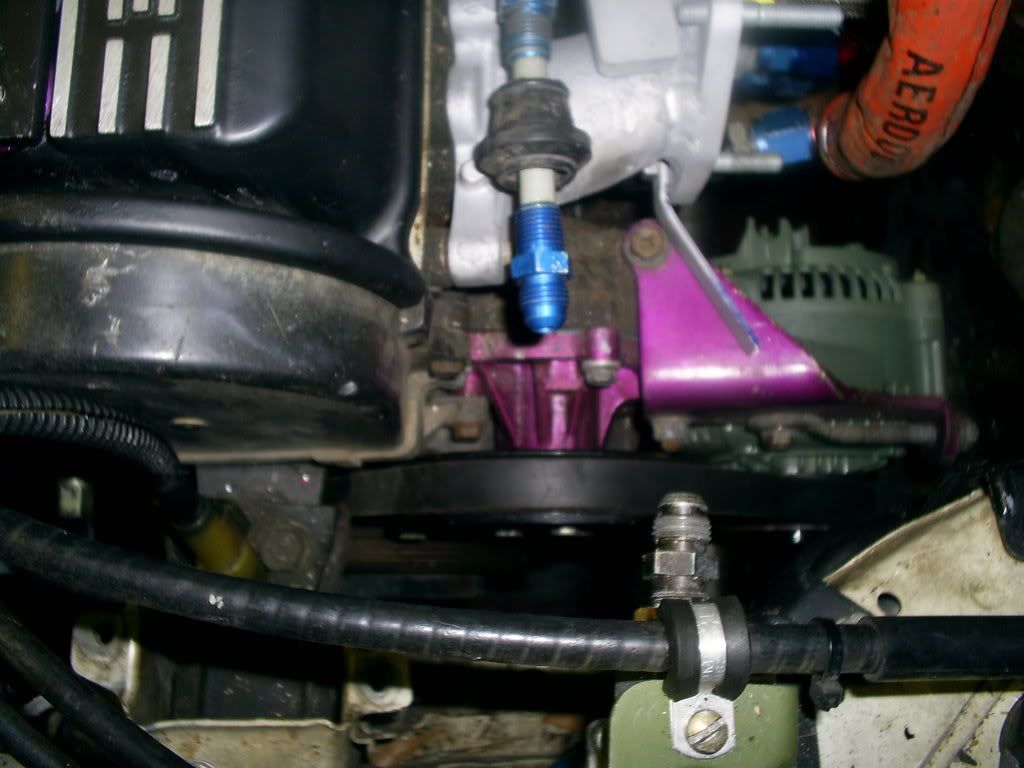
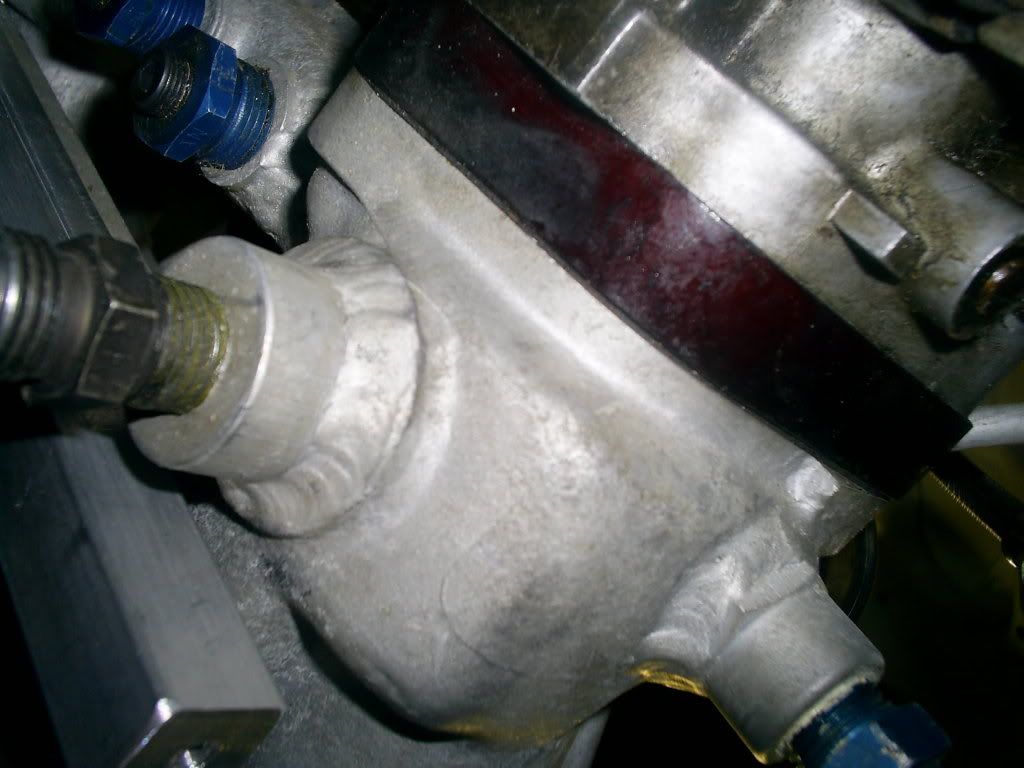
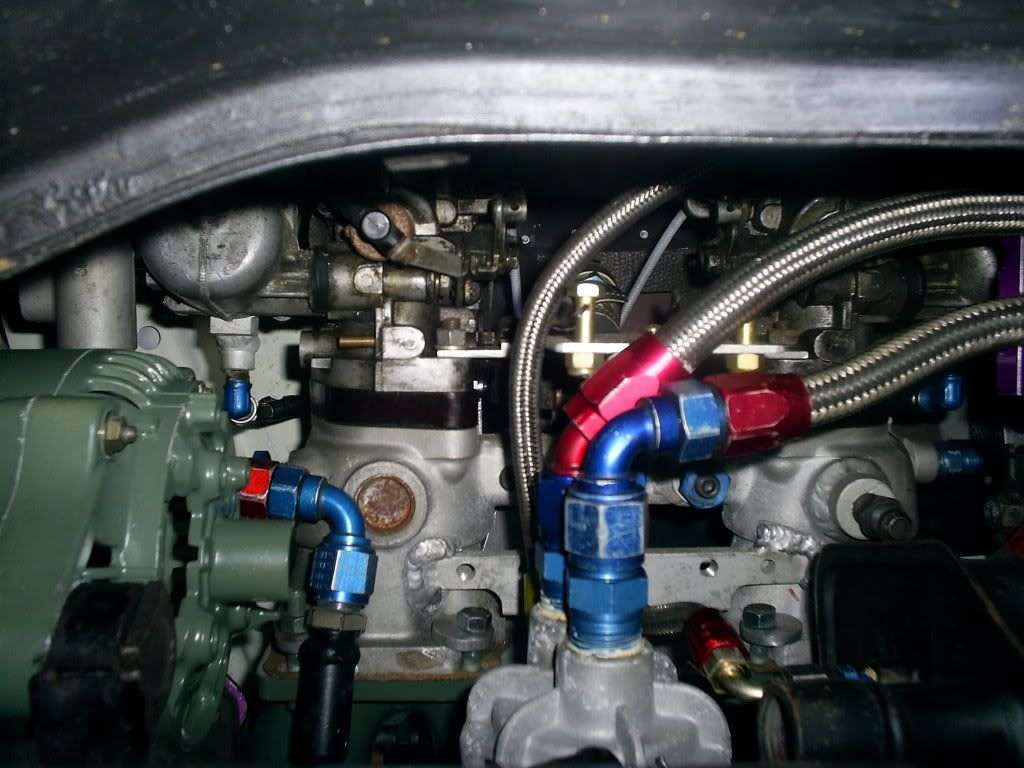
you can see the blob on the side of the master cyl, no other one I've seen has that, I think it's just a gate from casting that got left on. that's the one that's too close to the fuel bowl. you can slso see my solid torque mount, the back is a really stiff urethane material,so the engine rocks very little. it really does make a difference, and it's not that much vibration into the car. I think one of the things that wears the motor mounts on these cars,is having a bad torque mount, if the engine rocks a lot, it wears the mounts faster. I'm going to do the urethane mounts like in the thread anyway, and get rid of the mushy mounts.
Last edited by lostforawhile; 05-30-2010 at 12:43 PM.
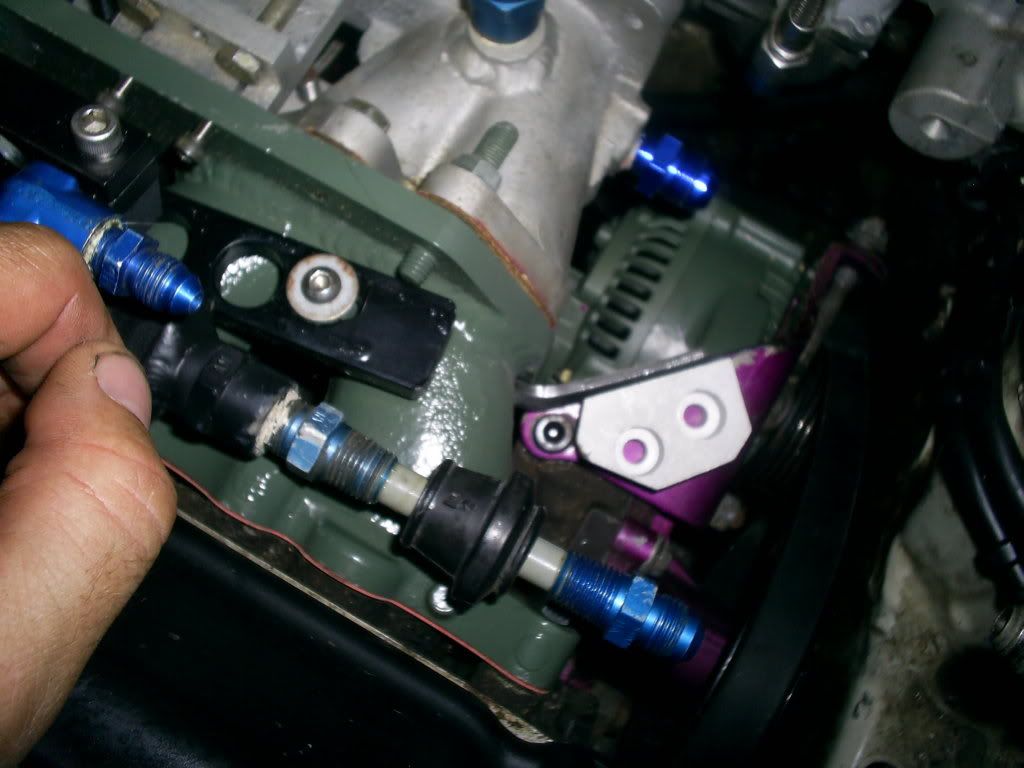
I got the right side support figured out, you can just see the bracket on the bottom of the manifold to the far left
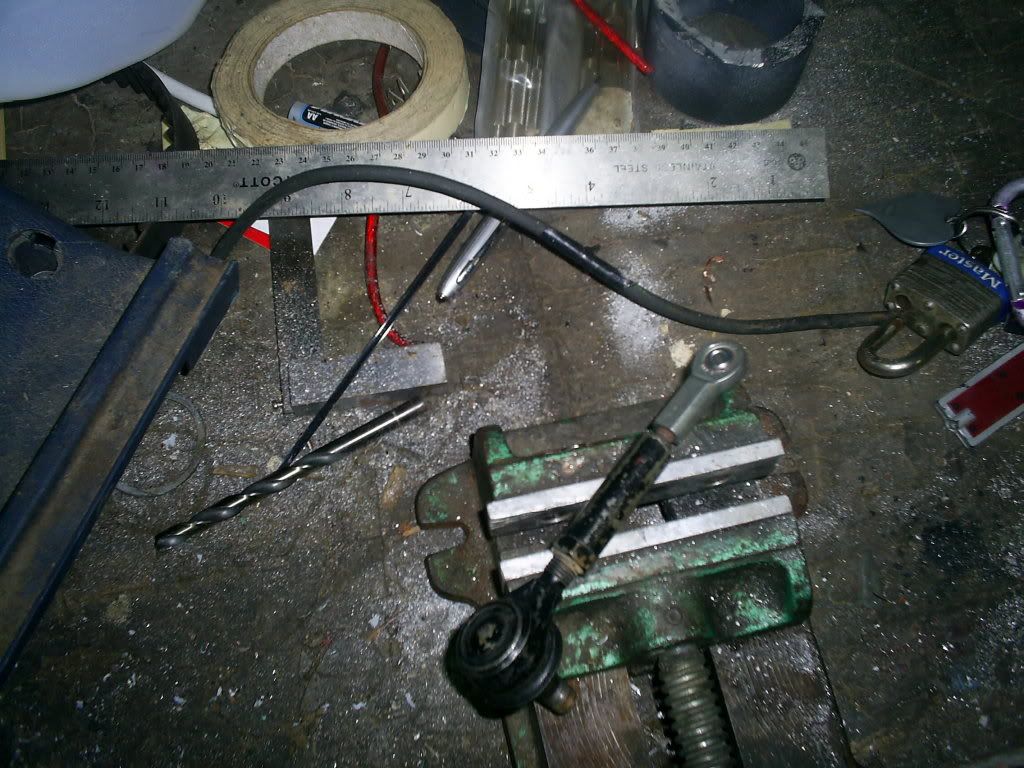
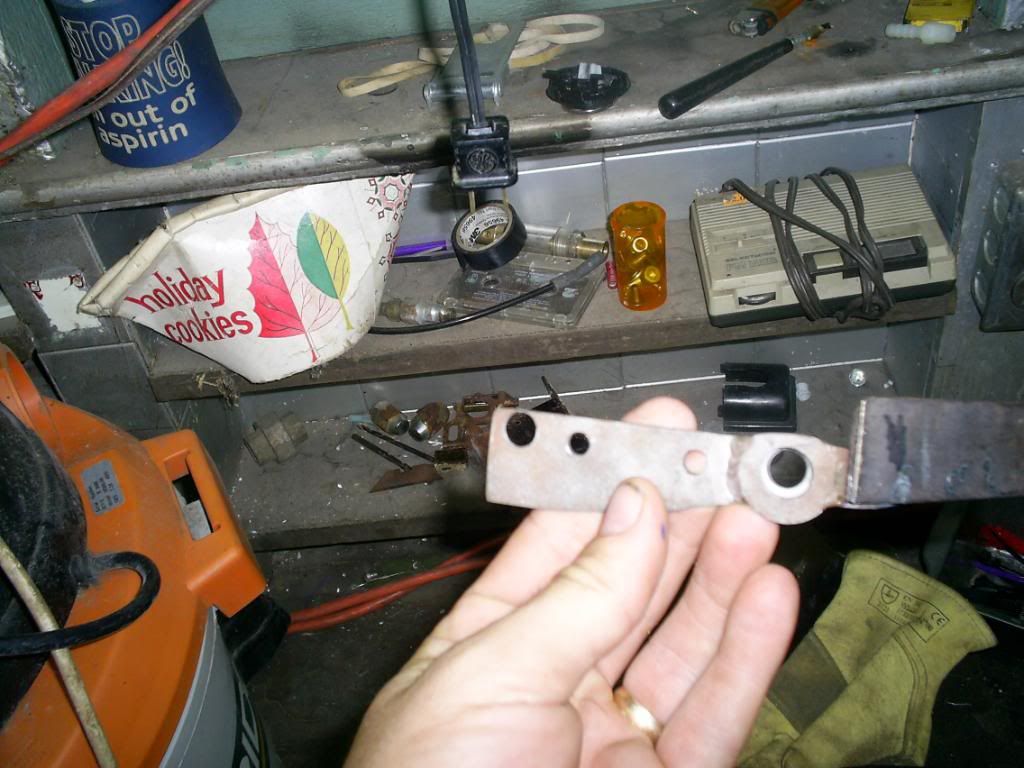
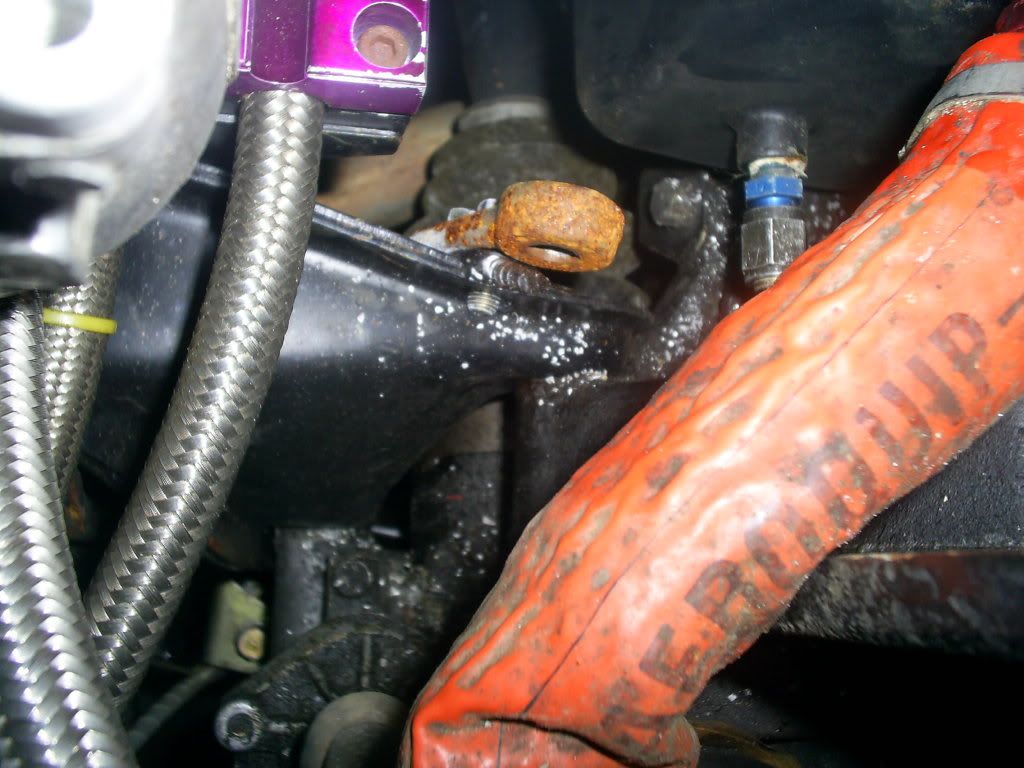
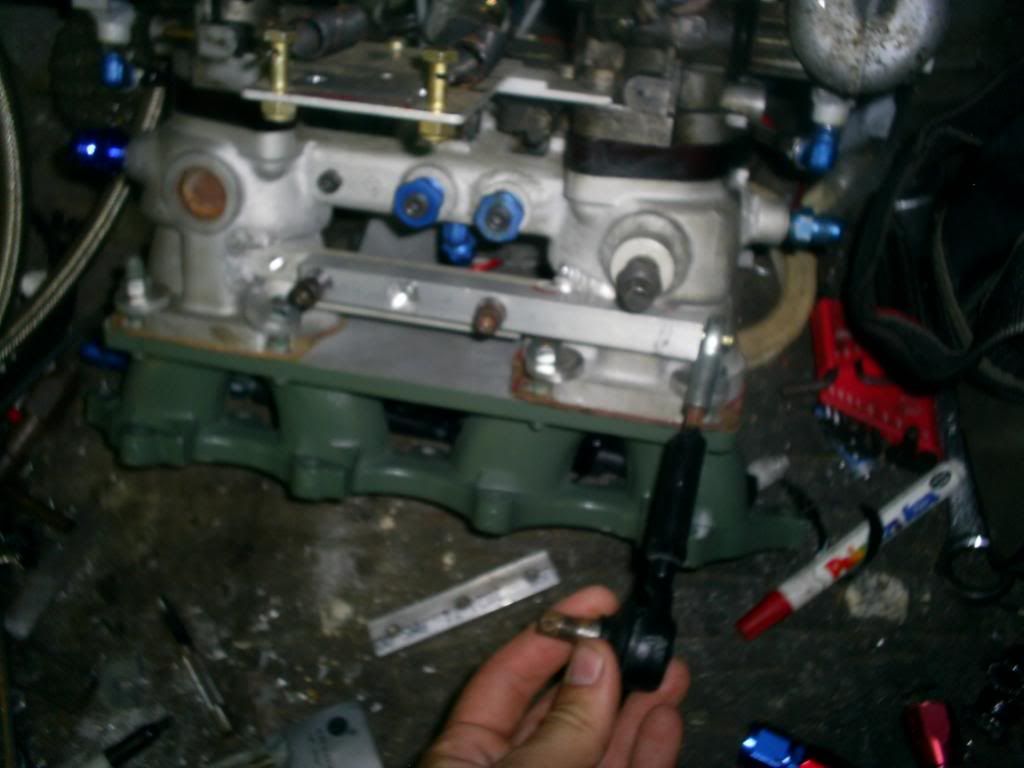
I made the bottom part of the support link from pieces I got from a discarded quad, the rusty thing is the lower bracket for the tie rod, bolted to the motor mount, the part attached to the engine. I need to remove it and paint it. These small tie rod ends come in handy, I got the entire suspension out of a dumpster.
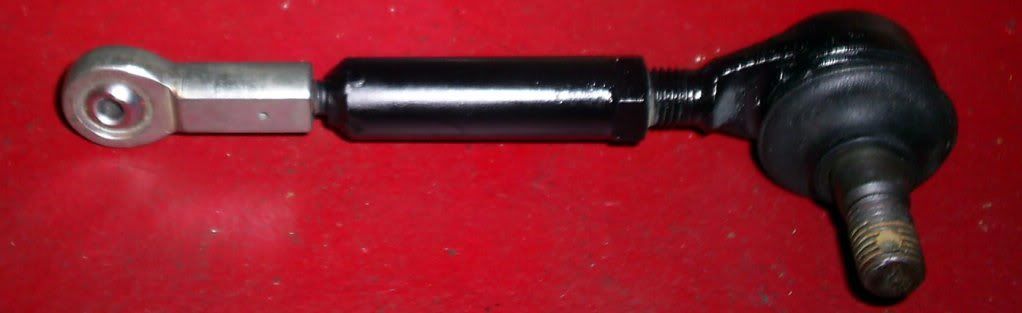
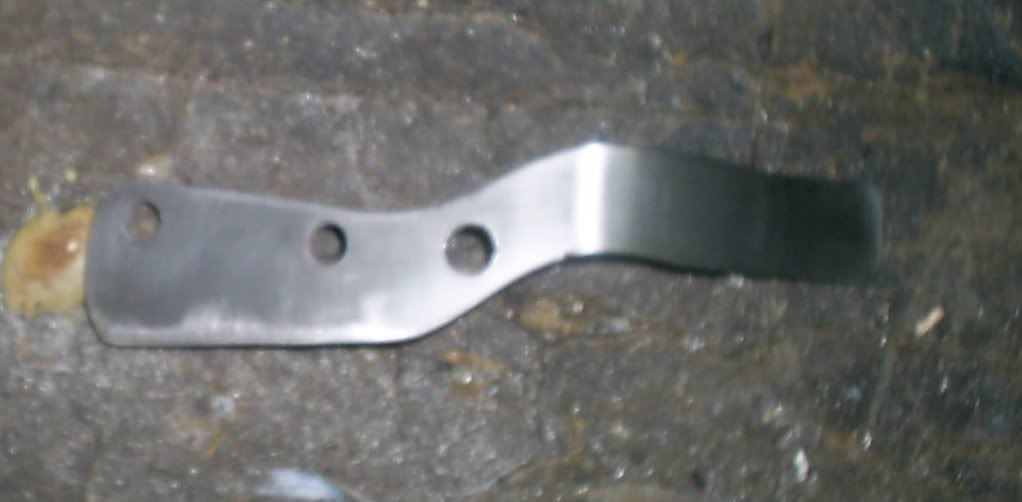
this is the link, it goes from the mount on the motor mount to a rod end on the side of the manifold., The bolt still needs to be welded into the tube on the tie rod end
this is a relief to have this piece done, I wasn't sure how I was going to support the right side of the manifold but it's done
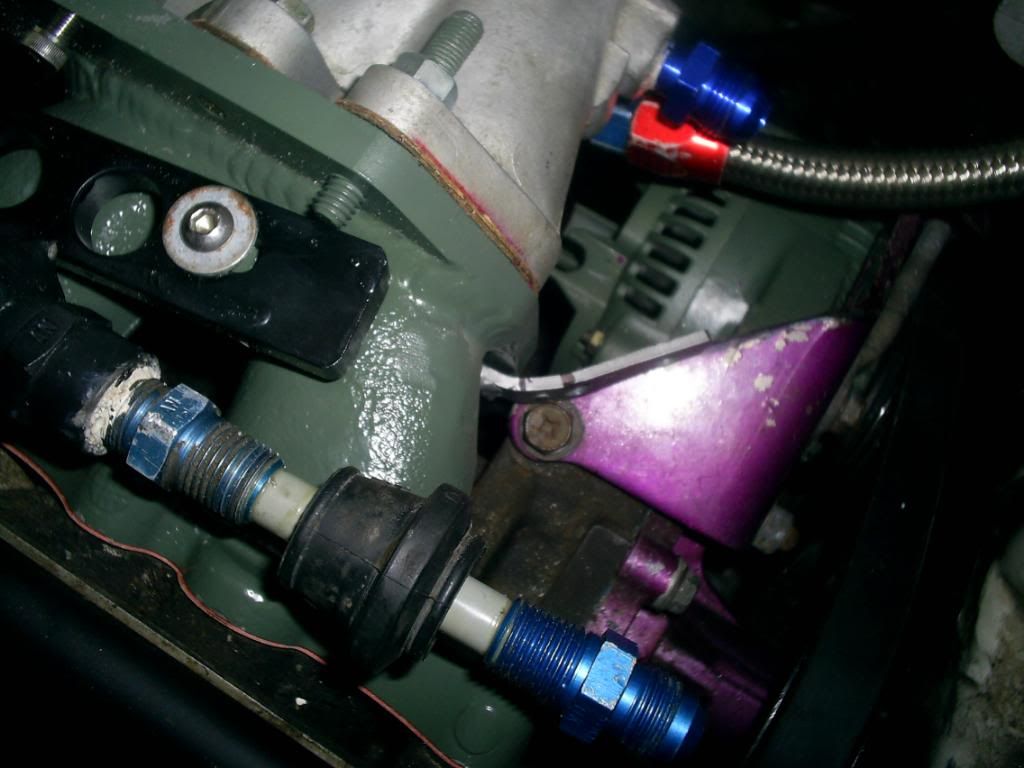
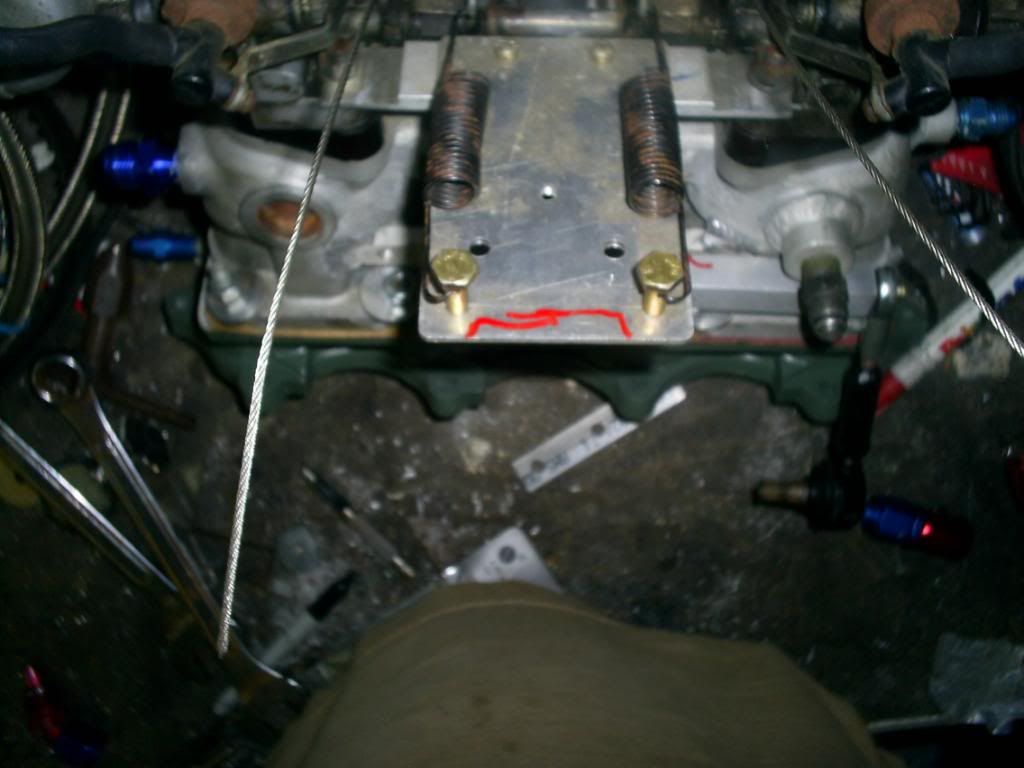
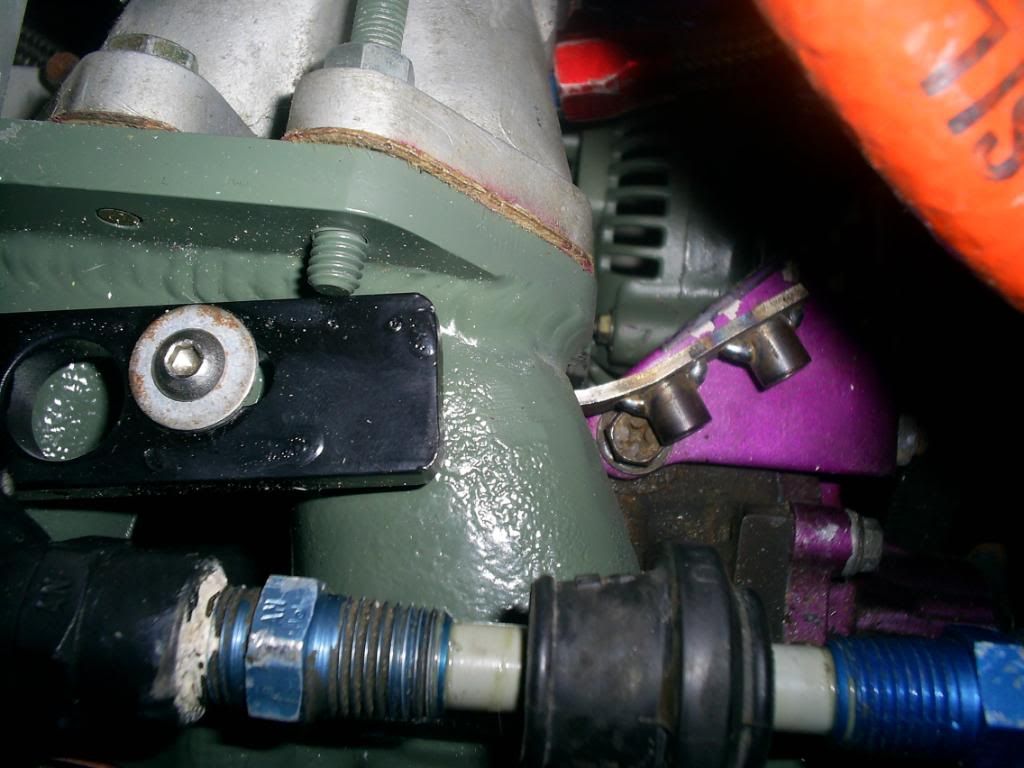
some updates, I may have solved the clearance problem on the spring plate, you can see in the first picture how the spring plate in the middle is hitting the oil hoses
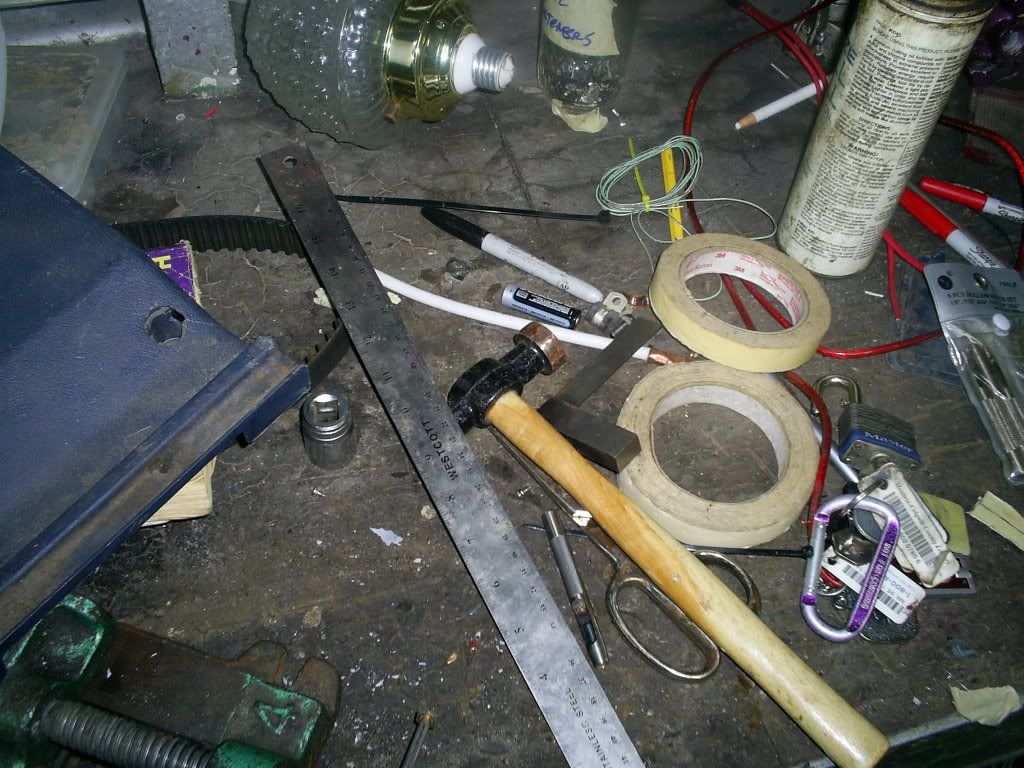
sometimes low tech tools work best, i just used my small belt sander to round out the center of the plate between the bolts, i thought I had a picture, I guess not, this is the plate before sanding anyway.
I'm still having problems with the oil pressure hose being in the way, but that should be an easy fix.
the other issue was the bracket that supports the manifold, I ended up removing the spacer, and sanding down the back of the bracket to clear the runners
you can see the welded in threaded piece that the bracket bolts to
and the support itself
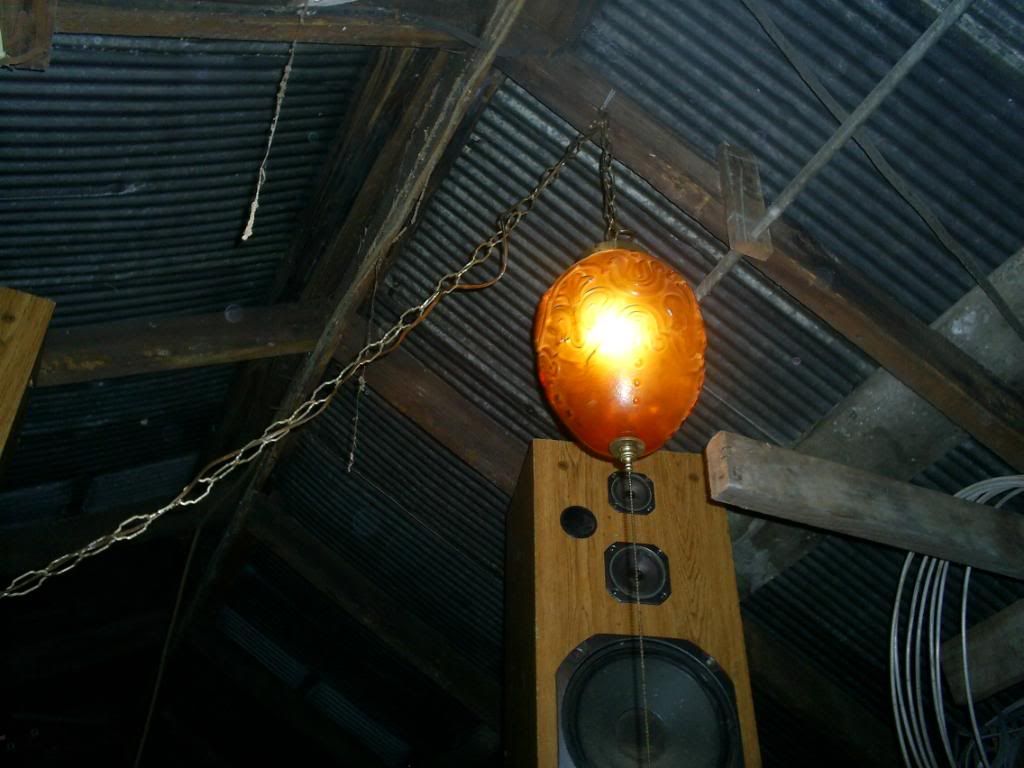
you can tell my age by the fact I just installed a genuine 70's swag light in my garage
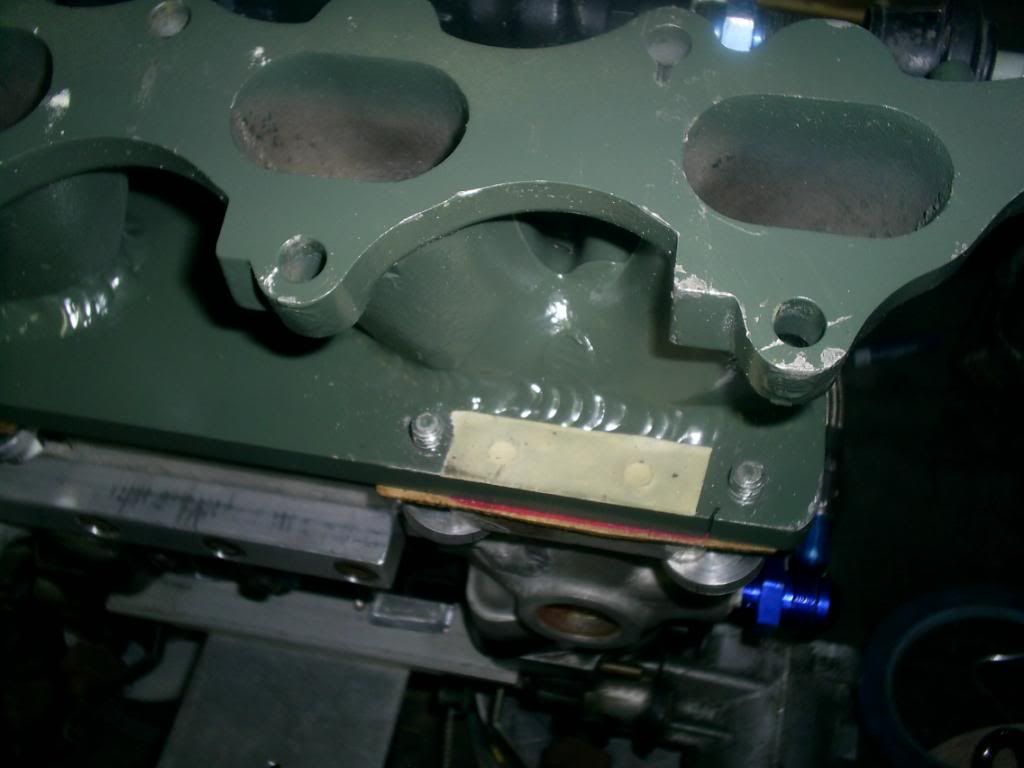
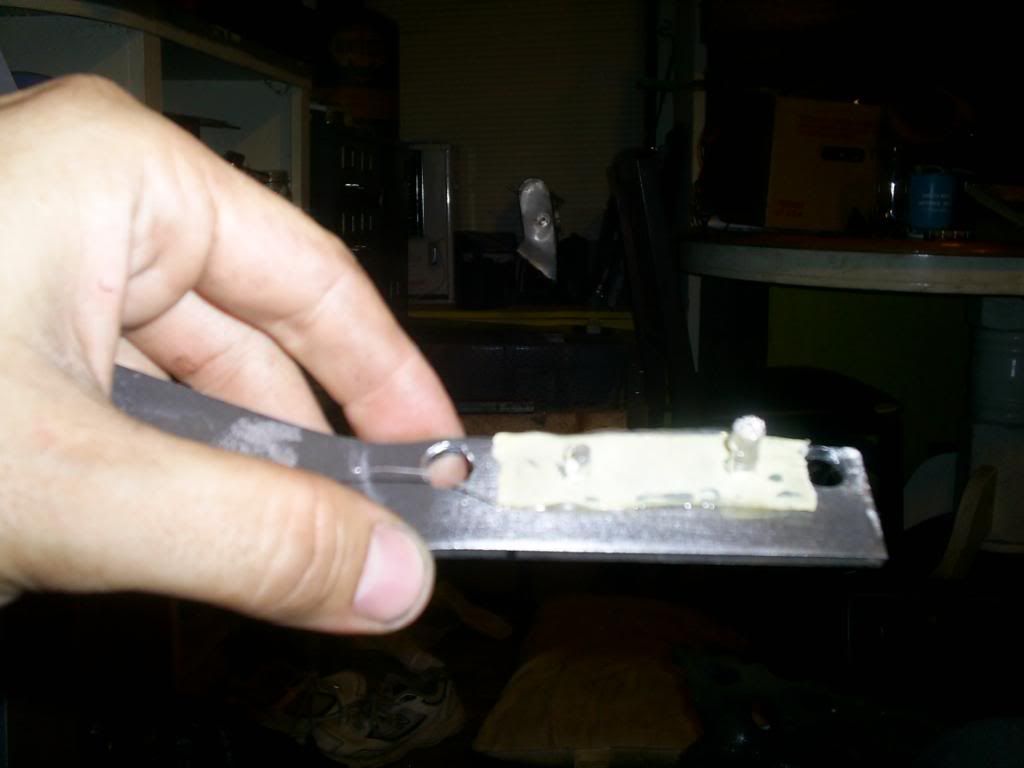
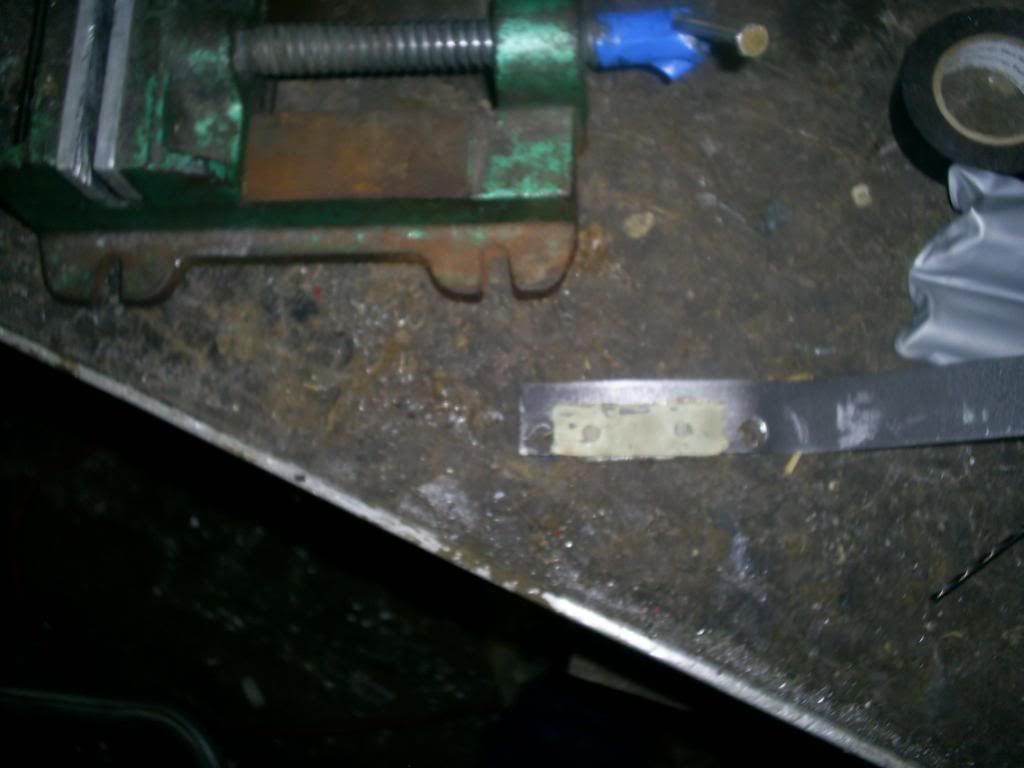
A mini how to in the middle of the thread, I already had the location of the studs I needed cleearance over, but I needed the exact location of the two threaded 1/4 inch holes in the manifold plate.
first masking tape over the holes
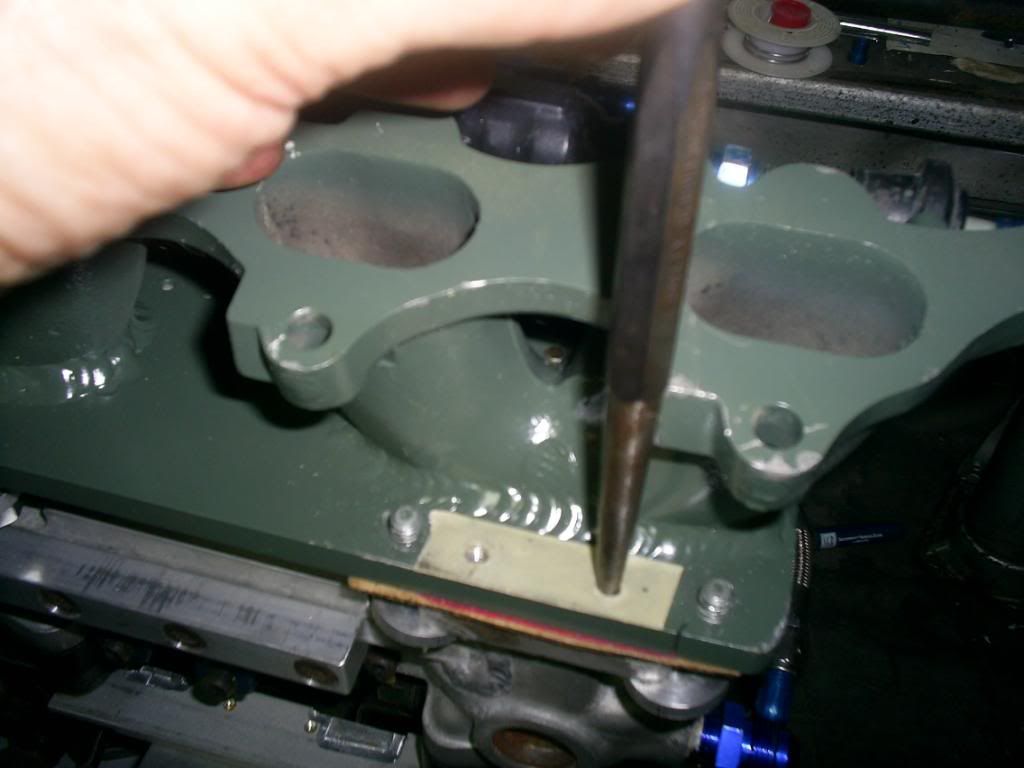
now a tapered punch to punch out each threaded hole location
next, i applied hot glue to the manifold plate,over the tape from earlier, then slipped the bracket over the studs and into the glue, after setting up, the entire thing comes up, bracket,glue,tape, etc. now you have these two sprues in the exact location of the threaded holes.
now with a razor blade,shave off the sprues, and you have two round holes where the threaded holes arel
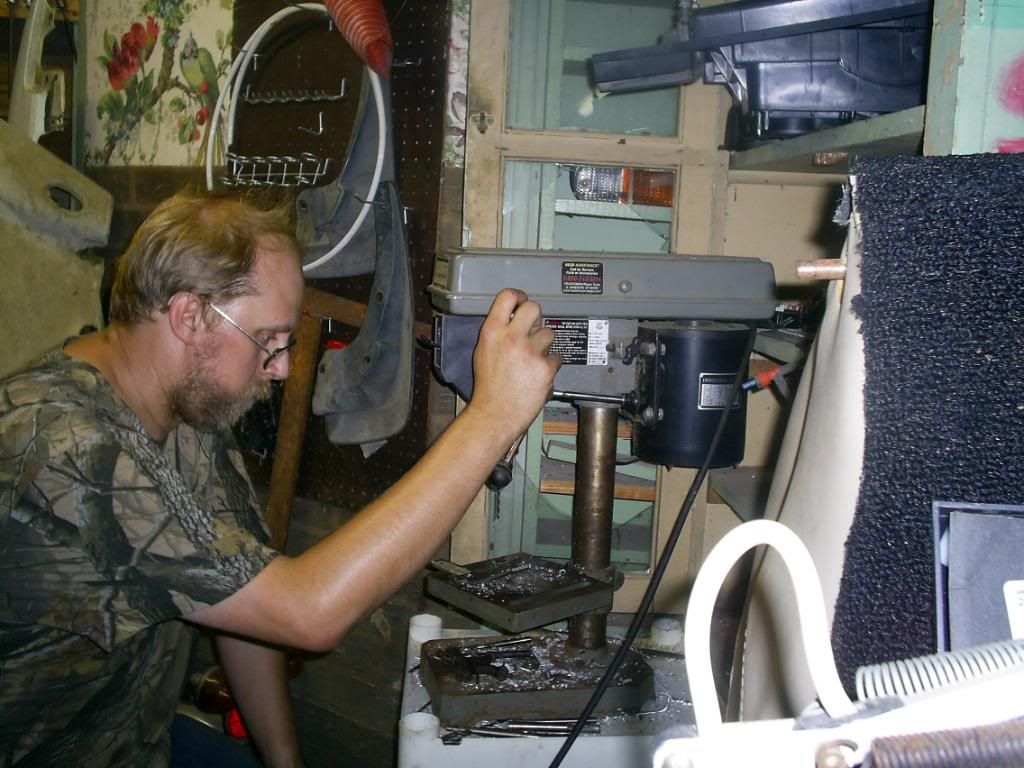
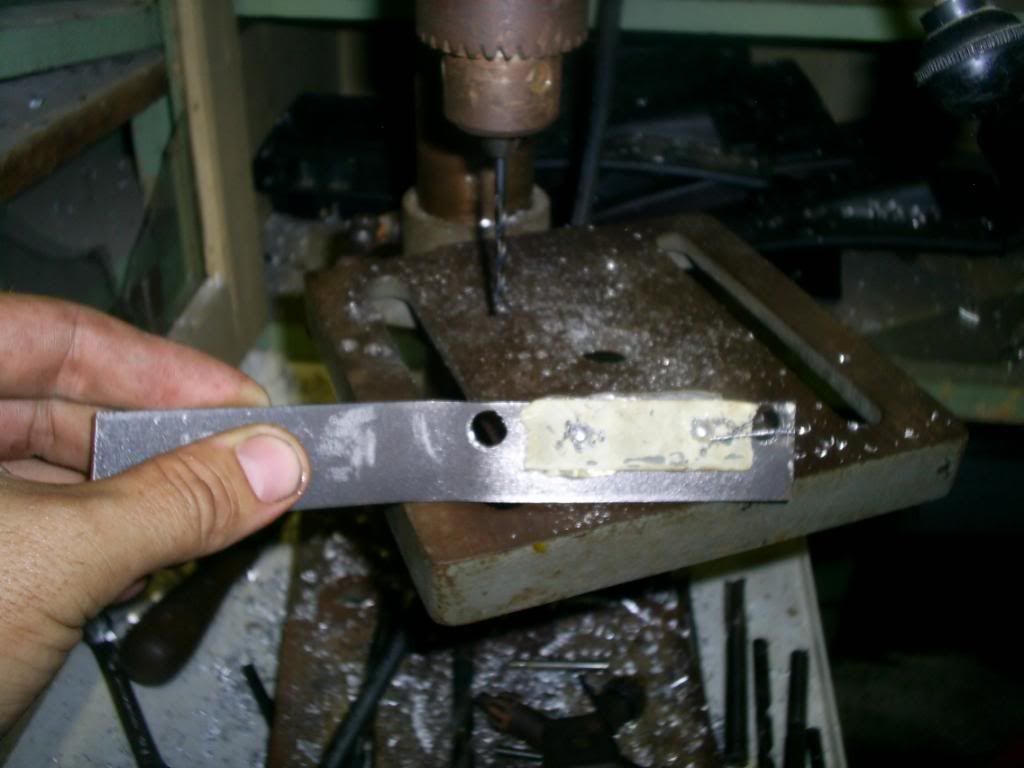
with a good center punch,punch the center of each hole and spot drill.
now drill your hole and be done, finally go inside and drink something cold
Last edited by lostforawhile; 06-10-2010 at 08:18 PM.
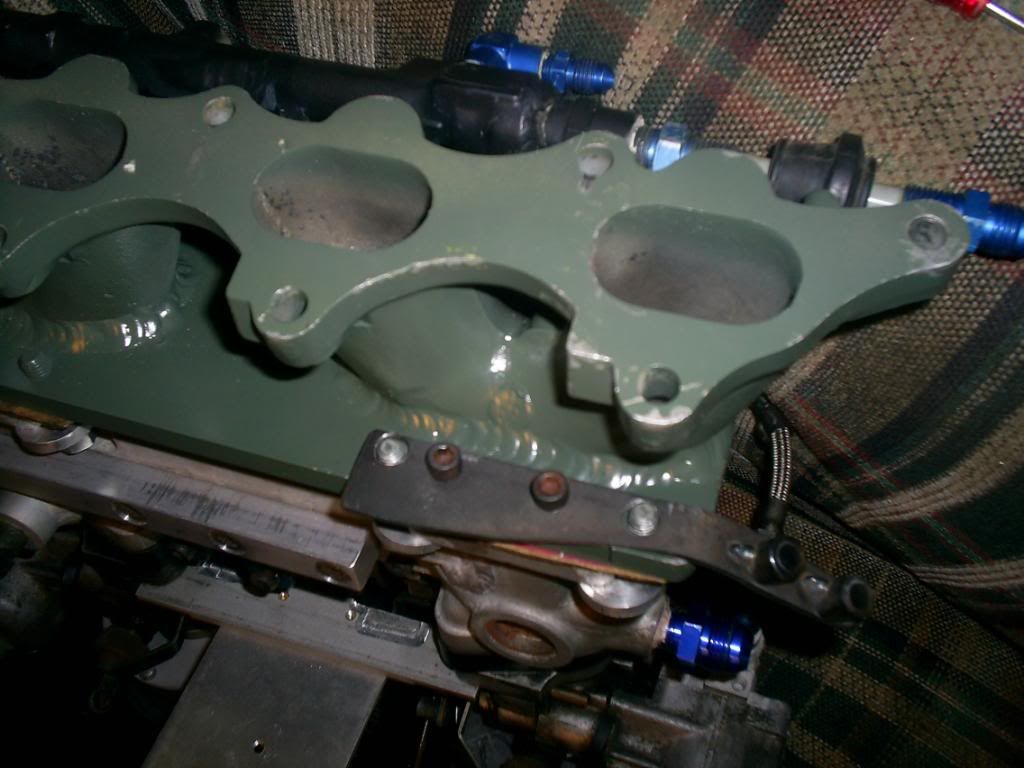
an update, I almost have the drivers side bracket right, i had to do more grinding, then the clearance holes for the stud,were too close to the edge, this weakened the steel too much, I welded a heavy washer over that area and ground off most of the top
this is without the washer
this was with the two round pieces welded on, they didn't work, they were just tacked, so i just had to grind off one weld on each and break them off.
this is with the heavy washer welded in to strengthen that bend
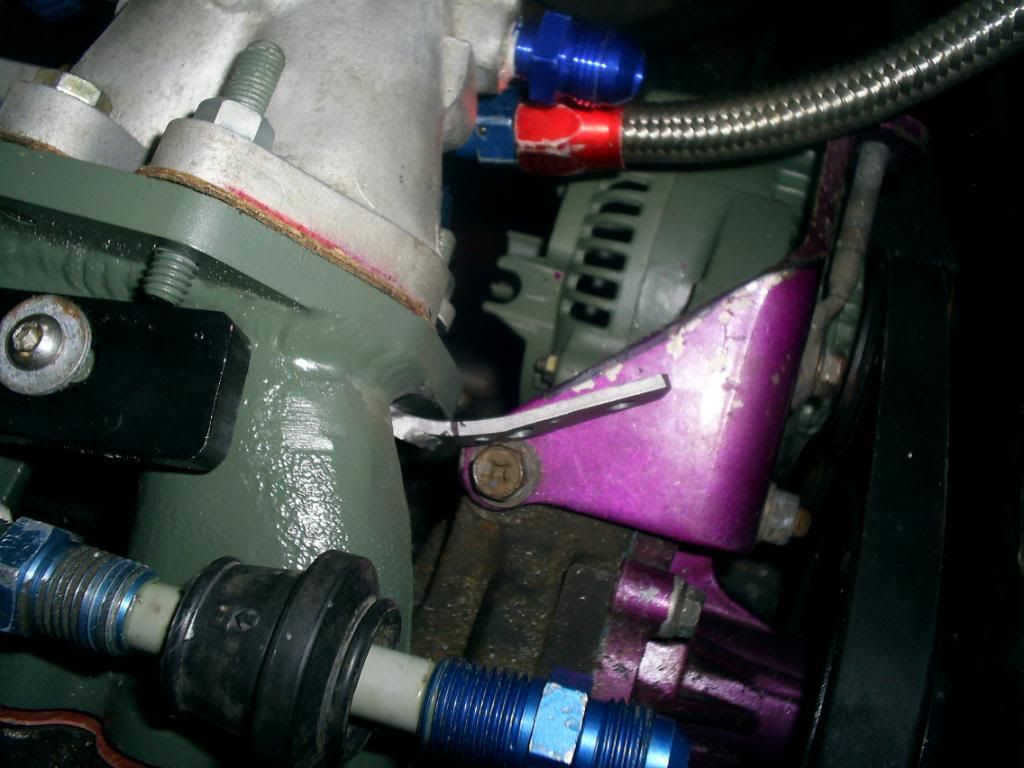
this is the passenger side with the support using rod ends
the angle still isn't right
repaired with a special precision tool, a BFH, it's still hitting the alternator bracket though, needs more grinding,which will make it too thin, so it will need more steel welded on.
i never ever understand what your doing in these pics, your car is super duper mind boggling.
thanks mkymonkey
I'm making the manifold support brackets, they take stress off of the welds in the front piece of the manifold. the piece of the manifold bolted at the back is one piece, so it's not as stressed. they do the same thing as the manifold brackets did on the original manifold, I just can't use those due to clearance issues, and the manifold being so different
Last edited by lostforawhile; 06-15-2010 at 09:48 AM.
It looks like I'll be getting that set of 69 Z SU's, they are supposed to be in really good condition, they will bolt right to the manifold and linkages. After many different pieces , I finally have the drivers side manifold support right, I made it out of cardboard, punched holes in it, checked the fit, then transferred to steel. you use hot glue to glue the cardboard template right to the steel before cutting it. The good band saw is missing a tooth, So I had to cut it out on the old clunker, then finish it on the sander.
this is one of the test pieces, it's been cut and welded about 20 times until it was right, then I used it to make the final pattern.
I had to do a bit of grinding on the clearance for the stud, but it all fits now,
all I have to do is mill some material off of the bracket that bolts to the plate for the alternator, so it tilts about five degrees. once I do that, i can drill holes in the bracket, and drill and tap holes in the aluminum bracket. I still need to make a center support at the back of the manifold
I have the left and right side supports I still want to add one in the center, due to the length of the manifold, the welds on the center plate are all the way through 7/16 plate, so i'm not worried about it, but I am worried about the stress over time, it's going to be a challenge due to the spring plate.for the throttle return springs in the middle, and the oil lines.
tomorrow I may just pull that oil pan and make sure my baffle clears everything , and hook up these hoses for the pcv system. i need to buy some play dough and use it to check crank to baffle clearance. new pan needs to go on, then torqued, then untorqued, then the play dough marks get checked for clearance between the crank and baffle screen,
 Posting Permissions


 Reply With Quote


Bookmarks