
it's here finally, i just haven't sat down and worked on the head unit, nice solid well made solder sucker, not bad at all for a few dollars and free shipping.


it's here finally, i just haven't sat down and worked on the head unit, nice solid well made solder sucker, not bad at all for a few dollars and free shipping.

those d-sub pins are freaking tiny... i had some of those for doing the aux jack on my wife's 08 fit... i could barely do those with my young and good eyes and hands... granted i'm a bit shakey too, but that's usually the amount of soda and coffee i've consumed.
dead white and blue
I've got a Panasonic from 2001 that refuses to die. Nice little H/U, lots of power and 3 sub pre-outs. Unfortunately no aux in, which sucks in the age of MP3's and satellite radio.Originally Posted by lostforawhile

ICHIBAN!
"Now, even more better!"
if you aren't looking for completely perfect sound and just want some music to listen to while driving, get a wired FM modulator, they sound way batter then an over the air one, and you can get them for around 15-20 bucks on e-gay. when I get this thing done, between the fact my windows are always down, the carbs,header,exaust etc. I just want it loud enough to be able to hear it. I also have no sound insulation, I built this car to drive is all.
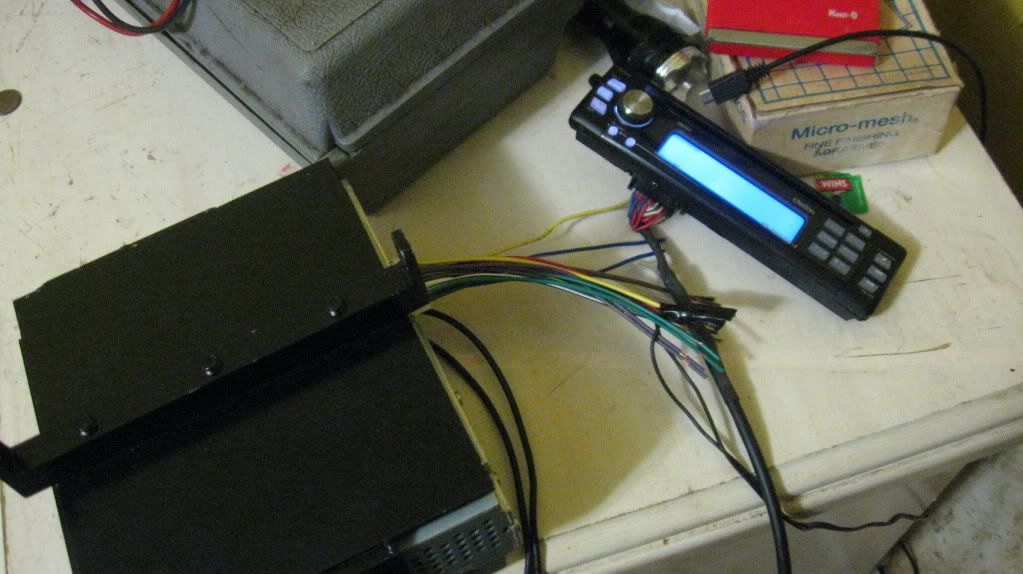
This project is back on track with the learning remote adapter, soldering to the original remote didn't work.
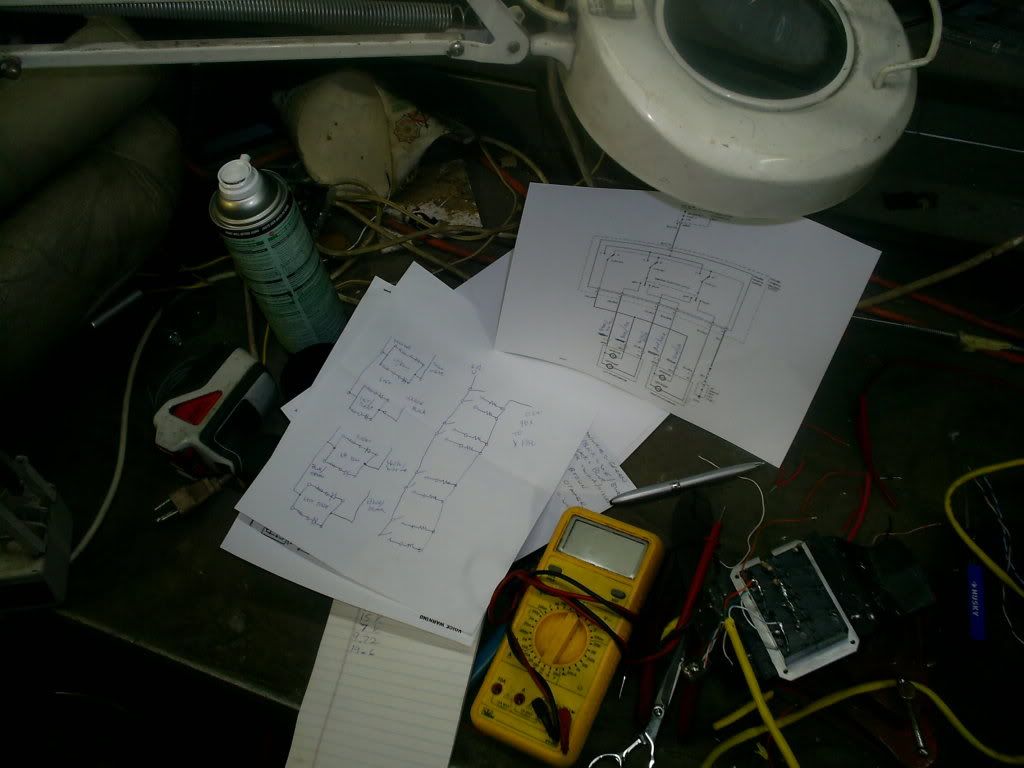
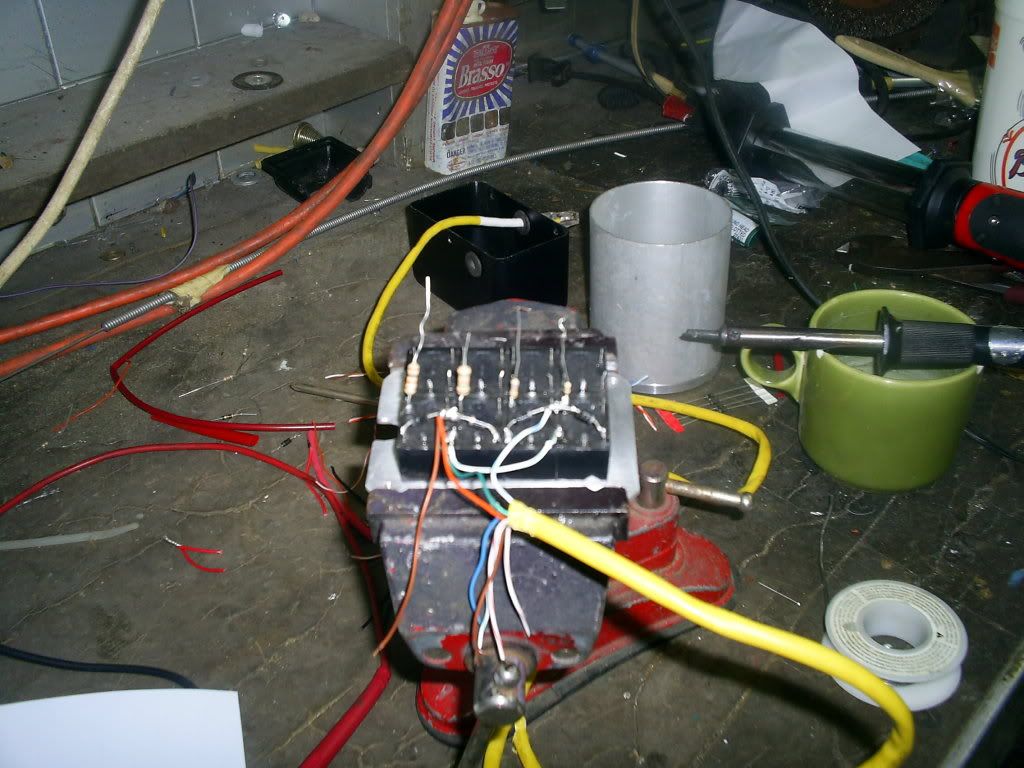
I made the cable from the mirror switch in the center console, they have high quality pro ethernet cables at the thrift store all the time, so this gives me the eight wires i need in a compact package. all they will be carrying is milliamps for the subminature relays in the relay box. the relays produce different output voltages with the use of diodes and resistors. these different voltages are what the remote box sees, nine functions on the switch and one pushbutton for select, into a one wire output.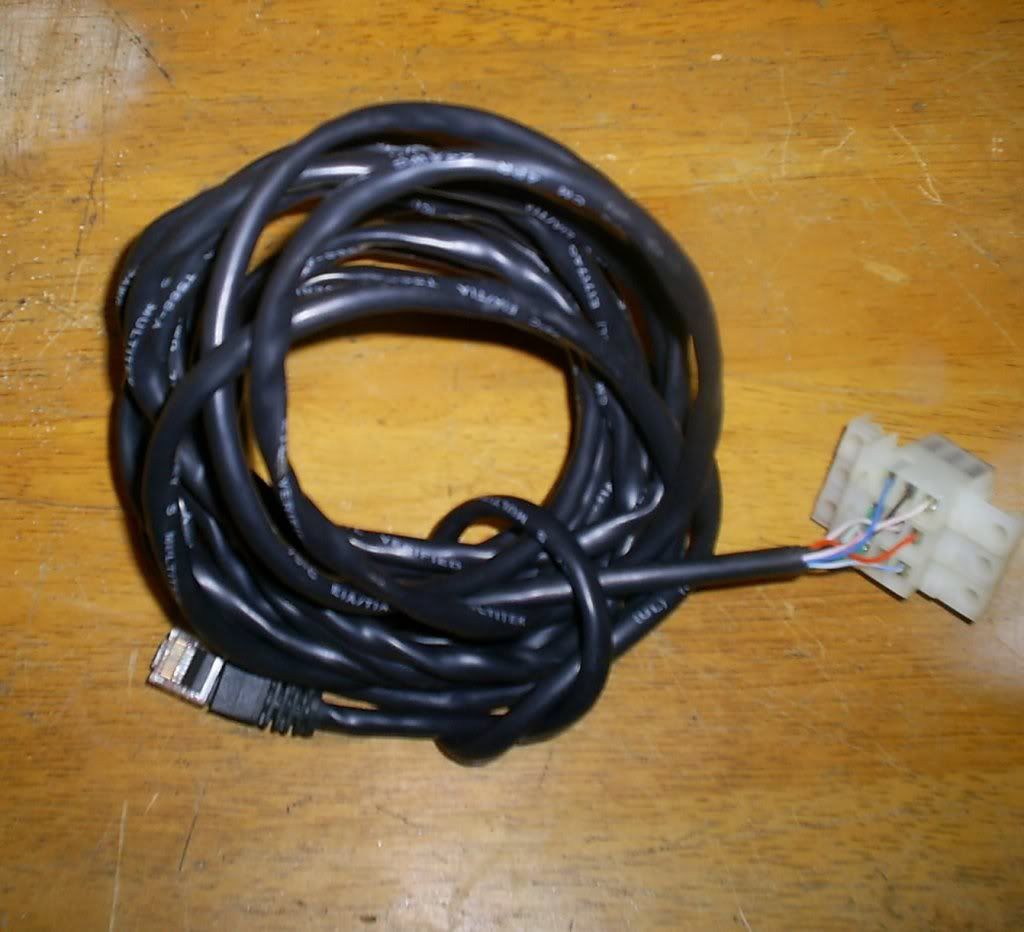
Ok some more done, the resistor and relay box is almost finished. I could do this with diodes and skip the eight relays, but the reason they are there, is it's a long way between the mirror switch and the box at the back of the car, the mirror switch, as in a lot of automotive switches, will also produce a dirty signal, steering wheel slip rings will do this same thing. it's simply the way the contacts work. since the adapter unit, that produces the infrared signals for the head unit, senses different voltages, that dirty signal and changing resistance can cause it to not function correctly. by using eight mini relays with silver contacts, and the resistors in the same location, I get a much cleaner signal. It's very basic, eight mini relays, hooked up in place of the mirror motors, two relays with reverse based diodes per motor, one direction makes one relay operate, other direction operates the other. flip the left right switch and it operates the other bank of relays. one side of the switched contact on all eight relays is connected to 12 volts. each output contact is wired in series with a different resistor. all the resistors are connected together to form one output. only one relay can operate at a time, since each has a different resistor, the output voltage changes for each possible combination on the switch. one of eight, plus one for a push button. nine total, the ninth resistor and relay are separate. this is the mute button. I need to build a one shot timer out of a 555 timer IC, this will allow the voice warning module to mute the radio whenever it says something, I need the timer circuit to produce a pulse of voltage not a constant voltage.
if the voice system says anything, pushing the mute button again will bring the radio back online.
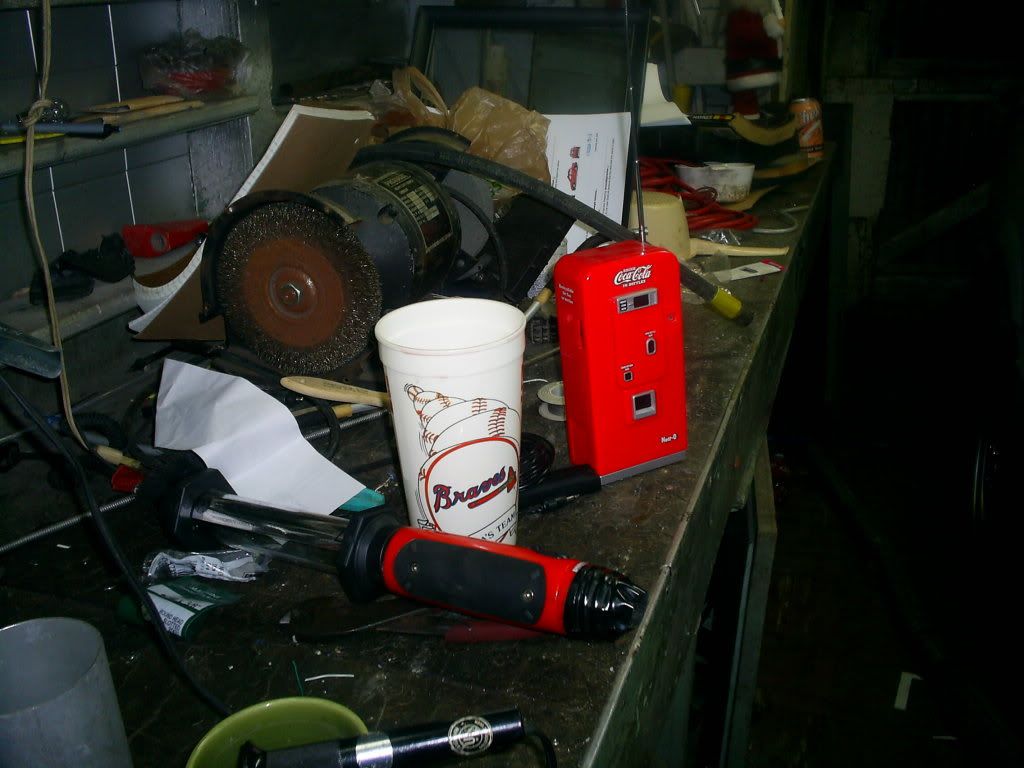
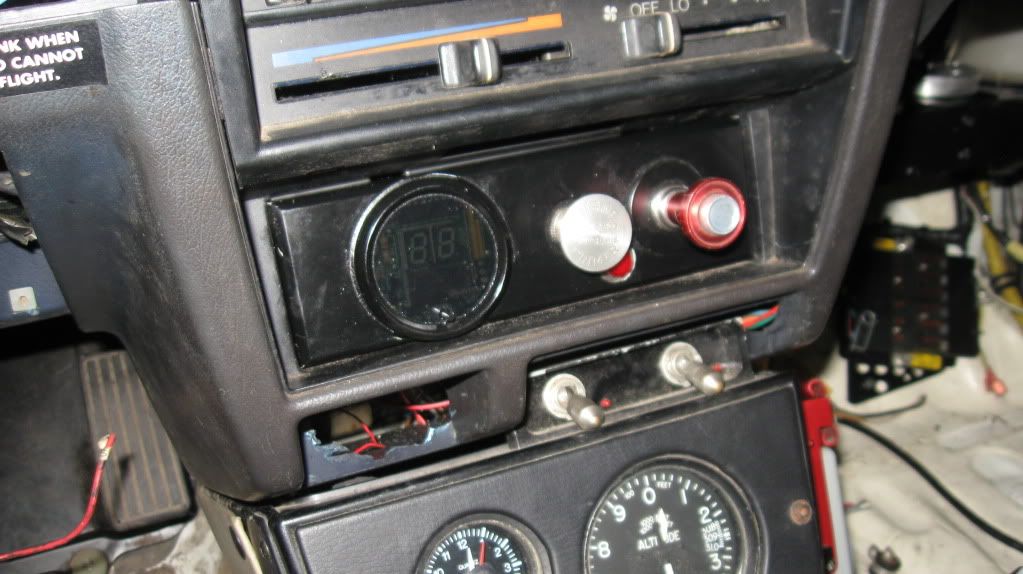
critical items for working late at night, AM radio and pink quick
pink quick?
thats an original mug, got it from saving the UPC codes off of quick when it used to come in square cans, back in the 70's when i was a little kid, I still have it. It's liquid pixie sticks, used to be powdered pixie sticks.
update
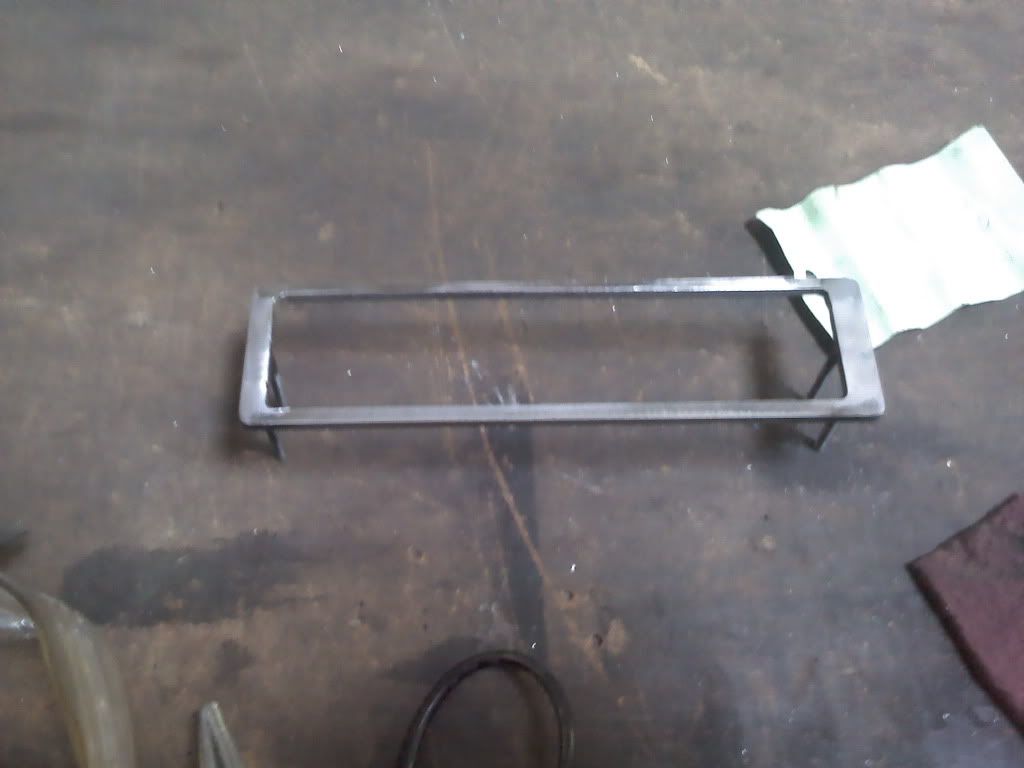
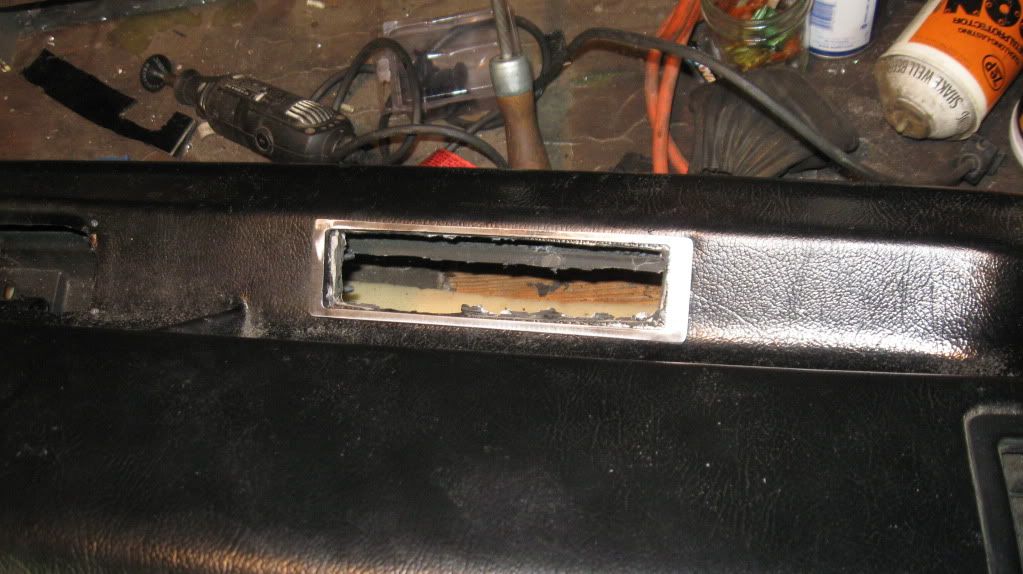
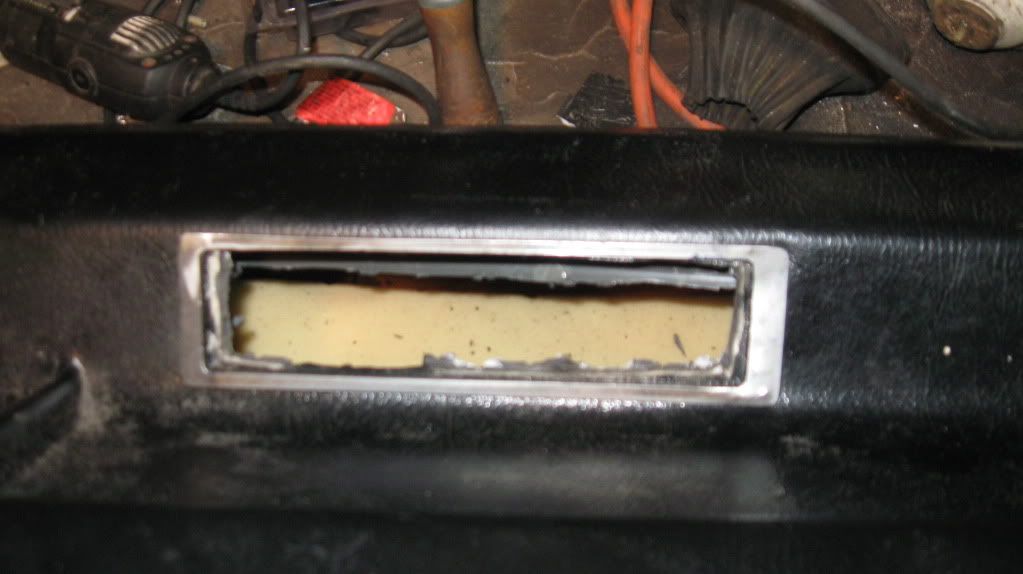
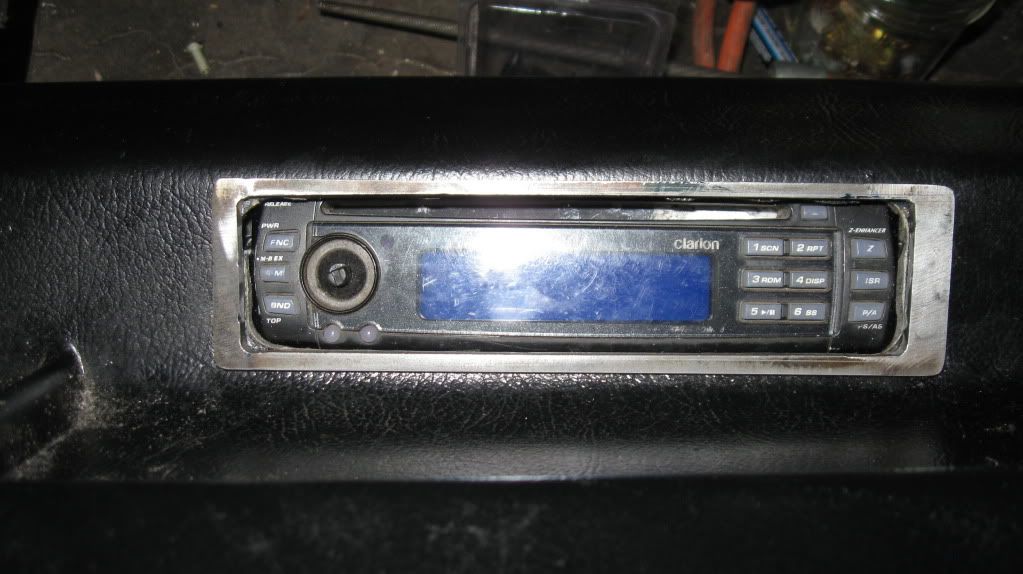
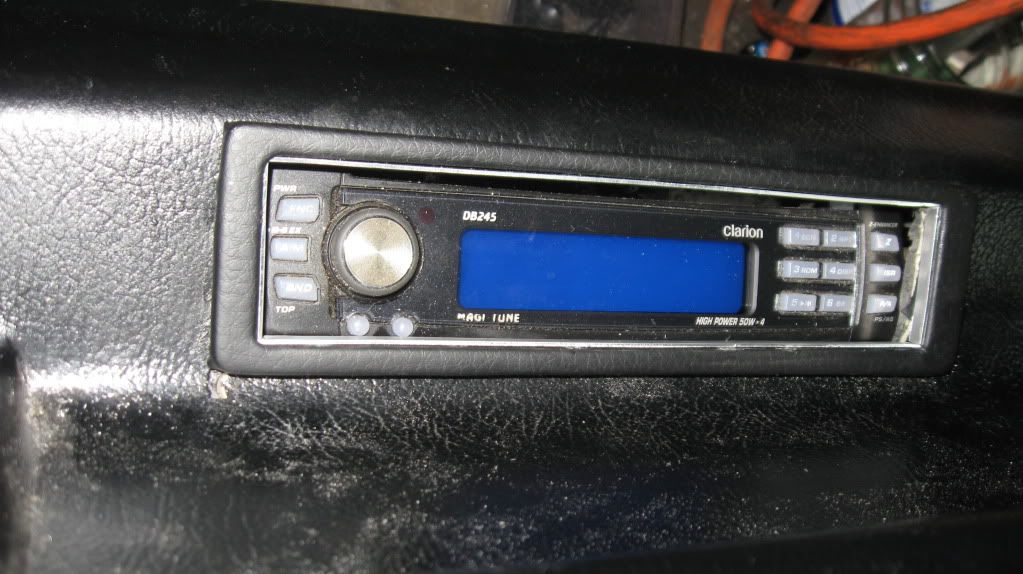
I really didn't like the way the head unit looked sitting on the surface of the dash, so I've decided to recess it inside of the dash, I made this handy trim ring, it's steel, more on that in a minute, It has four studs pressed into it, then they were welded on, and ground flush, these go through the four existing holes in the dash.
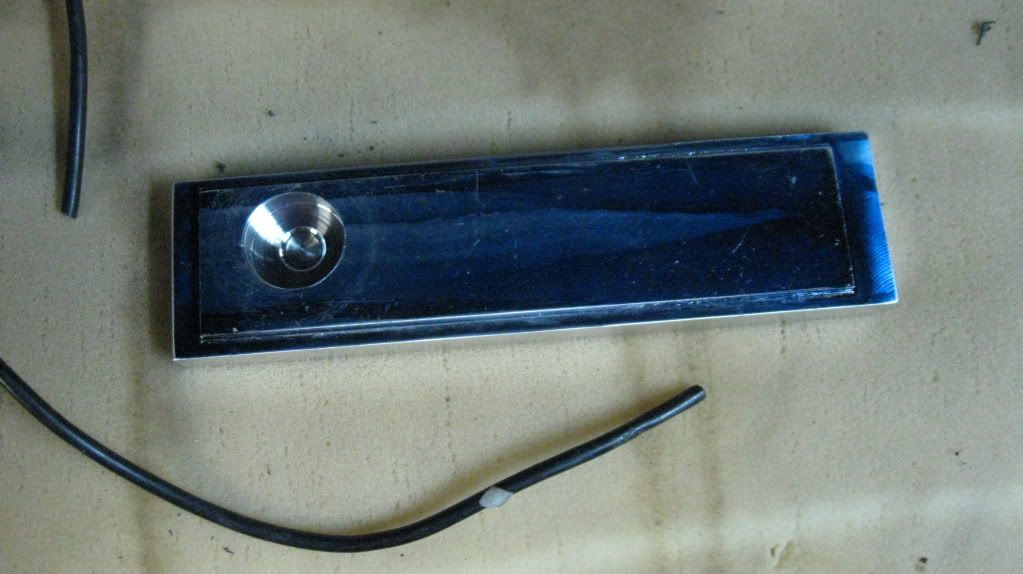
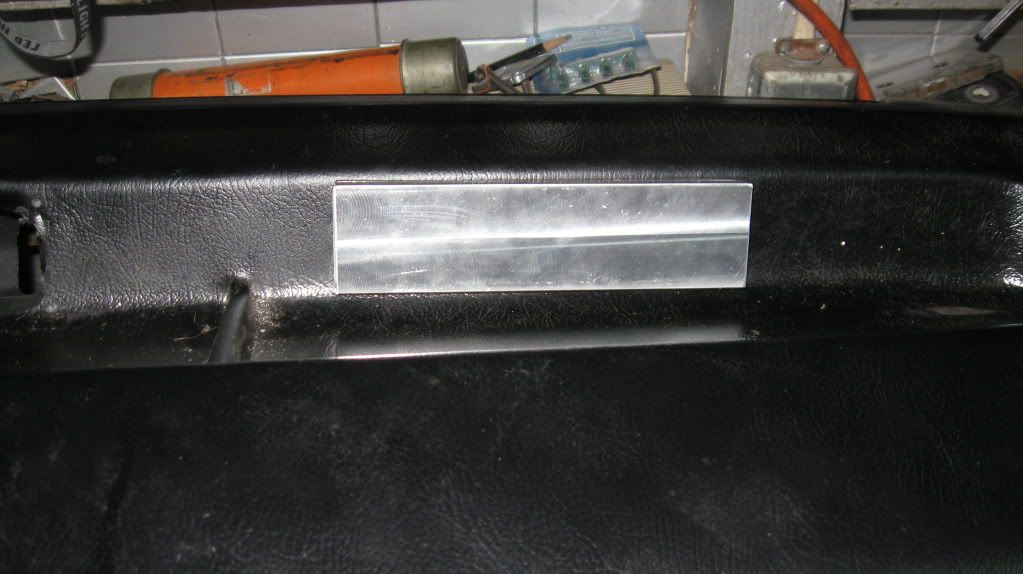
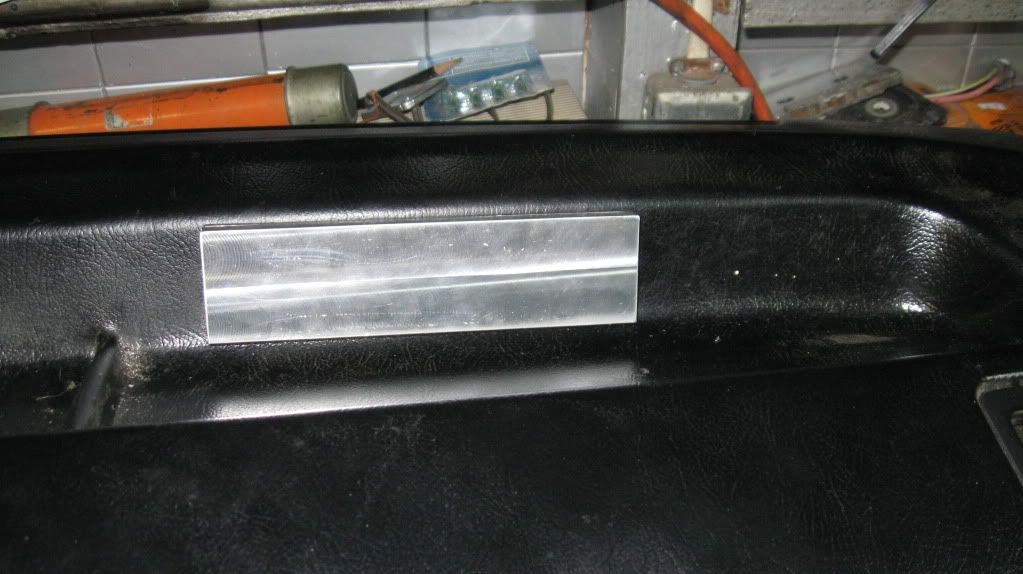
I wanted to be able to cover up the radio when the car isn't being driven, so I made this stepped aluminum cover, I still have to bore out the inside to remove excess bulk and weight. I'm going to fit four alnico magnets into it flush, then I can simply set the cover in place, and it sticks to the steel trim ring.
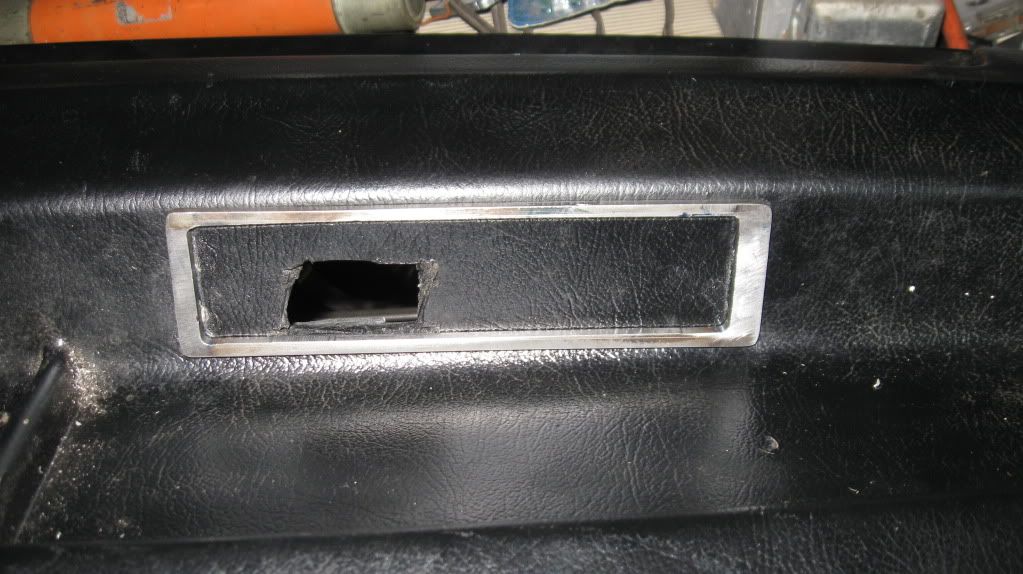
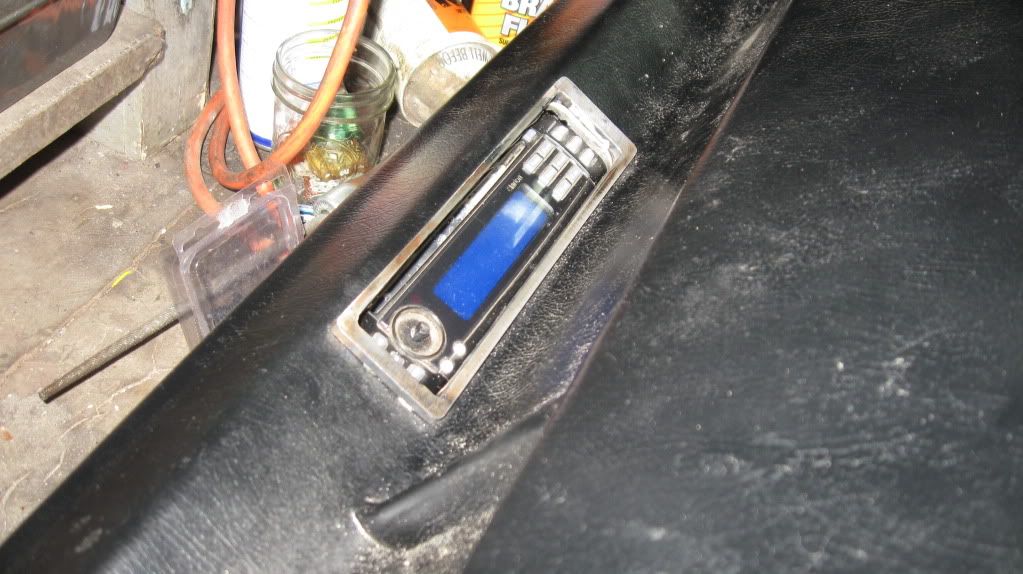
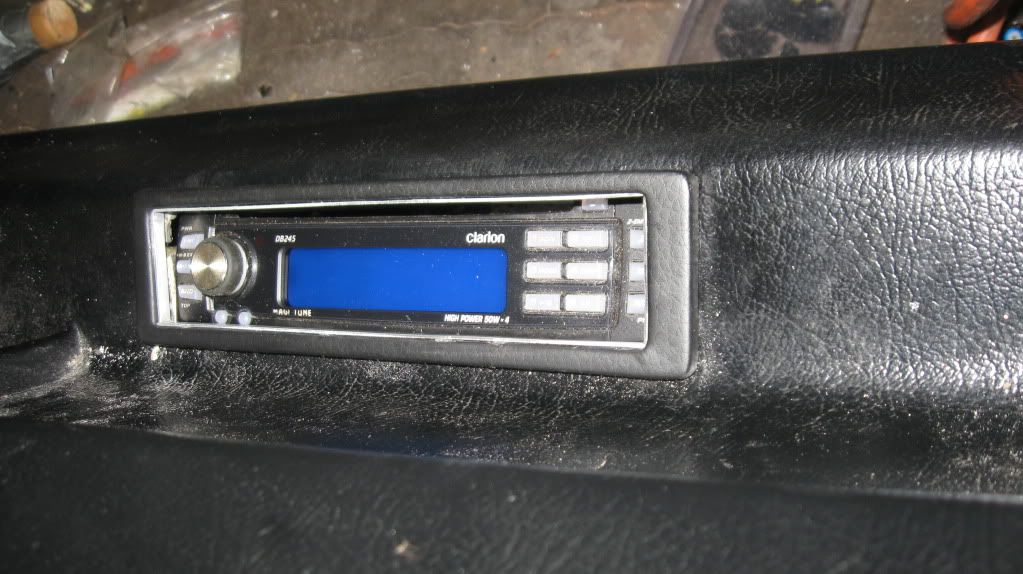
I've done the rough cutout of the dash, you can see I still have more to go, it needs to be trimmed up, I also cut an access on the back side of the dash, this lets me install the radio face from behind. once it's in and functional, an aluminum plate will replace the cut out plastic.
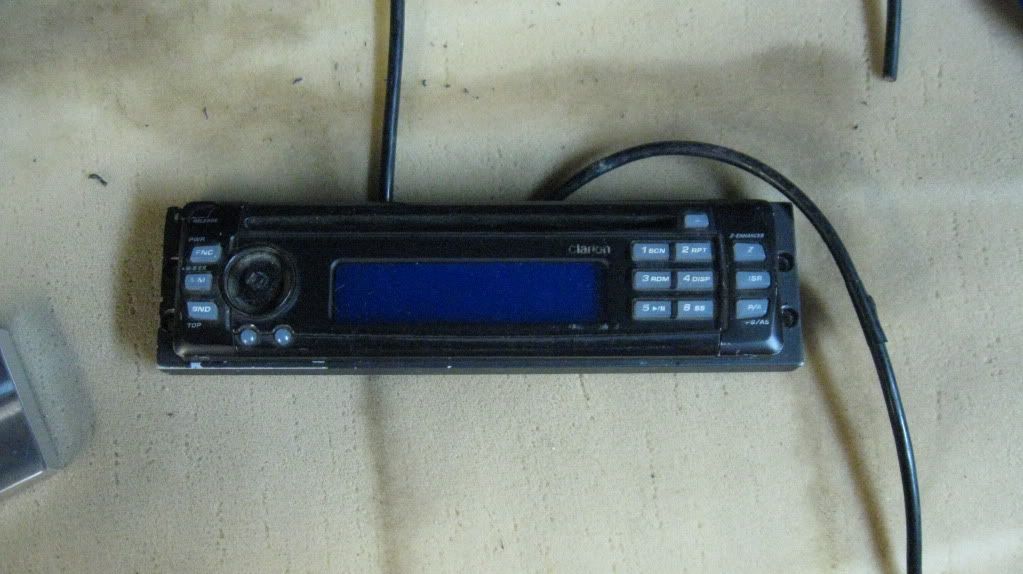
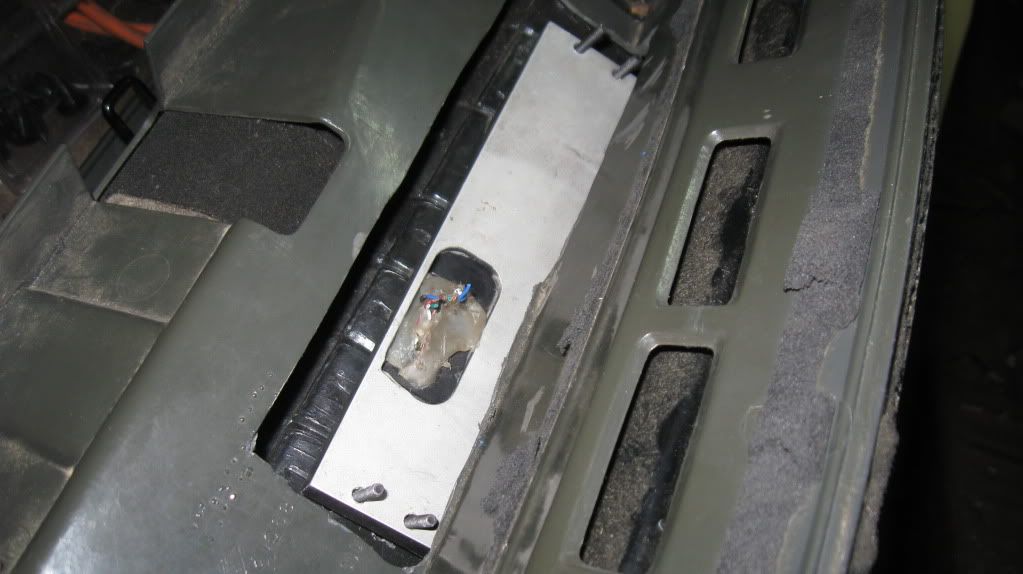
this is ther back half that holds the radio face, this is my old mockup face for this radio, I have a brand new one thats going in
instresting.
200+ ALL MOTOR LS VTEC
Wow lost that's very creative!
I/H/E, B16 mani, delta 272, OBD1....etc
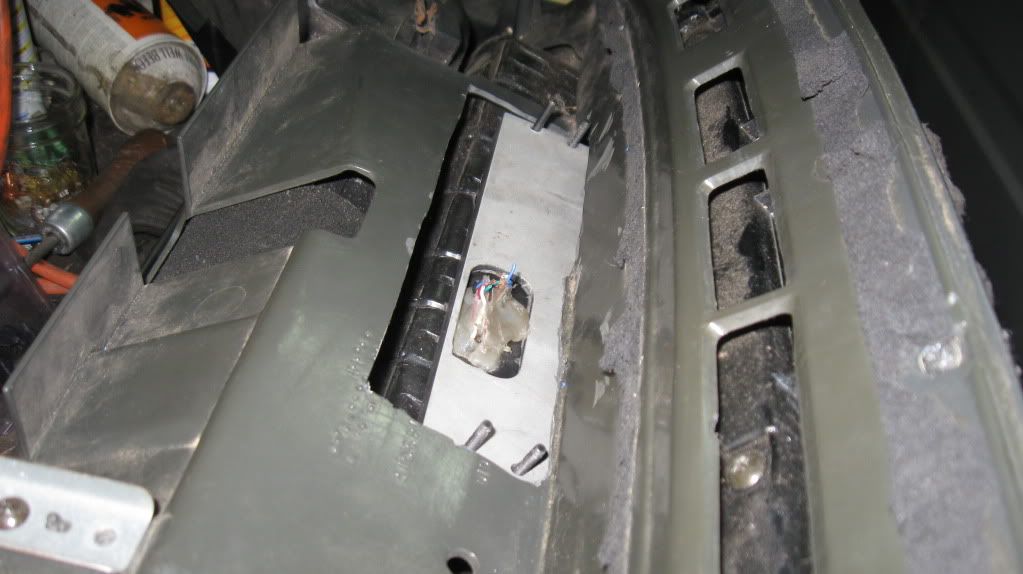
still some trimming to do, this is the old face. Once everything fits this will be black of course
I'll have to trim the bolt threads shorter of course, but from feeling behind the dash in the car, there should be plenty of clearance, it only sticks out from behind the dash at one point.
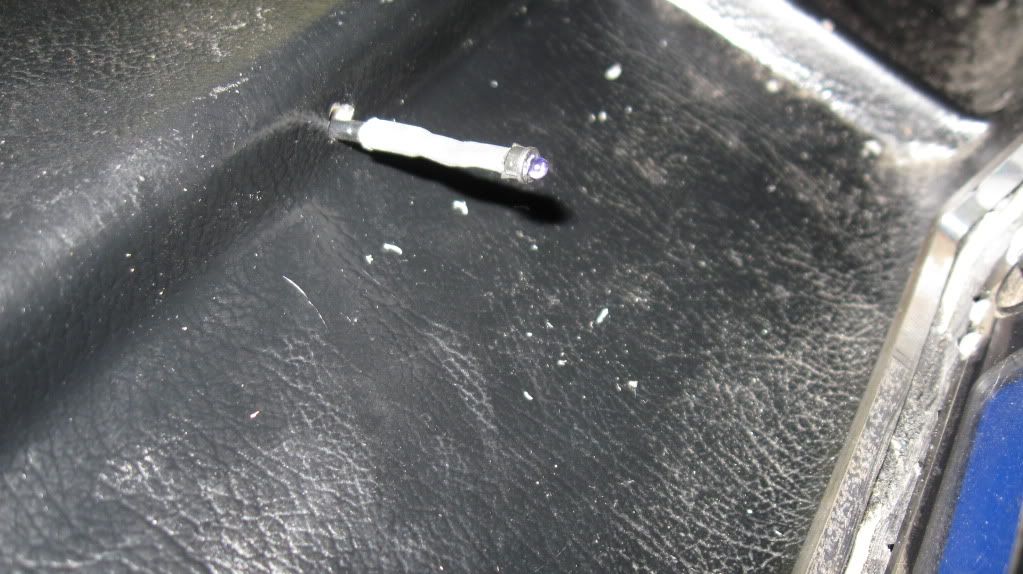
this is how the SWI-X unit controls the radio, this tiny infrared LED facing the radio face.
Interesting. I used to stick a lot of faceplates into driver's side sun visors on hot rod builds a few years ago. For added nerdery, you can wire the IR LED wires off of the SWI-X directly to the IR receiver within the faceplate and eliminate some issues when in direct sunlight/something on the dash/etc. My fave trick was repurposing the older SOny ES control stalks to be universal controllers (actually not that hard. Big fancy key matrix inside like any other remote. Just had to change some values here and there), ditching out the entire faceplate aside from the display portion and tucking the LCD into some unobtrusive and nifty location, use the rebuilt SOny stalk to control whatever it was connected to.
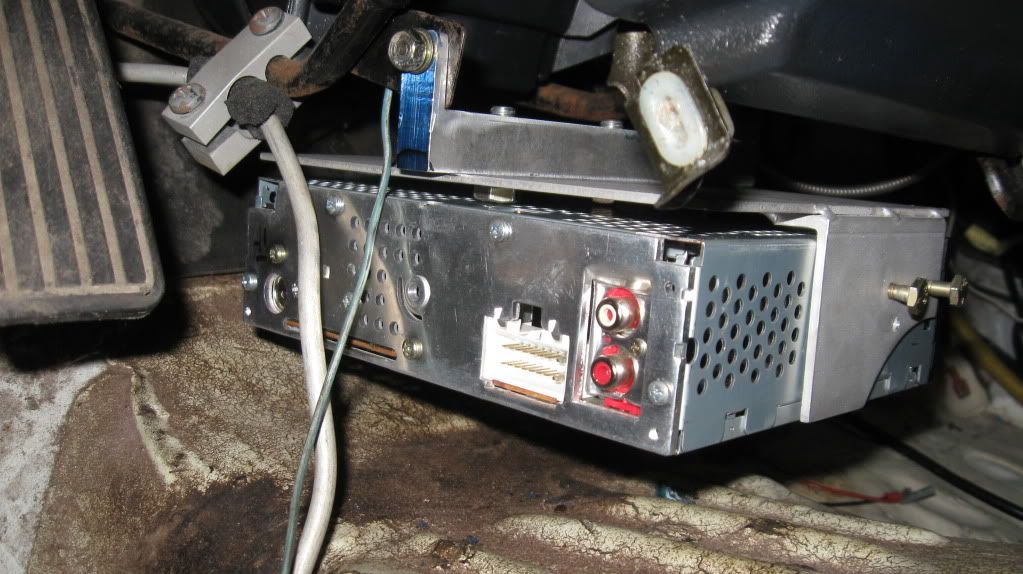
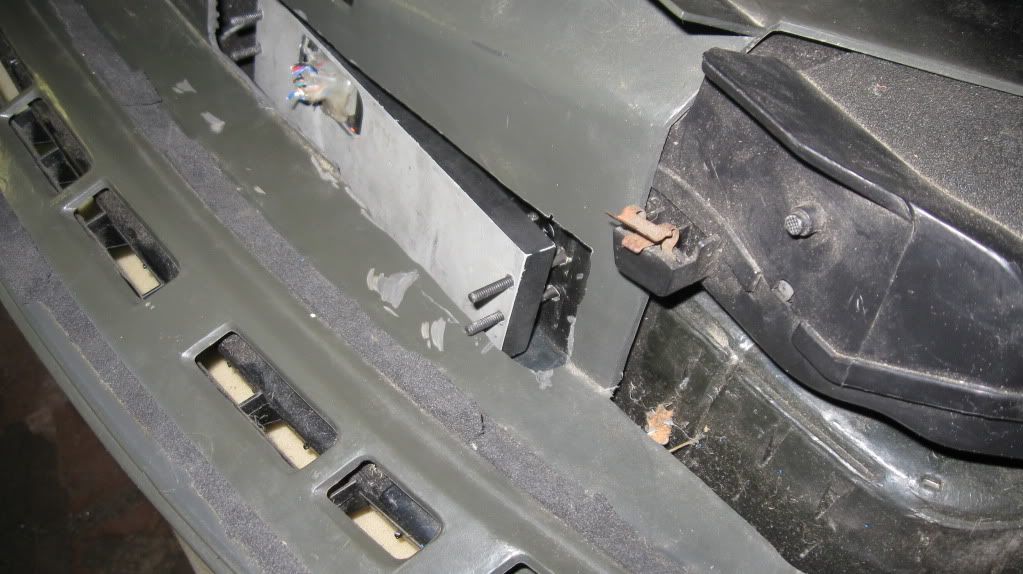
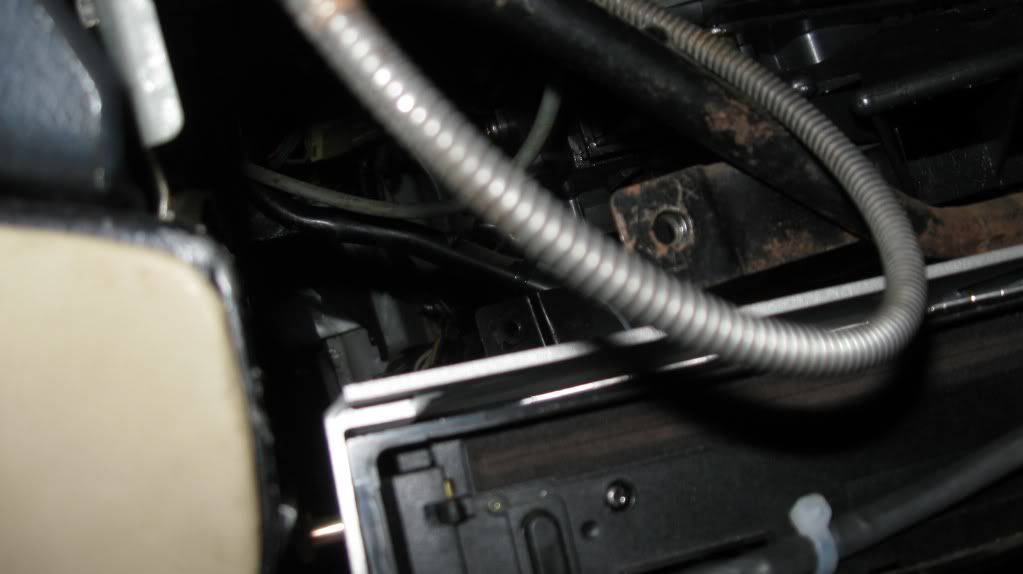
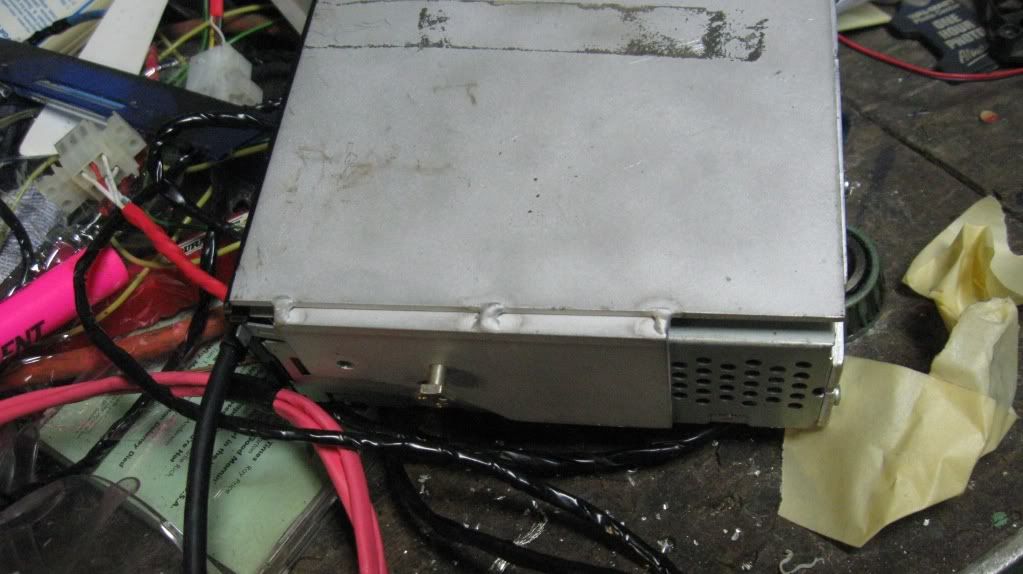
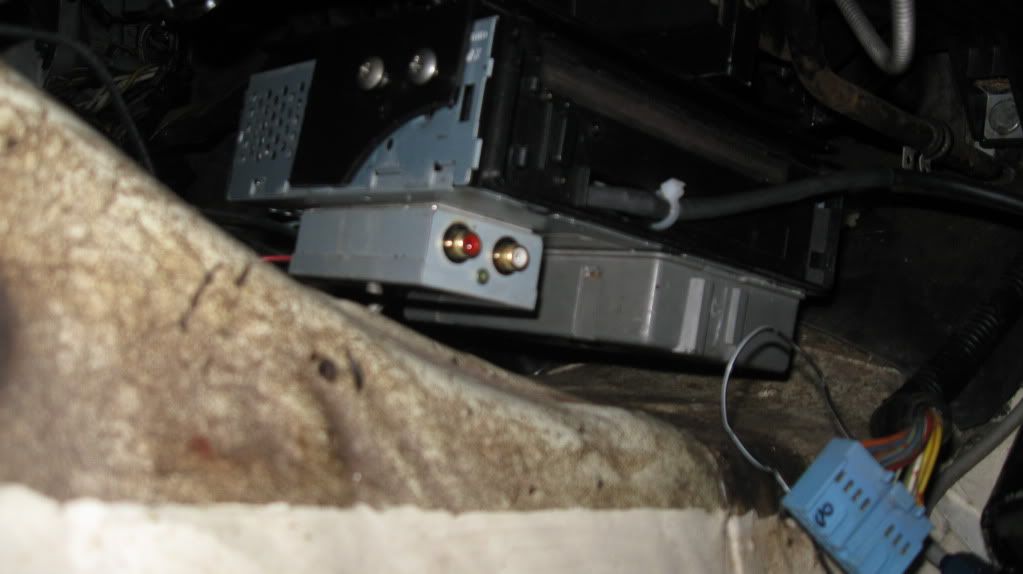
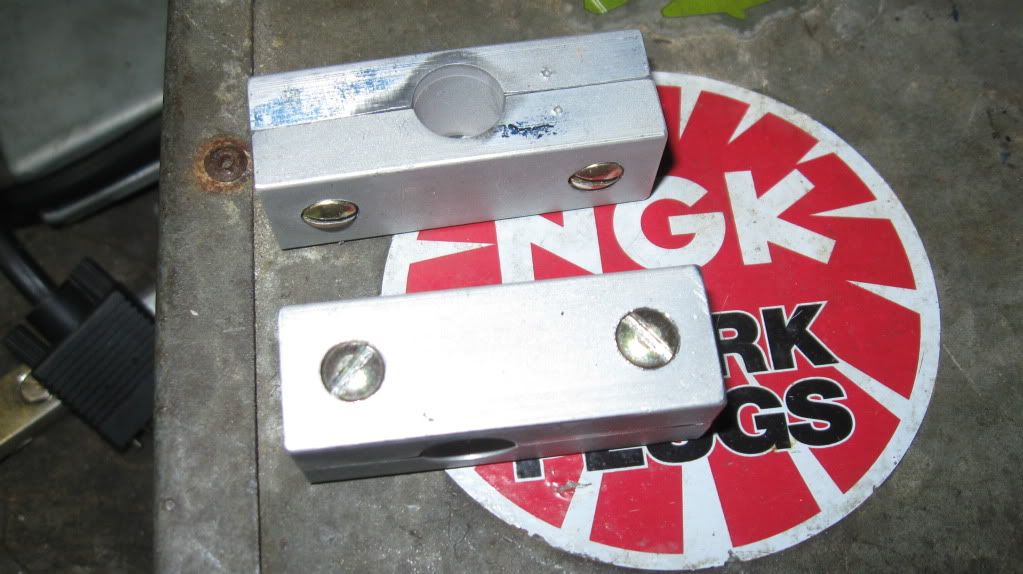
I finally got the brackets machined for the radio box , It will bolt up where the combination control box went behind the center console, that box is lightweight plastic and easy to move somewhere else. Honda was thoughtful enough to use heavy bent steel rod to hold the dash, with welded on brackets. I'm still waiting for the coupler to hook the two hdmi cables together. ignore the long bolts, I need to go to the hardware store and get the proper length ones
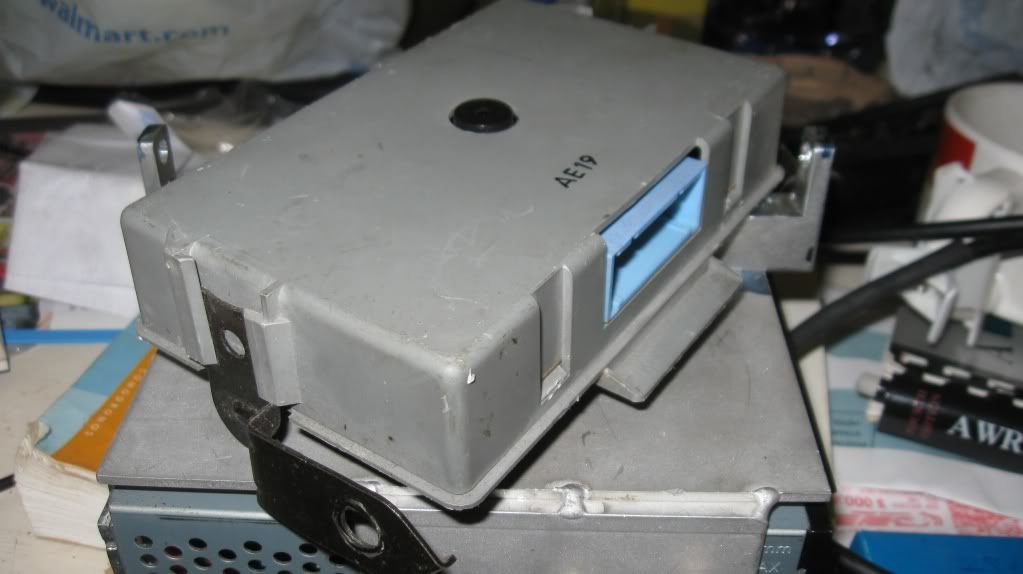
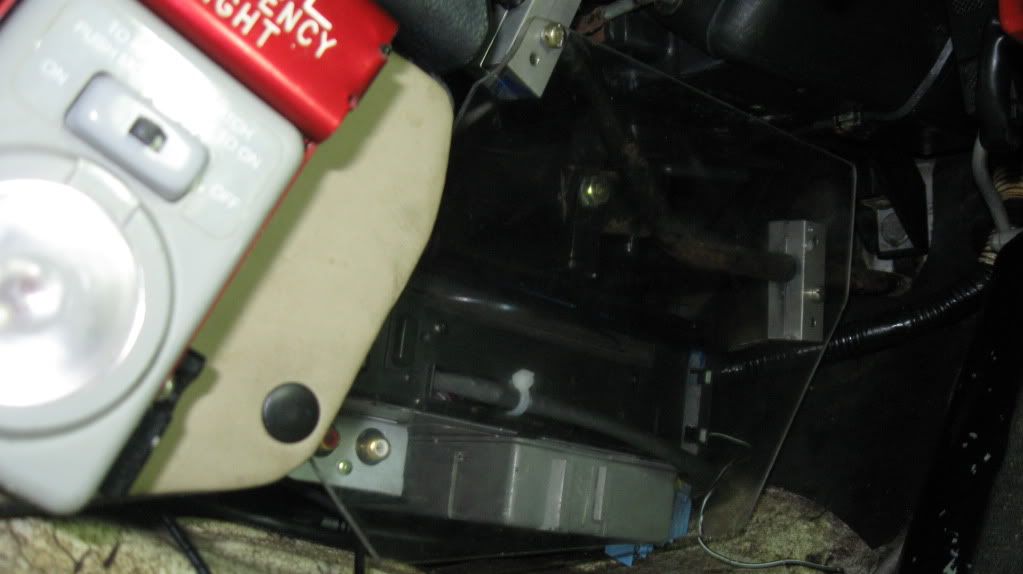
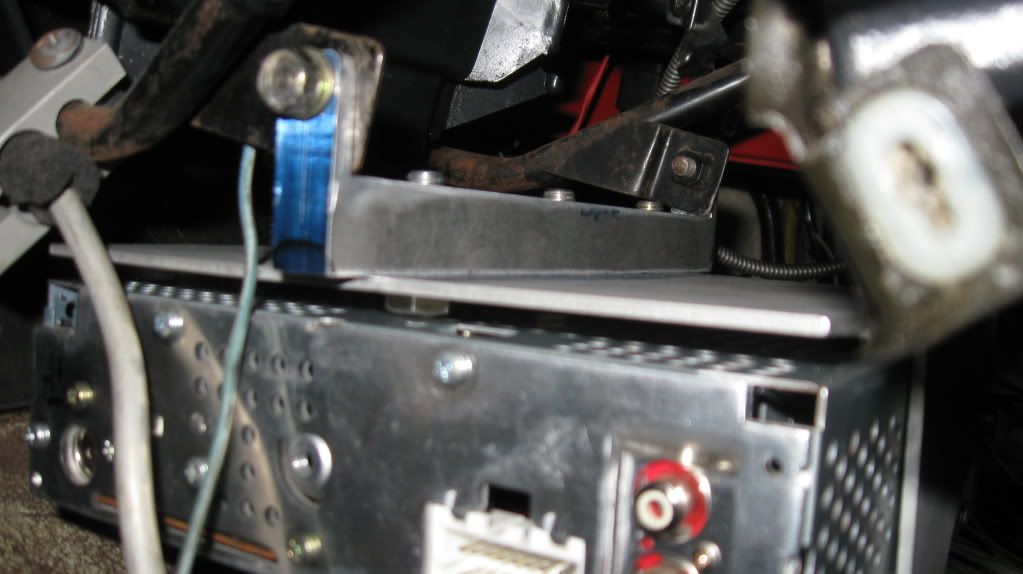
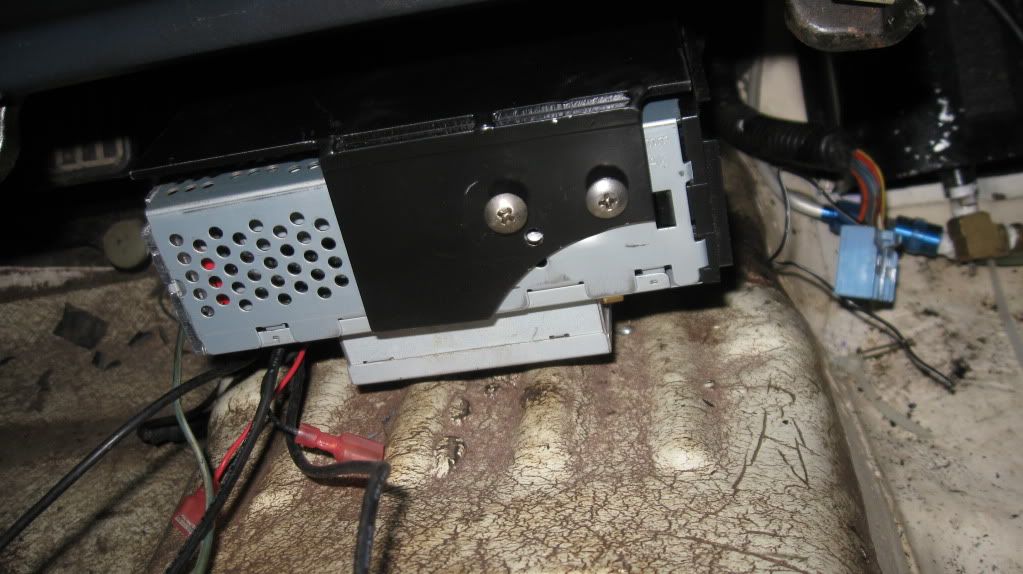
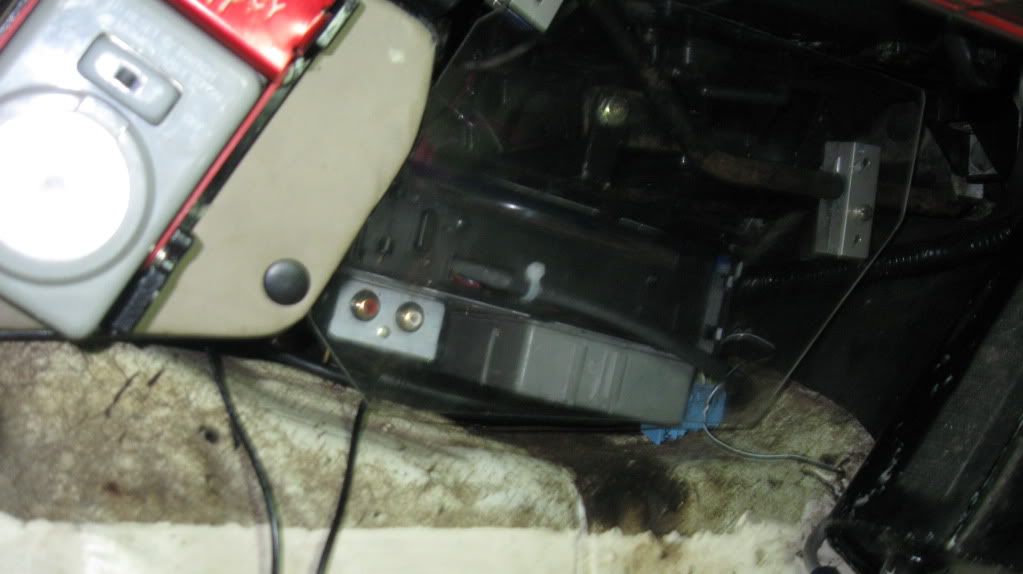
the radio bolts up rock solid, I thought I might have to add a third brace, but it's not needed, the only thing I have to move is my one hard vacuum line, but I was going to change to a bigger line anyway. the back of the center console sits flush against the side of the radio box, and it hides away nicely. there's even enough room under the radio to mount the control module to the bottom of it. I'll just take off the metal tabs and grind off the big plastic tab that sticks out of it. A little VHB tape, and I'll be good to go, the original connector will plug right in.
really? lets see some pictures of some of your work? it's neither easy or simple to do one of these relocation's, I know if I had done all that I would have a bunch of pictures, why not start a thread?
i reckon, onto it as
Sure thing. Next time I am near my storage unit halfway across the country I shall see if I can dig up some of the old 5x7 photos and scan them in to put up on the interwebs. Anything I took in the digital realm went when a drive puked a few years ago (along with a lot of other important stuff. Neglected to back up. Always back up. If it doesn't exist in 3 media formats it doesn't exist). I don't have a lot of pics from the past 3 years as I have been building law enforcement vehicles (although I have a shitload of pictures of custom aluminum gun racks, nifty looking covert vehicles and interesting ways of putting in LED lighting into cars so that it all looks factory. The coolest would be the adjustable rack that holds a couple HK G36 and a 20mm grenade launcher nicely between the front seats of a 2011 Ford Expedition. That thing looks badass for a bunch of aluminum square tubing, electronic handcuffs, and some other hardware.)
well I do enjoy seeing other people projects, I have a technical interest in seeing how others solve problems, I should have mine running as soon as I get the HDMI coupler, if it ever gets here, The dash is almost ready to swap in, the radio face needs to be running before I can install it, as it's not removable with the dash in. My copper shielding tape did show up yesterday, which is a good thing.
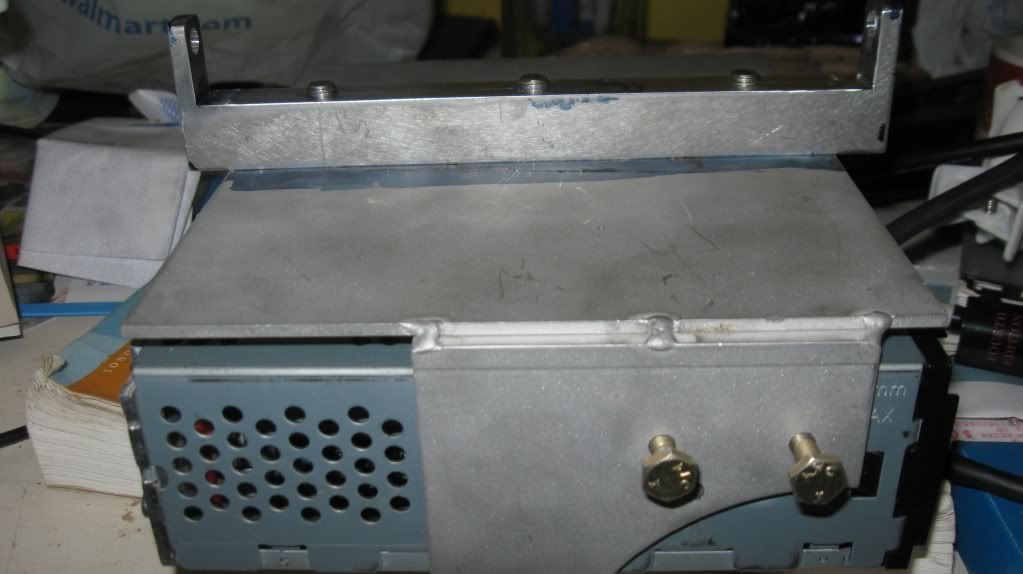
Of course these aren't the right screws, or the new dash, but this is the bracket finished, it came out really good.
of course this is the reason I had to move the radio in the first place
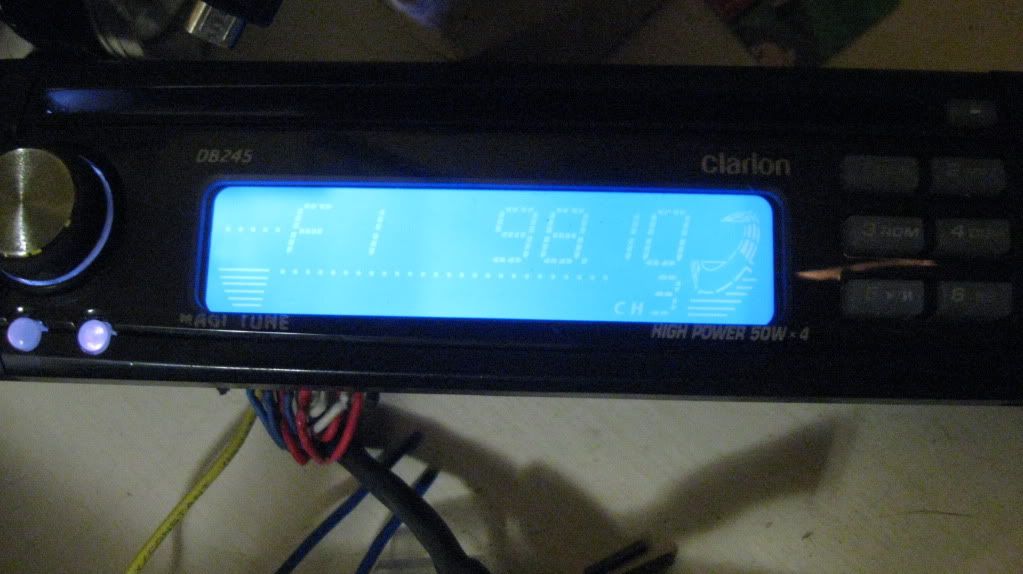
and it LIVES!!! testing it on a power supply.
works perfectly!! now all I need to do is put some high temp hot glue over the face terminals and the copper shielding tape.
this puts me really close to getting the dash swapped out, once it's in, i can start reinstalling stuff and get this harness all wired up and in place. then the interior goes back in FINALLY!!
Last edited by lostforawhile; 11-13-2011 at 10:30 AM.
I made the templates for the side panels, the temperature sucks, 80 some degrees and 100 percent humidity, I've been crawling around under the dash fitting this stuff.
cardboard template
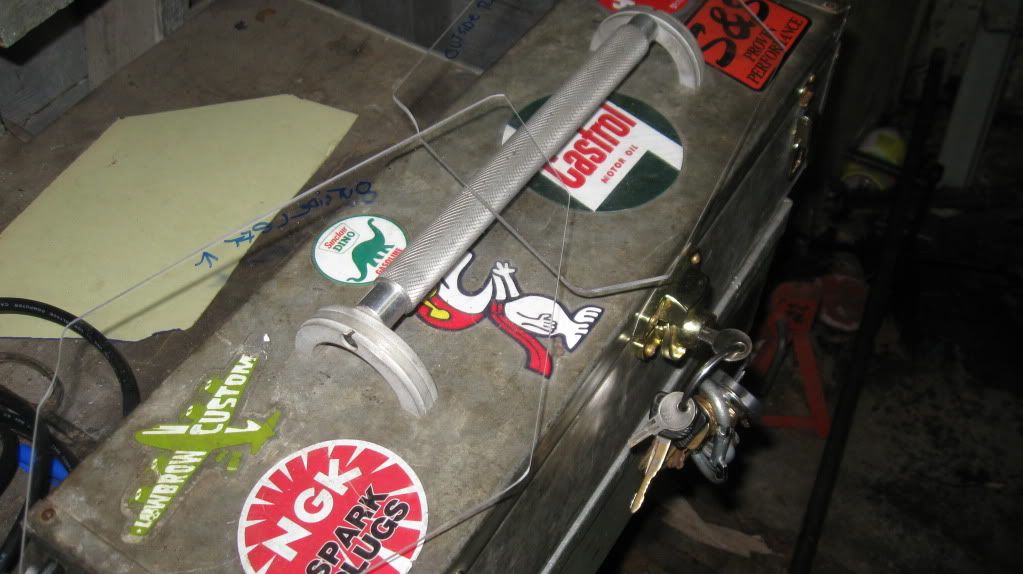
lexan templates for the left and right sides, I made them out of lexan because it's impossible to see where the support brackets go, I was thinking I wish I had a clear template, DUH! the right side is fitted, now I just transfer it to aluminum, I'm wanting to do a motorized door, where the disk pops out beside the console, It depends on how much clearance I have. I'll just make a small flip down door, I need to get into the guts of the radio again, I need to tie a small relay into the changer eject motor, when the relay is tripped by the motor, it will trip a 2 minute timer, this opens the door for two minutes, the changer mechanism automatically reloads the cd if not removed ,like other changers. I'll put a hidden button to open the door manually to load a disk
these are the brackets that attach to the dash supports.
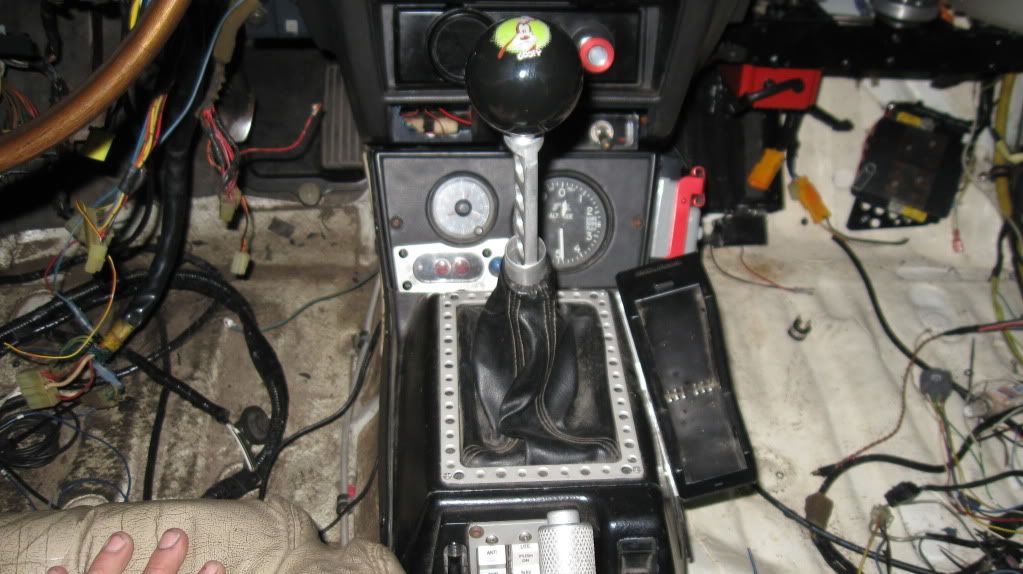
I just realized that your interior looks like something right out of a "Mad Max" movie. Cool!
 Posting Permissions


 Reply With Quote


Bookmarks