


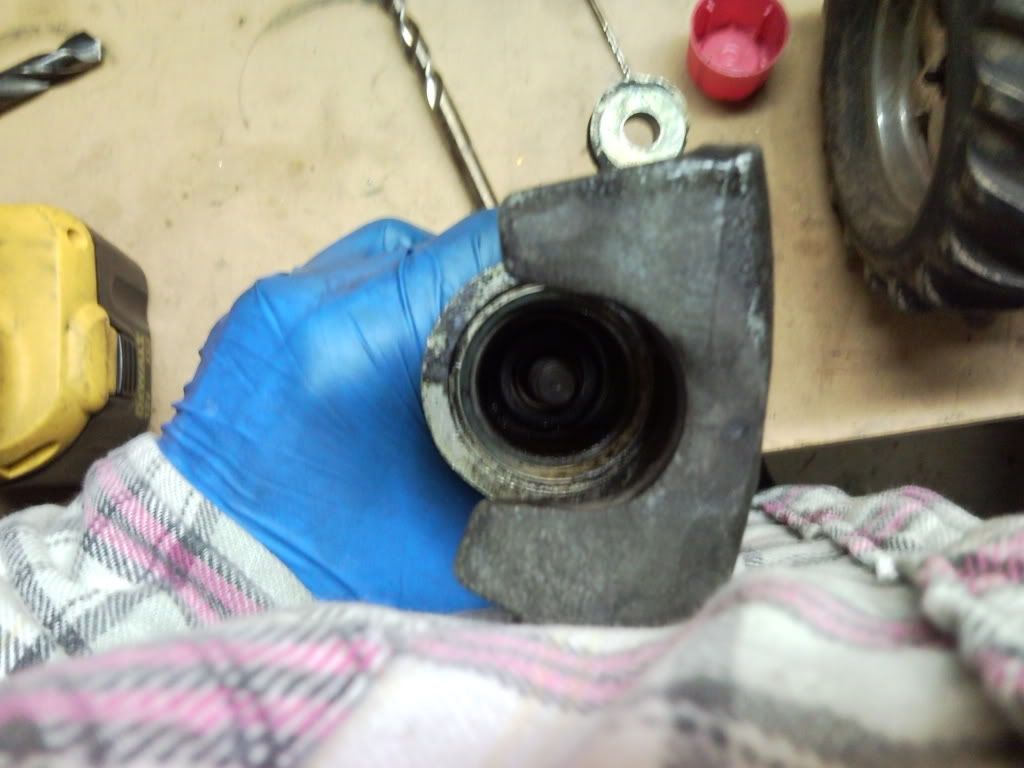
Further to the rear caliper rebuild how-to, the piston comes out nicely with a little compressed air blown into the brake line hole. Keep something in front of it to catch it or it will sail across the shop and get dented. Don't use your finger or it will get pinched and wedged, and only a lot of swearing will get it free. Don't ask how I know this...
After you remove the piston, there is a snap ring at the bottom of this hole. (Per below, do NOT remove this snap ring)
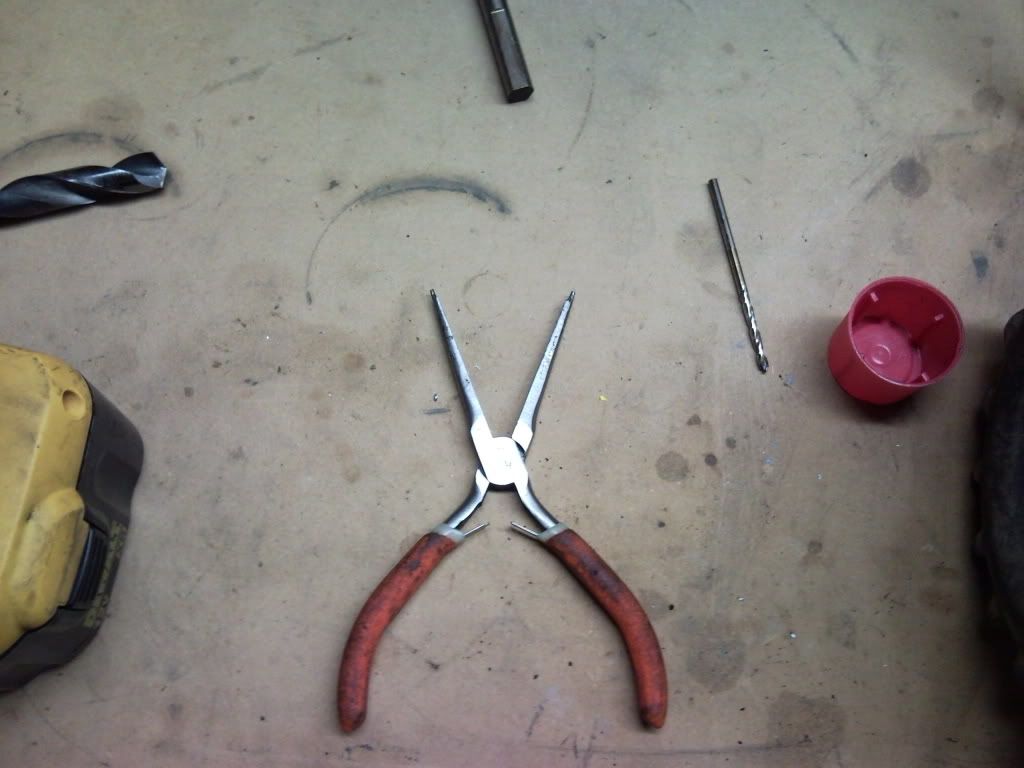
The snap ring is a real b!tch to get out and the homemade snap ring pliers below were the only thing I could get to work.
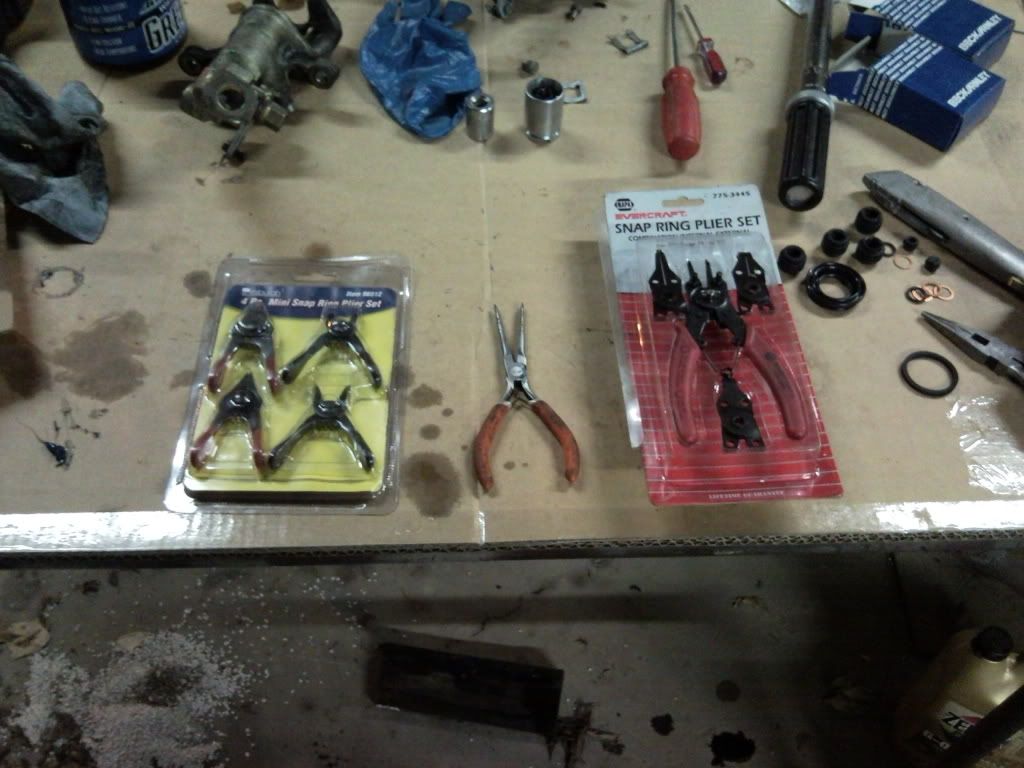
It's just a cheapy $4 needle nose from Harbor Freight that I ground down with a Dremel tool. None of these others worked.
The assembly below the snap ring falls out with a little wiggling and banging of the caliper face down on the work bench. That said, you shouldn't remove the lower snap ring or anything below unless you really have to. There is a special seal down there that needs to be changed and it's not in your kit, nor is it likely to be available anymore. Just clean everything as best you can with brake fluid and call it a day. That way you won't need the special tool or the odd seal.
The parking brake mechanism still works on mine, so I left that entirely alone. There's another special seal there that you probably won't be able to find anymore if you decide to take it apart.
This is in the how-to, but bears repeating. This is the best way to install the new dust seal:
Slip it over the lower end of the piston and then into the body of the caliper and screw it gently in. You'll want to slather the piston in brake fluid good before you do this.
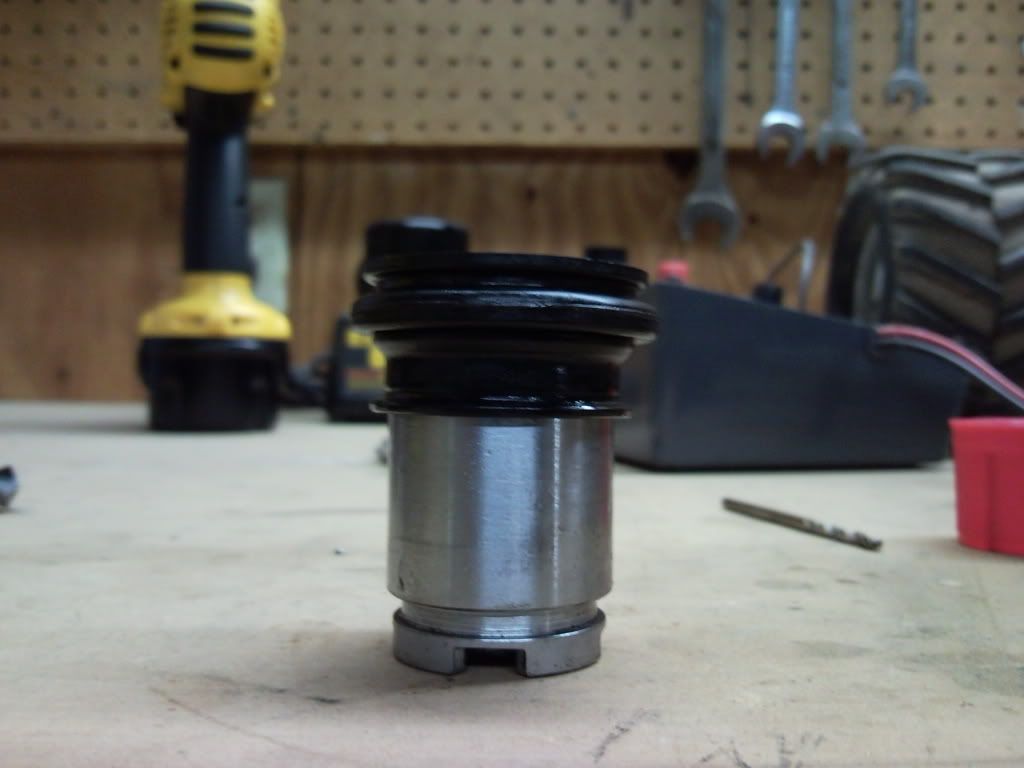
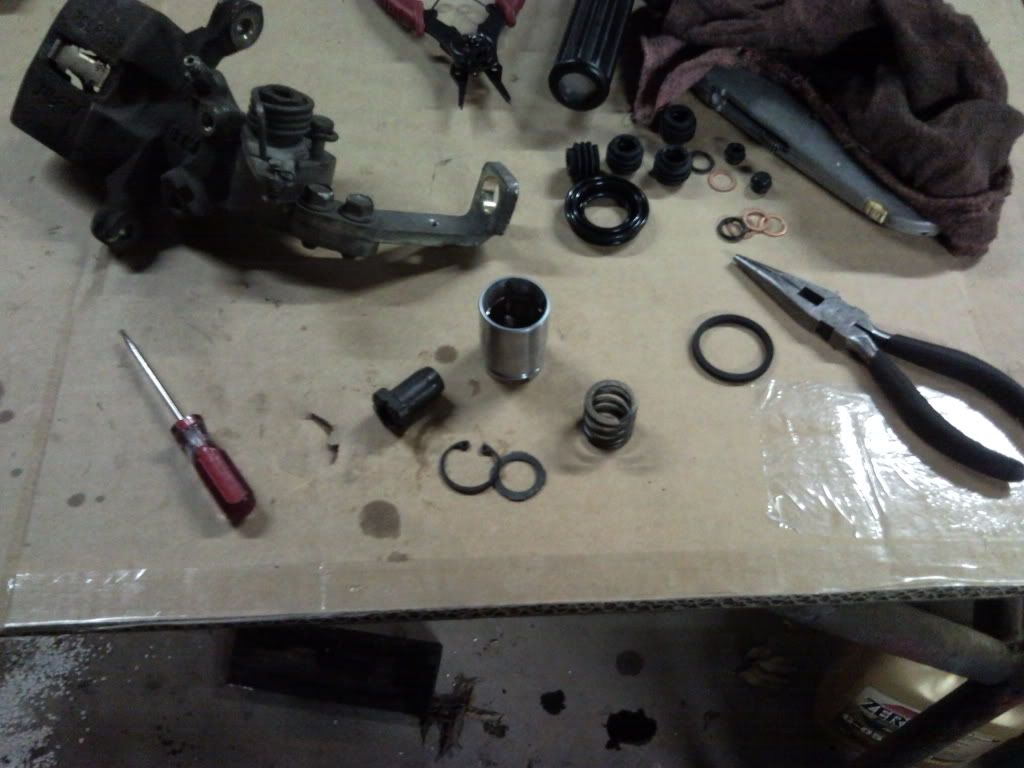
The manual doesn't seem to cover this part at all so here you go. The piston itself is comprised of five parts, the piston itself, a spring, a special washer, a block shaped "thing" and a snap ring (see below).
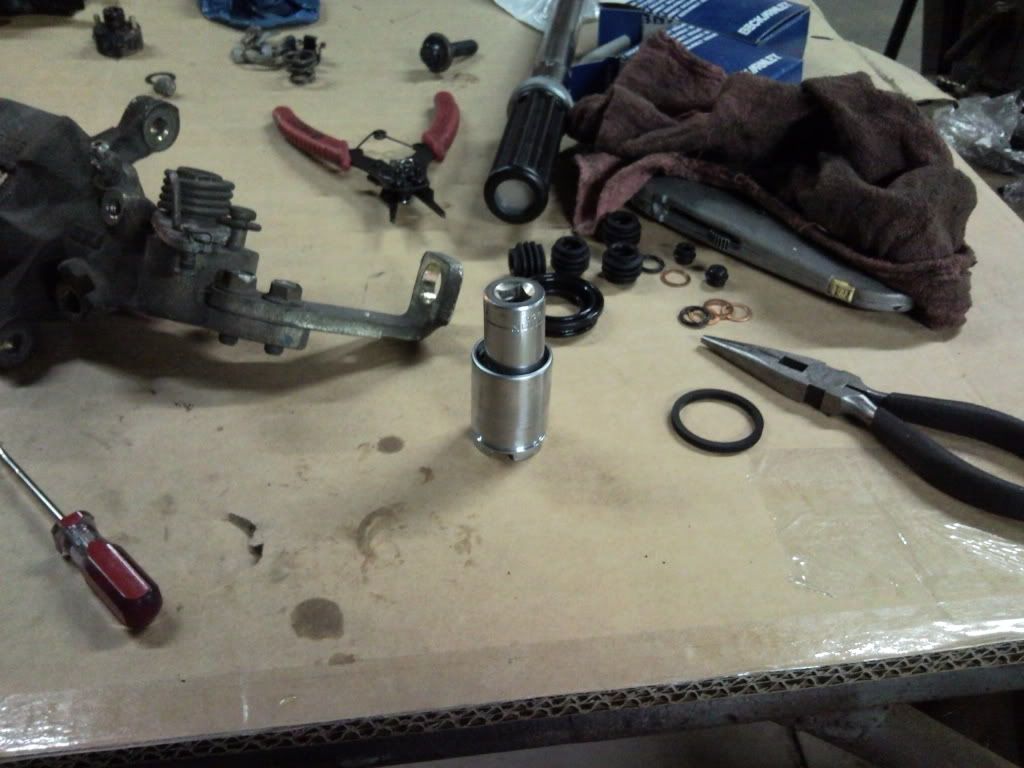
The only real way to reinstall it is on this wise. Put in the block "thing", then the spring, the special washer and the snap ring. The snap ring seats far down in the piston and you'll need a socket to do it.
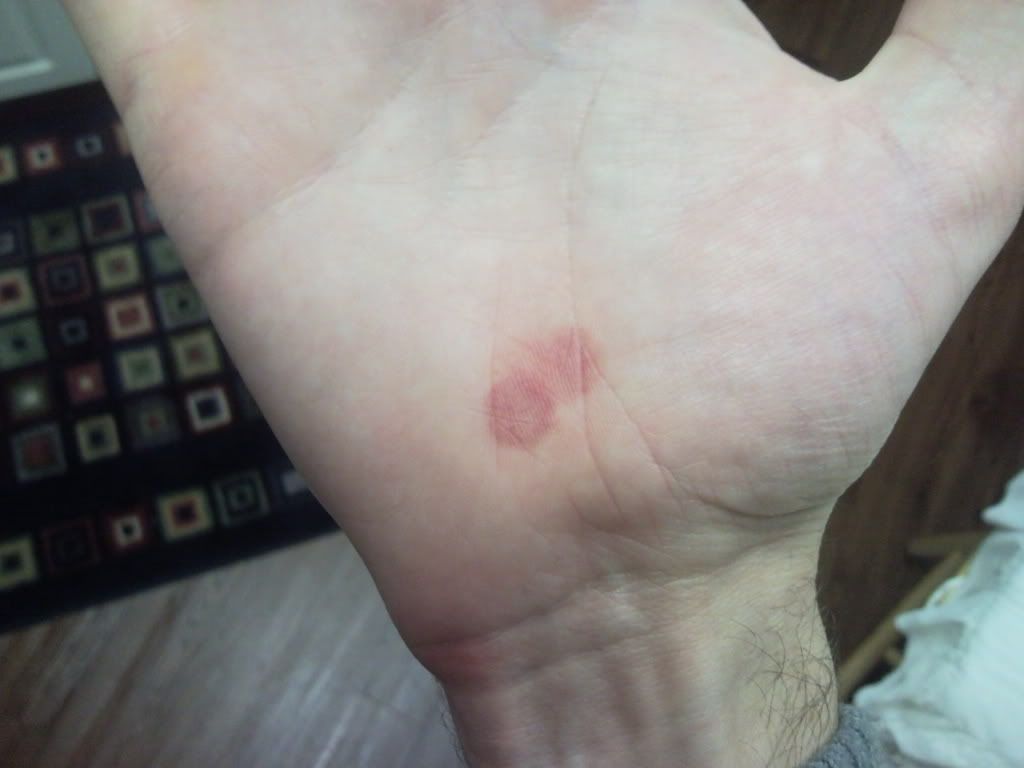
You'll be tempted to grab the first socket that appears to fit, pop it in a vise and jam it home. The piston body tapers however, and doing this will get you a socket wedged in the piston body. My 5/8" socket was the only one that would fit far down enough to seat the snap ring. BUT! It is also too narrow to seat well on the snap ring. If you just pop a 5/8" socket on and hammer down on the vise, the socket will slip off the ends of the snap ring, deform it and render it useless. So skip the vise. Carefully position the socket to cover as much of the snap ring as possible. Then manually press the snap ring in with your hand. If you are my weight, it will take nearly all your body weight and will leave you with one of these:
Woohoo!
Hope that helps someone.


 Reply With Quote


Bookmarks