


Well its about time I got to post here =D
Anyway im going to start with undocumented things I did before 3geez.
New brake rotors
New Calipers
New Drums
New pads
New Alternator
New Master Cyl
New Water pipe (the one that runs under the intake behind the block.) THat SUCKED to replace.
New Radiator
New Radiator cap
New Radiator hoses
New vacuum lines
New Belts (all belts)
New intake gasket
New exhaust gasket
New power steering pump
New power steering hoses
New Fuel/Air Filters
I think thats everything PRE weber swap.. but I might have forgot something
Now for the Weber swap...
http://www.myspace.com/the_trooper12...engine/2092271
Im sure you guys have seen it but I want to fill this up with pictures so.
I rebuilt my Air Conditioning System, EVERY part on it.
New compressor
New evaporator
New condensor
New lines
New Canister
I dont have pics of that but in later pics you can see the new compressor and lines.
I forgot to tuck the drain pipe back through the firewall and it caused my car to have moldy gross brown water in the carpet the next day so I removed my sound deafing and carpet.
Removed Sound Deafening
Removed Carpet
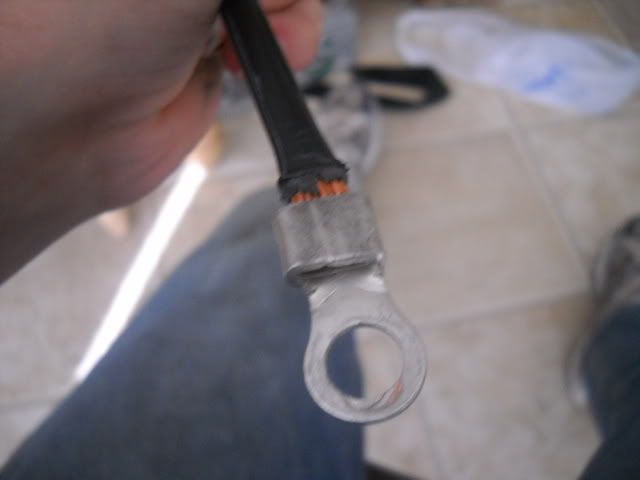
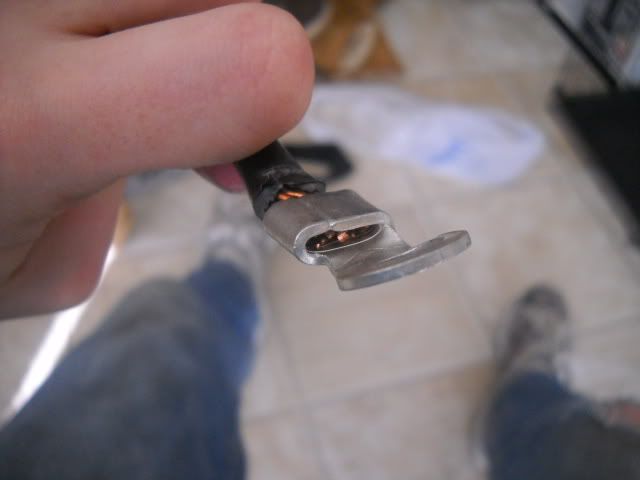
My starter took a shit so I replaced the starter and Battery, replacing the positive and negative ground cables.
New Starter
New Battery
Replaced my upper control arms and ball joints... I did my lower ball joints.. and the bushings for the lower control arm.. which SUCKED. The rubber bushing fused with the bolt so we had to hacksaw it off and pay 33 bucks for a kit with a new bolt. Outer Tie Rods..
New Upper control arm
New upper ball joint
New lower ball joint
New lower control arm bushings
New outer tie rods
No pics again.. im bad at catalogging my work.. ><
I rebuilt the inside of my hatch since I was sick of that cardboard like support that came factory.
Here are the pics.
http://www.myspace.com/the_trooper12...deling/2138640
I put in a Pioneer DEH-3200UB Deck. With some Boss Chaos eXXtreme speakers. Normal size speakers in the doors, but the back ones I had to remove the metal bracket and fab one out of wood. I put 6.5s in the back.
I wouldnt recommend the wood as at high volumes it vibrates causing it to sound kind of bad. The front ones sound amazing though.
Ive since removed the subwoofers since they quit working.
New Pioneer DEH-3200UB Deck
New Boss chaos eXXtreme speakers x4
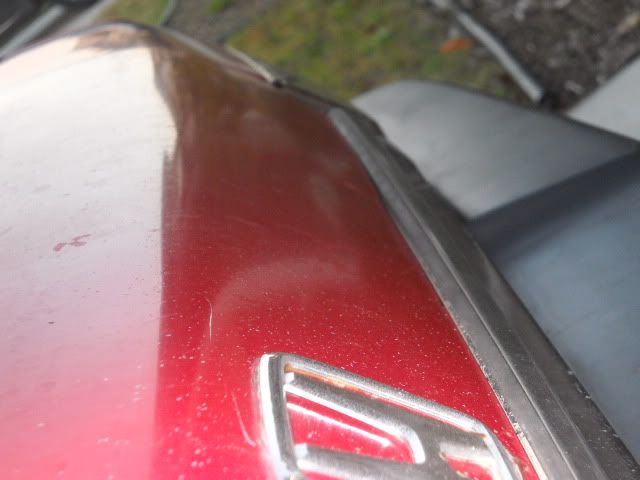
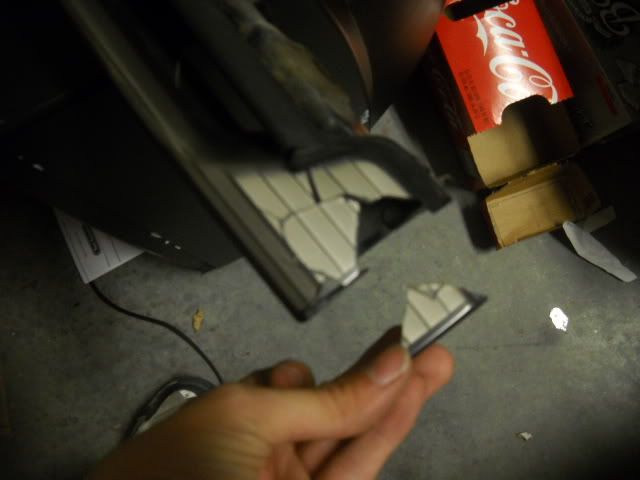
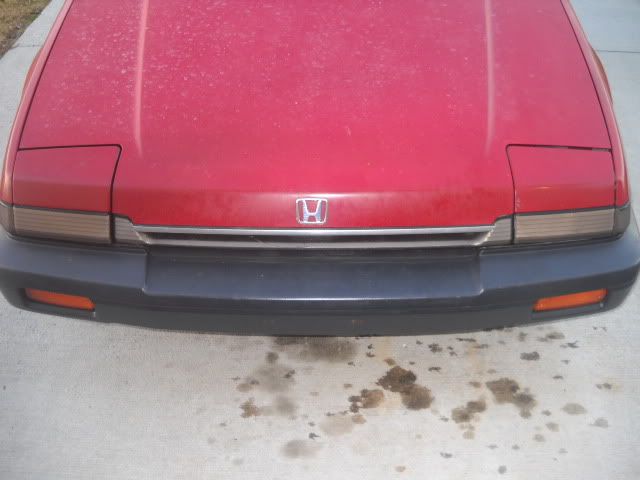
Anyway.. I have done some repainting on my trim...and restoration on my bumper useing the heat gun.
I used a heat gun to melt off the rubber on the metal portions of the trim then I painted it useing black enamel acrylic paint. Its very durable after it hardens but if you drive without letting it fully harden it likes to chip...
Here are some pictures.
http://www.myspace.com/the_trooper12...2161953?page=2
I recently cleaned out my engine bay, but due to water pump failure that caused water to go everywhere I lost the wax coating. Did reclean it though.
http://www.myspace.com/the_trooper12...ne-bay/2164831
New Water Pump
Now we are up to more recent times.
I added a custom exhaust. I used the LXI 4-2-1 OEM exhaust manifold and downpipe with 2 1/4 piping, Magnaflow Hi-flo cat, and Delta 40 Series muffler.
Welders did a shit tastic job letting my pipe hang long so when I hit a big bump it scrapes the ground.
Heres a video.
http://www.youtube.com/watch?v=5VMASLhnG_k
New 2 1/4 Inch piping
New Magnaflow Hi-flo cat
New Delta 40 series muffler
Ive put in an MSD SS blaster coil in place of the stock iggy coil, and hooked it up with NGK wires and Iridium Lazer Plugs.
New MSD SS Blaster Coil
New NGK wires
New Iridium Lazer Plugs
Lately I have been doing ALOT of aesthetic small things work.
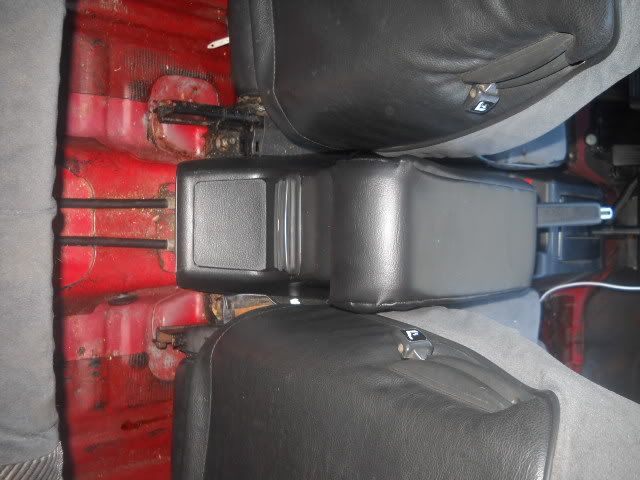
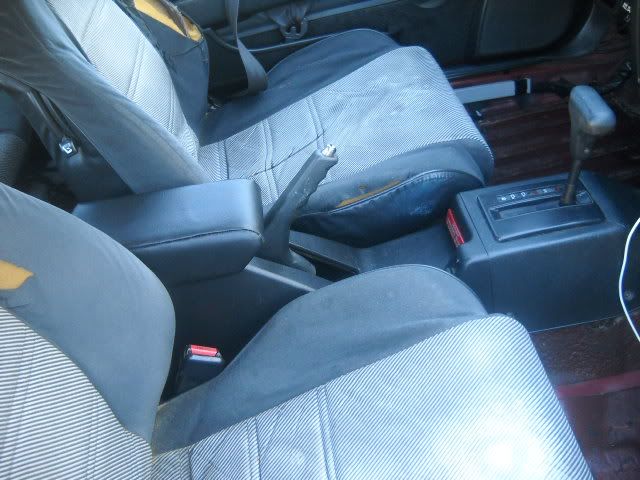
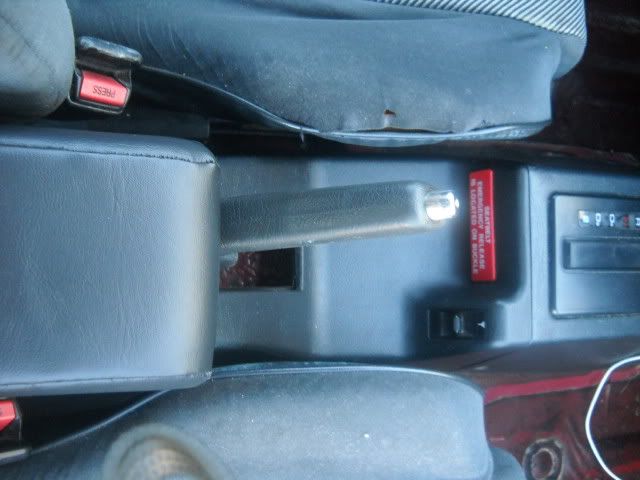
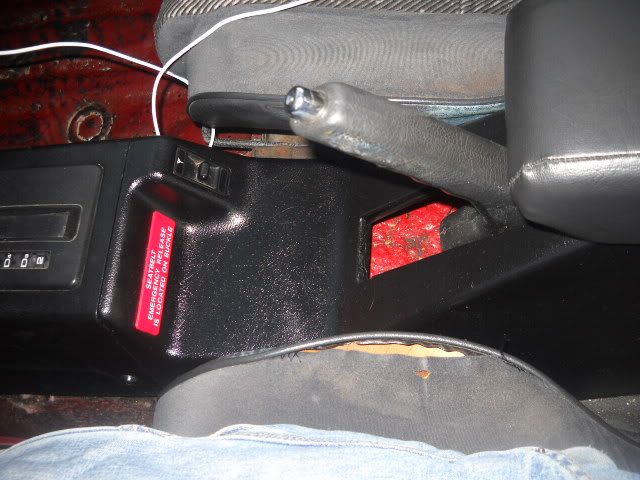
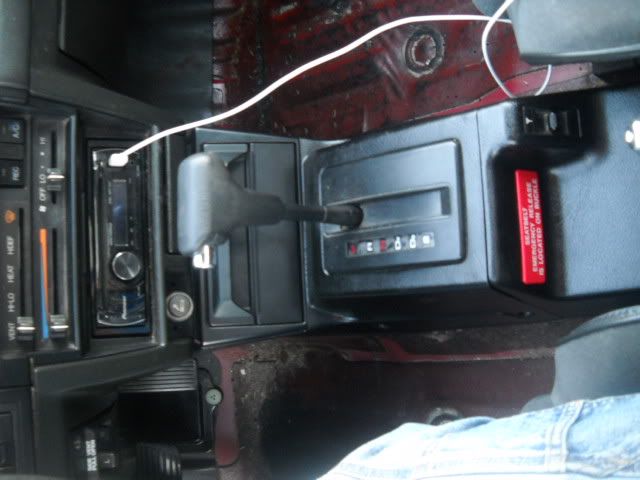
I replaced the dash clock and now it works.. also I replaced the controls for the heater slider.. the thing that lights up since none of the lights worked, and now it lights up! im so happy because of those changes. I added in a power mirror and cruise switch. Also power antenna switch. My cruise switch I pulled from the junkyard wouldnt fit on the steering will so I only have the dash one. They dont do anything right now but look nice, but soon that will be changed. Ive recently modified my timing and am getting a bit better acceleration which makes me happy too. I went to a junkyard and seen a B18 in the junkyard. The owners before it used the Red silicone gasket maker to create a headgasket and it apparently failed. What a bunch of jackasses.. I found it sad but funny because of how dumb they were. I made a ground wire for engine block to frame out of 4 Gauge wire. I also started sanding my rims down. Im going to use my stock rims instead of replace them. I like the way they look, They are Magesium Alloy so already really light. Im not going to paint the sanded part. Im just going to polish it and paint the holes inbetween the spokes black. Then im going to apply that protective plastic coating to them. Sanding them is taking ALOT of time and its harder than it should be. Having a circular sander would help with that. I am buying some SEI cupholders and armrest so soon those goodies will be added to my car. Im VERY VERY happy about that because I hate holding my drinks, and it feels empty without the armrest inbetween the seats. Oh I also got the little levers to make the seats bend forward and back, they are that red brown color not black, but I aint complaining. Ill repaint them eventually.
Here are some pictures I just took today of all these little goodies. You cant see the lights working because it is daytime but they work.
http://www.myspace.com/the_trooper12...over_ViewAlbum
New Power window control
New Cruise Control module (not transducer yet)
New Power Antenna control
New In-dash clock
New Seat levels
New Heater/Air slider faceplate

 Reply With Quote
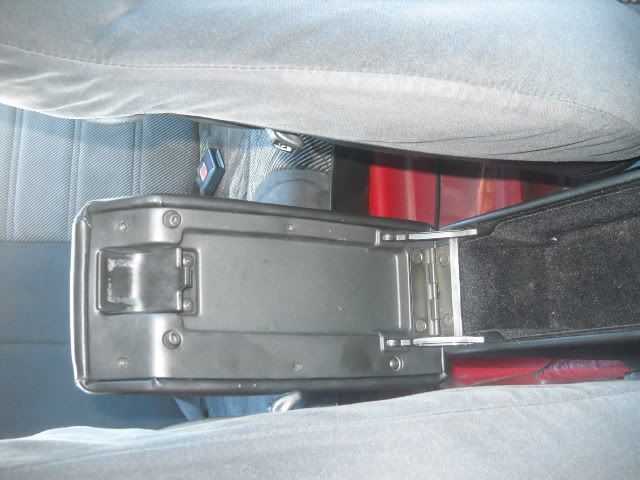
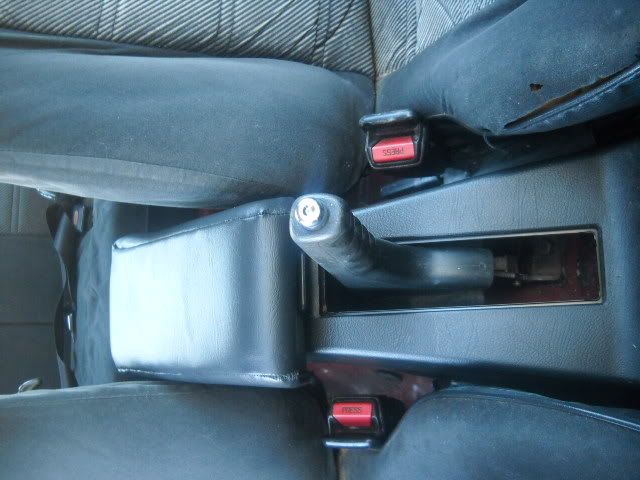


 You probably can bend that lever straight if needed but really you wont need to if it is adjusted better.


Bookmarks